

When noise reduction makes a voice sound robotic, first check whether the processor is removing useful speech along with the noise. Reduce the treatment, compare with the original, and test the other effects in the chain before buying another plugin.
A watery, metallic, or chopped-up result is not always a noise-reduction problem. The source recording, a gate, a de-esser, or duplicated audio can also deserve a closer look.
The goal is not perfect silence between sentences.
The goal is a voice you can understand without noticing the repair.
Affiliate and evaluation disclosure: Waves has provided temporary plugin access for evaluation. This guide includes a marked affiliate link, and I may earn a commission from qualifying purchases through it. The troubleshooting guidance does not rank products from a new listening test.
Start with the words that sound wrong
Choose a short passage containing a normal sentence, a quiet ending, and a pause.
Use that same passage for every check. Do not compare one tool on a loud phrase with another tool on a whisper.
Write down what is bothering you before adjusting anything.
| What you hear | First check | What would change the diagnosis? |
|---|---|---|
| Watery or metallic speech | Compare the cleanup stage with bypass | The same sound exists in the original |
| Missing word endings | Bypass the gate and cleanup separately | Only one stage clips the ending |
| Dull or lisped consonants | Bypass de-essing separately from noise reduction | The consonant returns when de-essing is off |
| Hollow sound only when tracks play together | Solo each source and inspect duplicated routing | Each track sounds normal alone |
| Noise returns when the voice is finished | Bypass later dynamics processing | The cleanup output is acceptable before that stage |
| The export sounds worse than the timeline | Compare the exported file with the monitored chain | Routing, active effects, or encoding differs |
This is a test order, not a diagnosis based on a few adjectives.
You are looking for the point at which the problem first appears.
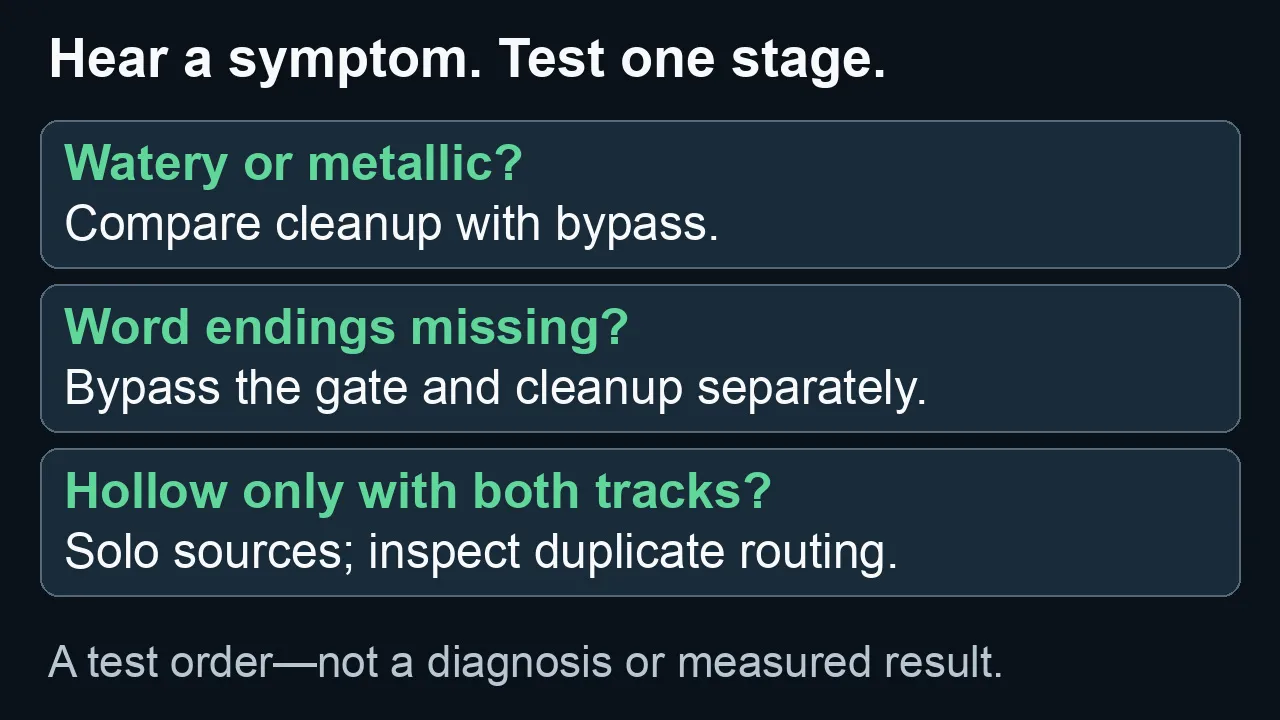
A compact subset of the symptom table above. These are checks to try, not diagnoses or measured results.
1. Go back to the original recording
Keep the original untouched and work on a duplicate or a nondestructive edit.
Bypass the cleanup and listen to the same words.
If they already sound damaged, a second denoiser is not a reliable way to identify the cause. Check the recording and any earlier processing first.
Ask whether the file came from the microphone recording, a conferencing application, or a previous processed export. A file that has already been enhanced may not behave like an untouched recording.
When possible, compare against the closest available source—not a preview copied from a social post.
Do not abandon a useful original just because an enhanced version has a tidier-looking waveform.
2. Find the damaging stage
Bypass the entire effects chain. Then enable one stage at a time.
Keep the excerpt and playback level reasonably consistent while listening. A large level jump makes the comparison harder to judge.
A useful test sheet is simple:
| Stage enabled | Words intact? | Background acceptable? | Keep, adjust, or bypass? |
|---|---|---|---|
| None | Note the source problem | Note the source noise | Baseline |
| Cleanup only | Check the same quiet ending | Check noise during speech | Decide |
| Cleanup plus next stage | Check again | Check again | Decide |
| Full chain | Check the complete result | Listen in the actual mix | Decide |
Do not add a processor to repair damage until you know which stage produced it.
For example, if the words are intact after cleanup but disappear when a gate is enabled, investigate the gate before changing the cleanup tool.
That distinction can save a lot of aimless adjustment.
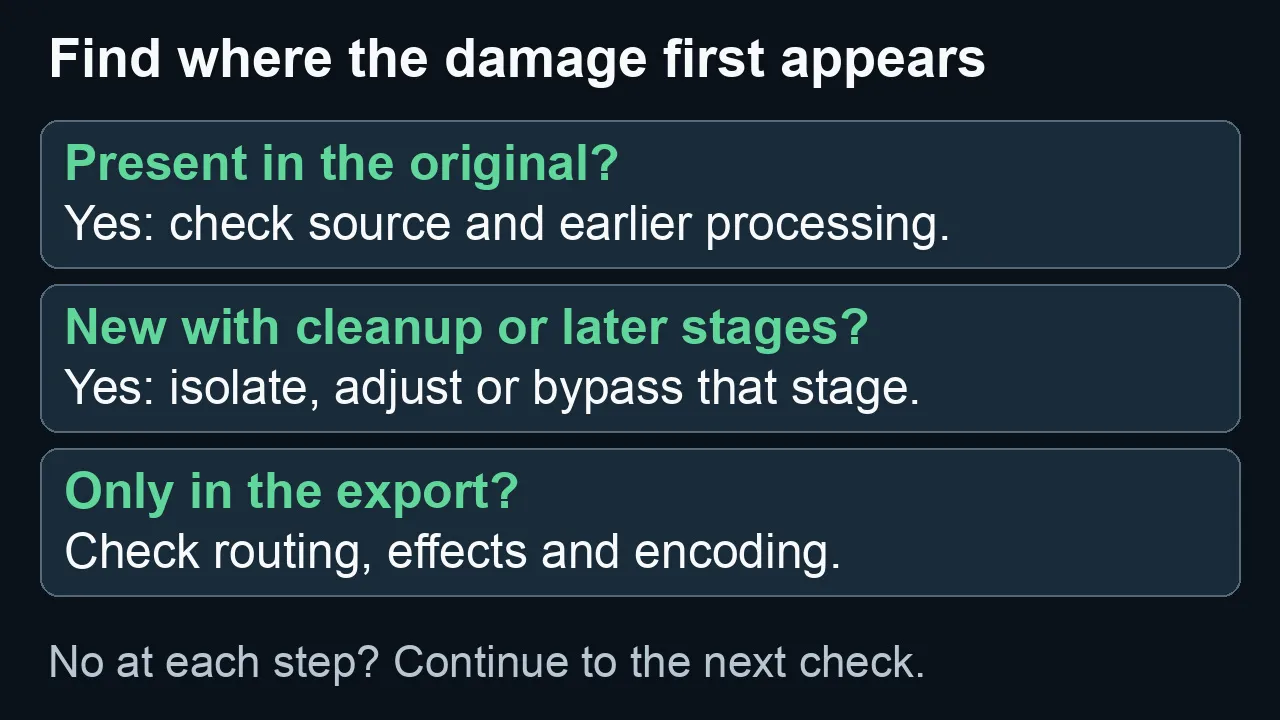
Follow the first stage where the problem appears; a yes directs the next check, not a guaranteed diagnosis.
3. Reduce the amount—then check the other controls
Adobe's Audition documentation warns that excessive noise reduction can produce flanged or phase-like sound. It also suggests lowering the amount of reduction when bubbly artifacts appear. [1]
Back off the treatment and listen to the same phrase.
Can you hear the last word more clearly? Does the speaker sound more like the original? Is the remaining background actually distracting in the finished mix?
Do not stop at “the noise is louder now.”
The comparison is between two complete results, not just two pauses.
There is no universal percentage
A control labeled 50% in one product does not establish an equivalent setting in another.
Even within one tool, the same setting can be too much for one recording and too little for another.
Audacity's documentation describes a useful complication: artifacts can also result from a poor noise profile or unsuitable sensitivity, not simply from turning the main reduction control too high. [2]
Use a smaller amount as a diagnostic step, not a universal cure.
Change one control, compare, and keep a note of whether it improved the actual words.
4. Check the noise profile—when your tool uses one
Audacity Noise Reduction and Audition's profile-based Noise Reduction learn from a selected noise-only passage. That selection should represent the noise you intend to remove, not include the speech you want to keep. [1] [2]
A pause from a different room or a different part of the recording may be a poor match.
Check the tool's manual rather than copying a profile workflow into every product. A neural voice-isolation plugin and a profile-based reducer are not interchangeable control systems.
Listen to what is being removed
When available, use the processor's removed-signal monitor.
Audition calls this Output Noise Only. Audacity provides a Residue listening option. Both can help reveal useful audio being removed. [1] [2]
Recognizable words in that monitor are a reason to reassess the setting. They are not an invitation to keep increasing the reduction until the background vanishes.
Return to normal output monitoring before judging or exporting the finished voice.
5. Separate noise from room sound and local defects
A recording can contain several different problems at once.
Steady fan noise is not the same problem as room reflections. A single mouth click is not the same problem as a background that continues throughout the take.
Audacity describes its Noise Reduction as suitable for relatively constant noise and warns about irregular or highly variable interference. Adobe documents separate restoration approaches for clicks, hum, clipping, and other defects. [1] [2]
Use those distinctions to avoid asking one global setting to fix every sound.
For a local defect, first consider whether an edit or targeted repair can solve it without processing the rest of the sentence.
For a room problem, evaluate a room-reduction tool separately rather than assuming that more noise suppression will produce a close-mic recording.
Waves distinguishes Clarity Vx voice/background-noise separation from Clarity Vx DeReverb's room-reduction purpose. That is a product-category distinction—not a guarantee that either will repair every source. [3] [4]
6. Judge the chain after cleanup
Once the cleanup alone is acceptable, restore the later stages one at a time.
Check the quiet words again after compression or leveling. Check the consonants after de-essing. Check the transitions between phrases after gating or expansion.
The useful question is:
Did this stage improve the result I already had?
If not, bypass it and compare the simpler chain.
You do not need every module in a preset just because it is present.
For speech that changes a great deal across the recording, consider local edits and section-specific settings rather than making one extreme setting govern the entire file.
Document the exceptions. That makes the result easier to repeat and the next revision easier to understand.
7. Compare fairly, then listen in context
Keep two kinds of output when you are evaluating a tool.
The first is the direct export, which preserves what the processor actually did. Use that for checking levels, routing, and output behavior.
The second is a listening copy adjusted with simple gain so a large loudness difference does not dominate the comparison. Do not add an extra limiter or another cleanup stage just to make the test sound nicer.
Use the same excerpt and align its timing. Keep the underlying source and processed masters unchanged.
Then listen in the context in which the voice will be used.
A little steady room sound may be acceptable beneath the programme. Missing syllables can still make a sentence harder to follow. Judge both, rather than treating silence as the only success criterion.
The LUFS and true-peak guide explains why measuring the finished programme is different from judging one isolated voice clip.
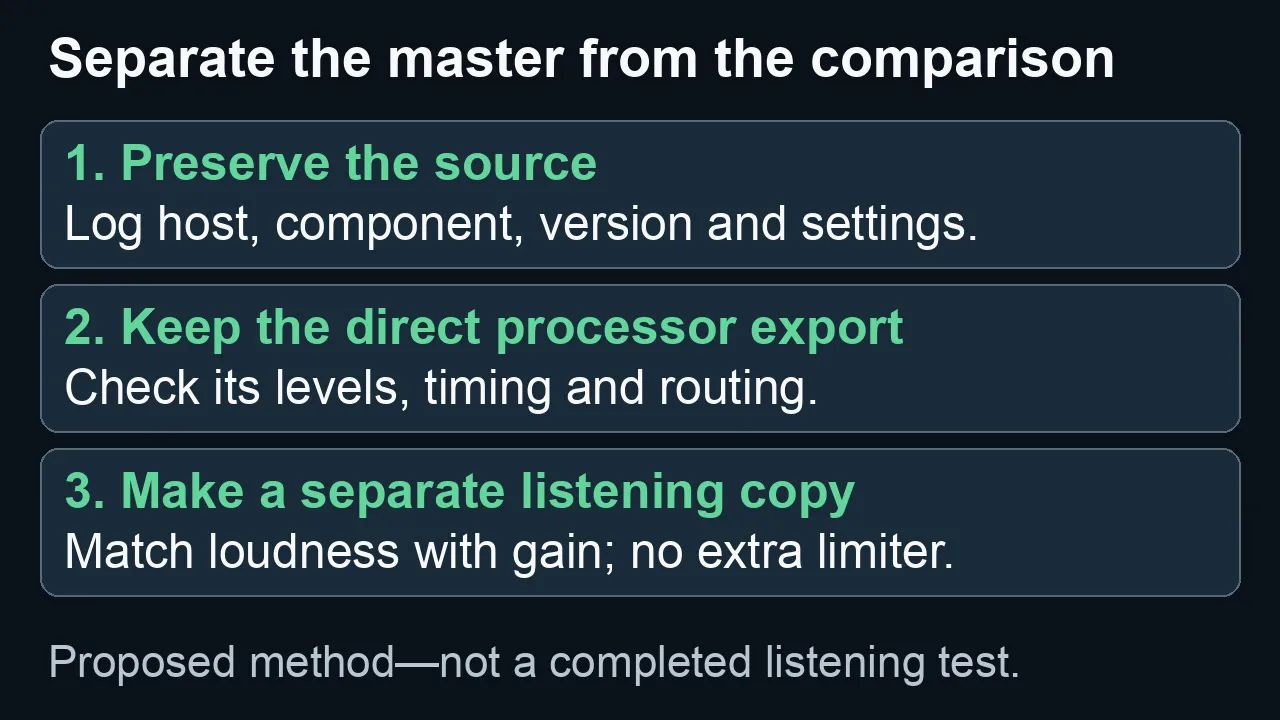
A proposed comparison method, not evidence that a listening test has run. Keep source and direct export unchanged.
8. Verify the export
Do not assume the file you delivered contains exactly what you heard during editing.
Reimport the actual export and check the same diagnostic passage.
Confirm that the intended processor was active and the source was not doubled, muted, bypassed, or routed around the expected chain.
If processing appears to make no difference, test a clearly suitable control recording and verify the signal path before concluding that the tool does nothing.
Keep a note of the host, plugin component, version, settings, and export path. “Clarity Vx” and “Clarity Vx Pro” are not adequate interchangeable labels for a reproducible test.
When a different tool makes sense
Try another tool when the source problem falls outside the useful range of the one you have—not merely because the first setting sounded bad.
| Problem or workflow | A reasonable category to evaluate |
|---|---|
| Fairly steady background noise | A profile-based or adaptive noise reducer |
| Voice against a changing background | A voice-isolation tool such as Clarity Vx |
| Distracting room reflections | A dedicated dereverb tool |
| One click, plosive, or isolated interruption | Local editing or a targeted repair process |
| Speech already in a Premiere timeline | Evaluate Premiere Enhance Speech and its Mix Amount control before adding another purchase |
Adobe documents Mix Amount as the balance between original and enhanced audio in Premiere. That makes the original signal part of the evaluation rather than something you must discard. [5]
The Waves voiceover and dialogue guide explains the candidate tools by job. Check its stated evidence limits and use the smallest toolkit that solves your recurring problems.
A whole subscription is not a prerequisite for fixing one recording.
If a Waves tool fits, compare its individual purchase path with the current Creative Access options — affiliate link.
Know when to stop processing
Set a practical stopping rule before spending another hour adjusting the chain:
Can a listener follow the words comfortably? Does the speaker still sound natural enough for the project? Is the remaining noise less distracting than the damage introduced by removing it?
If the answer gets worse as the background gets quieter, return to the more restrained version.
When a replacement recording is feasible, compare that option with the time and compromise involved in continued repair.
Keep the words. Fix the distraction. Do not sacrifice the first to eliminate the second.
For the related plugin, licensing, and delivery decisions, see the Waves audio-post resource hub.
Frequently asked questions
Why does my voice sound underwater after noise reduction?
It may be a processing artifact, but compare with the original before deciding. Isolate the cleanup stage, reduce its treatment, and check any profile or sensitivity controls. Also test whether another stage creates the effect.
Can another noise reducer restore the words removed by the first one?
Do not rely on that approach. Go back to the unprocessed source and make a new controlled comparison. Repeated processing makes it harder to know which step is helping.
Should I always run cleanup at maximum strength?
No. Choose a setting from the recording and the finished use, not from the position of the control. The lowest background level is not automatically the most usable voice.
Do all noise reducers require a noise profile?
No. Follow the workflow for the exact product. Profile-based reduction, adaptive suppression, neural voice isolation, and speech enhancement use different approaches and controls. [1] [2] [3] [5]
Is a little background noise acceptable?
Judge it against the project. If removing the last trace damages speech more than the remaining noise distracts, the restrained result may be the better editorial choice.
Sources
Documentation checked September 7, 2026. This guide proposes a troubleshooting process; it does not claim a newly completed comparative product test.

About the Author
Joseph Nilo has been working professionally in all aspects of audio and video production for over twenty years. His day-to-day work finds him working as a video editor, 2D and 3D motion graphics designer, voiceover artist and audio engineer, and colorist for corporate projects and feature films.