
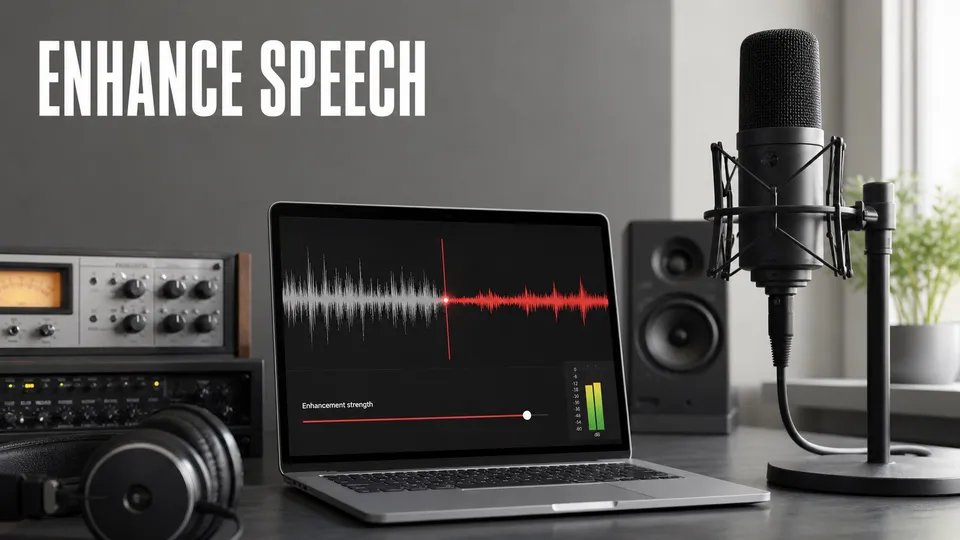
| Quick answer | Upload the cleanest original recording, listen at the default enhancement level, then reduce the strength until speech sounds clear without losing the speaker's natural tone. |
|---|---|
| Best for | Narration, interviews, dialogue, remote recordings, and quick voice cleanup. |
| Watch for | Robotic consonants, pumping room tone, clipped words, altered breaths, and music being mistaken for speech. |
| Best handoff | Export the enhanced result, keep the original, and finish timing, fades, music, and loudness in your editor. |
Adobe Podcast Enhance Speech is most useful as a first-pass dialogue cleanup tool, not as a substitute for listening. It can make a weak voice recording easier to understand in minutes, but the best result is usually the least aggressive setting that solves the actual problem.
This workflow is designed for podcasters, video editors, course creators, and voiceover producers who need a repeatable path from a noisy recording to an edit-ready file. For the product overview and plan limits, start with my Adobe Podcast review.
1. Prepare the Source Before Uploading
Start with the original recording whenever possible. Do not normalize a clipped file, stack several noise-reduction effects, or convert it repeatedly before enhancement. Every destructive step removes information the model could have used.
- Choose the original WAV, high-quality MP3, or source video.
- Confirm the correct take and listen for clipping or missing sections.
- Remove long material you know will never be used if the file is near an upload limit.
- Keep an untouched copy with the project.
- Use clear filenames such as
guest-name_original.wavandguest-name_enhanced.wav.
Adobe publishes current file, duration, daily-use, video, bulk-processing, and strength-control limits on its official Adobe Podcast features page. Check that page before planning a large batch because free and Premium limits can change.
2. Run Enhance Speech
- Open Adobe Podcast Enhance Speech in a desktop browser and sign in.
- Upload the source recording.
- Wait for processing to finish before judging the result.
- Preview a section with speech, silence, breaths, and background sound.
- Compare the enhanced version with the original at a similar listening level.
Do not judge only the cleanest sentence. Check the beginning and end of words, quiet speakers, laughter, overlapping dialogue, keyboard taps, and transitions into music. Those are the places where aggressive cleanup tends to reveal itself.
Disclosure: This page contains affiliate links. If you subscribe through one, I may earn a commission at no additional cost to you.
If the free limits or fixed processing level are constraining a real project, you can Check Adobe Podcast plans.

3. Set the Right Enhancement Strength
Premium strength control is the most important correction tool. Start around the default, then move down if the voice loses its identity. A polished recording rarely needs the same amount of processing as a distant laptop microphone.
| Source condition | Starting approach | What to monitor |
|---|---|---|
| Clean close microphone | Low enhancement | Breaths, sibilance, and a voice that becomes unnaturally dense |
| Moderate room echo | Medium enhancement | Word endings and shifting room tone |
| Distant or noisy speech | Medium to stronger enhancement | Robotic consonants and missing ambience |
| Speech over music | Use source controls or separate stems first | Music artifacts and speech misclassification |
4. Handle Difficult Audio
Clipped dialogue
Enhance Speech may improve clarity, but it cannot reconstruct every flattened peak. Keep the original under the result so you can patch individual syllables or use a dedicated restoration tool.
Multiple speakers
Process isolated speaker tracks when you have them. A single mixed file with crosstalk gives the system fewer clean decisions. Adobe Podcast Studio can provide separated originals for recorded participants, depending on the plan.
Music and background sound
Use Adobe Podcast source controls or downloadable stems when available, then decide how much ambience should survive. For a finished show, removing every trace of room tone can sound less believable than reducing it.
Inconsistent sections
Split the source into logical sections if one part was recorded in a quiet office and another in a noisy lobby. Different problems often need different enhancement strength.
5. Export and Finish the Edit
Download the enhanced file and store it beside the original. Then perform the editorial work that a cleanup model does not decide for you: remove false starts, shape pauses, add fades, repair isolated mistakes, mix music, and set final loudness.
- Use Adobe Audition when you need spectral repair, detailed multitrack mixing, routing, or automation.
- Use Premiere Pro when the voice belongs to a video timeline and picture sync is central.
- Use the enhanced download directly when a short voice clip already sounds right and only needs basic trimming.
For video projects, preserve sample rate and sync. Replace the source carefully, check the start point, and listen through edits rather than assuming identical duration guarantees a perfect handoff.
When Enhance Speech Is the Right Tool
| Need | Best starting point |
|---|---|
| Fast, browser-based voice cleanup | Adobe Podcast Enhance Speech |
| Remote guest capture with separate tracks | Adobe Podcast Studio |
| Surgical repair and audio mixing | Adobe Audition |
| Dialogue cleanup inside a video edit | Premiere Pro Essential Sound and Enhance Speech |
The strongest workflow can combine them: capture clean local tracks in Studio, apply restrained enhancement where needed, then finish in Audition or Premiere Pro.
Related Adobe Podcast Guides
Frequently Asked Questions
Is Adobe Podcast Enhance Speech free?
Adobe offers a free Enhance Speech workflow with limits. Premium adds higher limits and controls such as adjustable enhancement strength; current limits can change, so confirm them on Adobe's features page.
What audio should I upload to Enhance Speech?
Upload the cleanest original recording you have. A consistent microphone level, limited clipping, and some room tone give the tool more useful information than an already overprocessed file.
Why does Enhance Speech sound robotic?
The effect is usually too strong for that recording, or the source contains clipping, heavy reverb, overlapping voices, music, or noise that resembles speech. Reduce the strength and compare against the original.
Can Adobe Podcast Enhance Speech process video?
Adobe lists video enhancement as a Premium feature. You can use it to improve dialogue in a video file, then continue picture editing in Premiere Pro or another editor.
Should I use Enhance Speech before or after editing?
For short narration, cleanup before detailed editing is efficient. For long interviews, make a rough content edit first, process only the selected material, and keep the original recording available for repairs.

About the Author
Joseph Nilo has been working professionally in all aspects of audio and video production for over twenty years. His day-to-day work finds him working as a video editor, 2D and 3D motion graphics designer, voiceover artist and audio engineer, and colorist for corporate projects and feature films.