
| Quick answer | Good Movavi audio starts with clear levels: voice first, music underneath, effects used sparingly, and cleanup checked by ear. |
|---|---|
| Best for | Tutorials, YouTube videos, course clips, product demos, family videos, and social edits with voiceover or talking-head footage. |
| Skip if | You need detailed restoration, multitrack mixing, loudness delivery specs, or advanced podcast mastering. |
| Main rule | Never trust an audio tool until you listen before and after at normal volume. |
Audio is where many simple videos either feel trustworthy or feel unfinished.
Movavi gives you enough tools to clean up common creator audio problems.
The best workflow is simple: make speech clear, keep music supportive, use effects lightly, and export a short test.
Quick take: Movavi Video Editor is best for creators who want a friendly timeline, built-in effects, AI-assisted cleanup, and simpler exports without jumping straight into a professional editing suite.
Pricing and promotions change often, so check the current Movavi offer before buying.
Best fit: beginner and intermediate YouTube, social, tutorial, family, and small-business videos.
Make the Voice the Anchor
Start with the voice track because everything else supports it.
Trim obvious dead air, reduce distracting noise, and keep the level consistent from section to section.
If a clip is hard to understand, fix that before adding music.

Place Music Under the Message
Music should create momentum without competing with speech.
Lower music under dialogue and bring it up only where there is no speaking.
Use sound effects as punctuation, not decoration on every cut.
- Set voice first.
- Add music quietly.
- Test on speakers and headphones.
- Remove effects that draw attention away from the point.
Clean Up, Then Export a Test
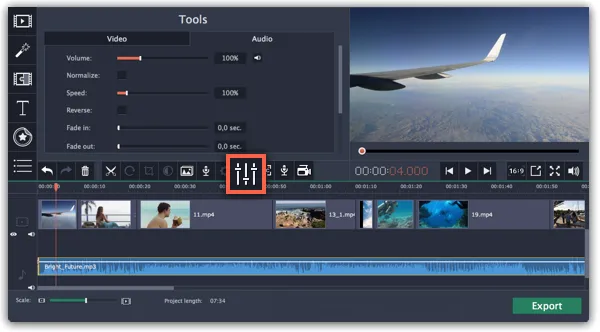
Noise removal, equalizer controls, and silence tools can help, but aggressive settings can make audio sound processed.
Export a short test section with voice, music, and effects before rendering the whole project.
| Issue | Movavi fix | Listen for |
|---|---|---|
| Room noise | Noise reduction | Thin or watery speech. |
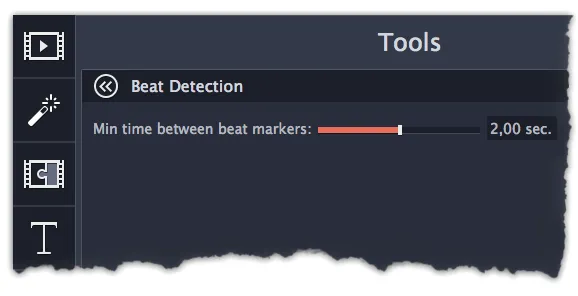
| Uneven pacing | Trim pauses or silence | Choppy rhythm. |
| Music too loud | Volume adjustment | Words getting masked. |
For current product details, check Movavi's official Video Editor page.
FAQ
Can Movavi improve bad audio?
It can improve common problems such as background noise, uneven music, and awkward pauses, but severely distorted or badly recorded audio may need rerecording.
How loud should music be under voice?
Keep music low enough that speech is effortless to understand. If you notice the music while someone is talking, it is probably too loud.
Should I remove every pause?
No. Remove pauses that hurt pacing, but keep natural breathing room so the edit does not feel chopped up.
Is Movavi enough for podcast audio?
It is fine for simple video audio cleanup, but dedicated podcast mastering usually needs more specialized tools.

About the Author
Joseph Nilo has been working professionally in all aspects of audio and video production for over twenty years. His day-to-day work finds him working as a video editor, 2D and 3D motion graphics designer, voiceover artist and audio engineer, and colorist for corporate projects and feature films.