

| Quick answer | Use transitions to clarify a change in time, place, topic, or mood. If the cut already works, a plain cut is usually stronger. |
|---|---|
| Best for | YouTube explainers, travel edits, family videos, simple promos, tutorials, and social videos that need a polished rhythm. |
| Skip if | You are trying to hide weak pacing, mismatched shots, or unclear structure. |
| Main rule | Pick one or two transition styles per video and keep the duration short. |
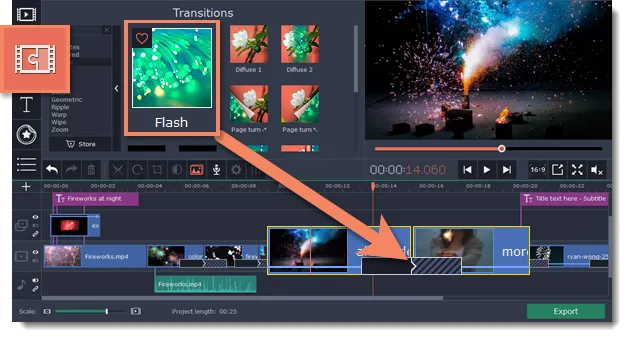
Movavi includes plenty of transitions, but the best edits rarely use many of them.
A transition should make the viewer feel oriented.
When every cut has a new effect, the video starts to feel less professional, not more.
Quick take: Movavi Video Editor is best for creators who want a friendly timeline, built-in effects, AI-assisted cleanup, and simpler exports without jumping straight into a professional editing suite.
Pricing and promotions change often, so check the current Movavi offer before buying.
Best fit: beginner and intermediate YouTube, social, tutorial, family, and small-business videos.
Choose the Cut Before the Effect
Watch the edit with plain cuts first.
If the viewer understands the sequence, do not add a transition just to decorate it.
Use fades for softer changes, wipes for clear section breaks, and motion-based transitions only when the clips already share movement.
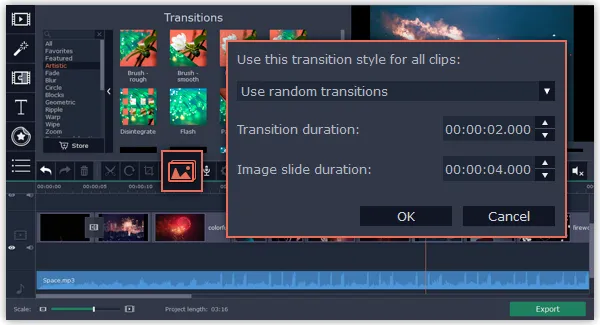
Keep Transition Duration Short
Long transitions slow the edit down and call attention to themselves.
For most creator videos, a short fade or quick crossfade is enough.
Use longer transitions only when the whole scene needs a softer pace.
- Add the transition.
- Shorten the duration.
- Preview the cut in context.
- Remove it if the pacing feels slower.
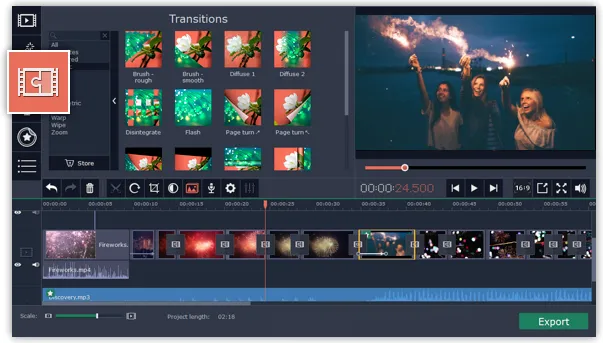
Build a Small Transition System
A polished video usually has a transition system.
That means similar moments get similar treatment.
| Moment | Transition choice |
|---|---|
| New section | Short fade or simple slide. |
| Same scene, new angle | Plain cut. |
| Before/after reveal | Simple wipe or split-style reveal. |
| Ending | Fade to black or clean logo/title outro. |
That consistency makes the edit feel designed instead of assembled from random presets.
FAQ
What is the best transition in Movavi?
The best transition is usually the simplest one that clarifies the edit. Fades, cuts, and subtle slides are more useful than busy novelty effects.
How long should Movavi transitions be?
Keep most transitions short. If the transition makes the viewer wait for the next shot, it is probably too long.
Should every cut have a transition?
No. Most cuts should be plain cuts. Use transitions for meaningful changes in time, place, topic, or mood.
Can transitions fix bad pacing?
Not really. Tighten the cut first, then use a transition only if it helps the viewer follow the change.

About the Author
Joseph Nilo has been working professionally in all aspects of audio and video production for over twenty years. His day-to-day work finds him working as a video editor, 2D and 3D motion graphics designer, voiceover artist and audio engineer, and colorist for corporate projects and feature films.