
| Quick answer | For Log footage, start with a technical transform, balance exposure with scopes, correct white balance, then build the creative look after the image is normalized. The most common mistake is treating Log like a finished image too early. Get the footage into the right color space first, then grade. |
|---|
What Log Footage Needs Before You Grade
Log footage is designed to protect highlight and shadow detail by recording a flat, low-contrast image. That flat image is not the final look.
Your first job is to convert it into a working color space where contrast, saturation, and skin tones behave predictably.
My practical order of operations
Normalize first, balance second, style last. That keeps technical correction separate from creative grading.
Linear, Log, and RAW: The Useful Difference
Linear or standard video usually looks more finished out of camera, but it gives you less room to recover highlights or reshape contrast.
Log gives you more grading latitude while still recording a normal compressed video file. RAW gives you deeper sensor-level control, but it usually costs more storage, processing power, and workflow complexity.
| Format | Best For | Watch Out For |
|---|---|---|
| Standard video | Fast turnaround and minimal grading. | Less room for strong corrections. |
| Log video | Commercial, documentary, YouTube, and creator work that needs a polished grade. | Needs a proper transform before creative grading. |
| RAW | High-end finishing and shots that need maximum image control. | Large files and heavier post-production requirements. |
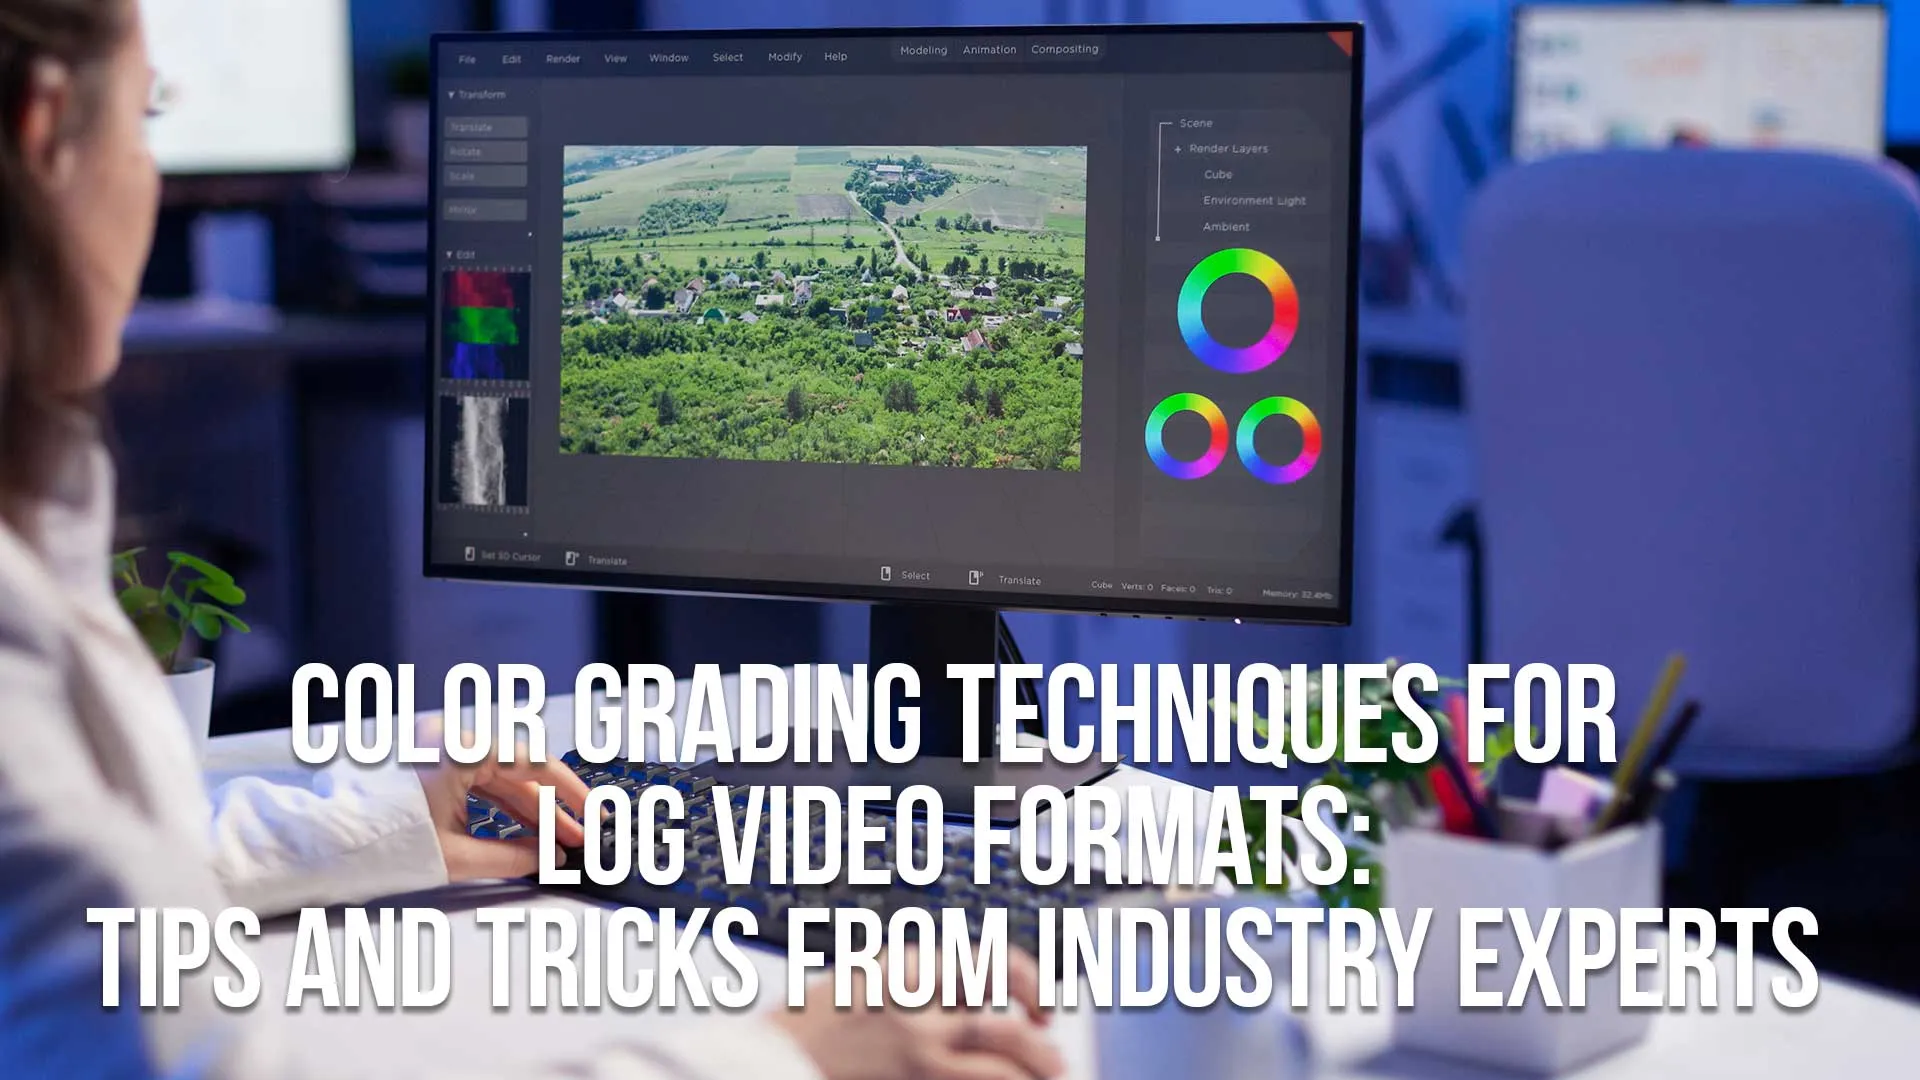
A Practical Log Color Grading Workflow
This workflow works in DaVinci Resolve, Adobe Premiere Pro, Final Cut Pro, and most modern color tools. The exact button names change, but the logic stays the same.
1. Set the color space
Use a camera LUT, color management, or a color space transform to convert the footage from its camera Log profile into your working space.
2. Balance exposure
Open the waveform monitor and set black, midtone, and highlight levels before pushing the image creatively.
3. Fix color balance
Use the RGB parade and vectorscope to remove unwanted color casts while keeping skin tones believable.
4. Add the look
Once the image is technically sound, use curves, wheels, saturation, and secondaries to build the final style.
LUTs vs Color Management
A camera LUT can be useful when you need a quick, manufacturer-approved conversion. It is not always the most flexible way to work.
Color-managed workflows and color space transforms are often easier to adjust because the technical conversion remains editable.
Best practice
Use a technical LUT or transform at the start of the grade, then make creative adjustments after it. Avoid stacking random creative LUTs on flat Log footage and hoping the image lands cleanly.
Software Notes for Premiere Pro, Final Cut Pro, and Resolve
In Adobe Premiere Pro, Lumetri Color gives you curves, color wheels, basic correction, and scopes in one familiar panel.
In Final Cut Pro, the color inspector and camera LUT controls are fast for editor-led grades, especially when you are moving quickly through a timeline.
DaVinci Resolve is still the deepest option for node-based color work, especially when you want separate technical transforms, balancing nodes, skin-tone work, and finishing adjustments.
Core Color Grading Techniques for Log Footage
Balance Exposure With Scopes
Use the waveform to place shadows, midtones, and highlights instead of relying only on your monitor. Log footage can trick your eye because it starts so flat.
Protect skin and important highlights first. A slightly softer contrast curve is usually easier to refine than crushed blacks or clipped skies.
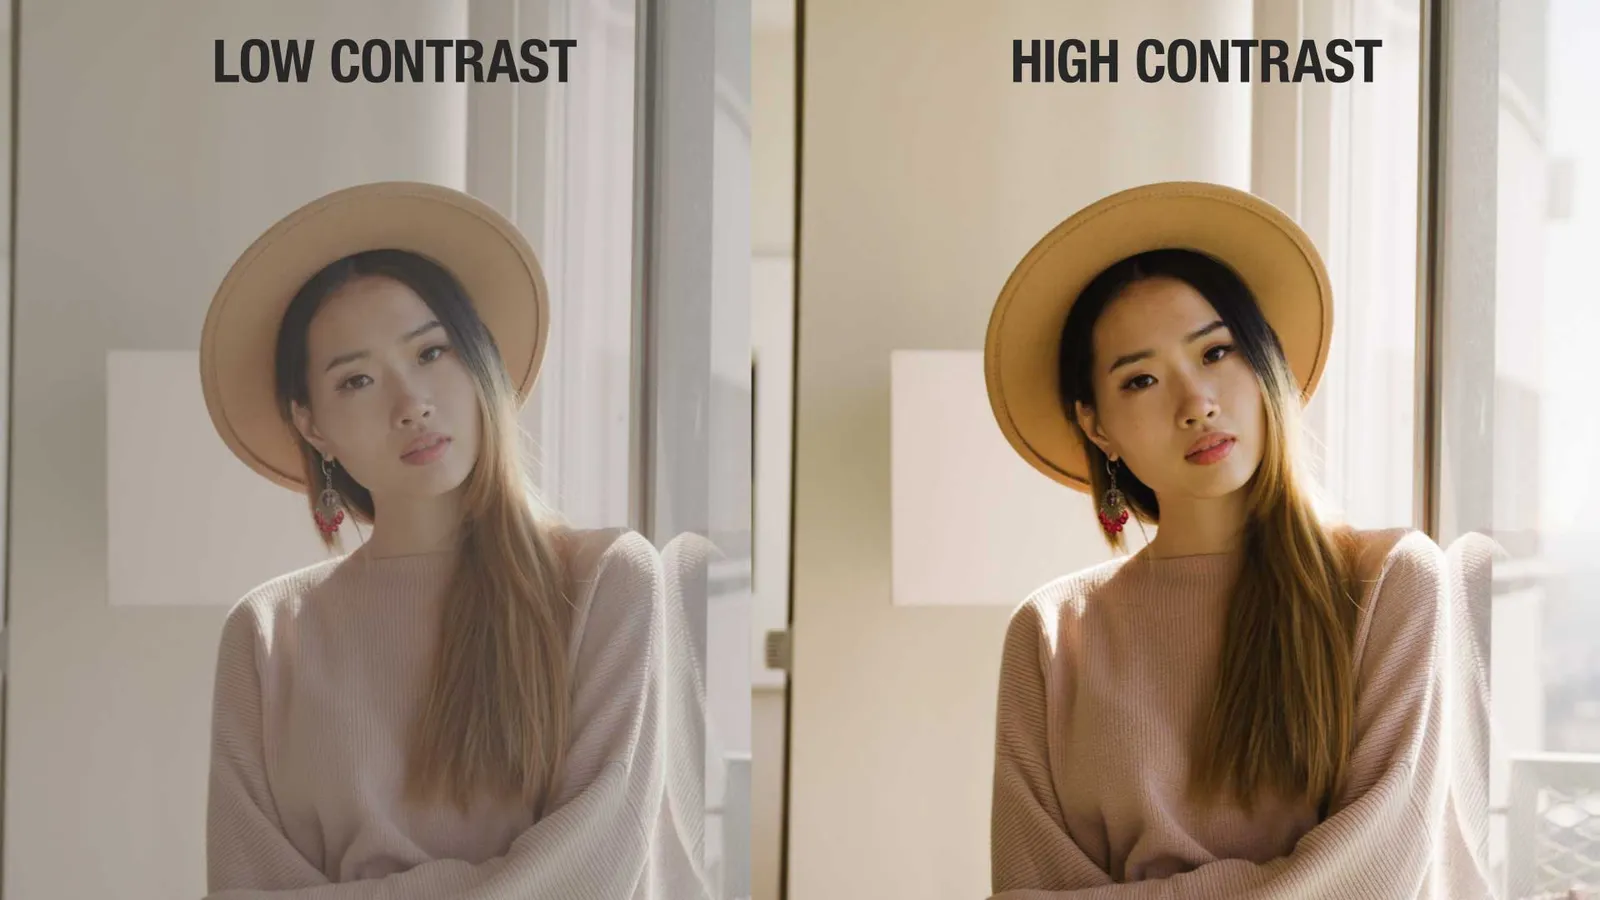
Use Curves for Contrast Shape
Curves are ideal for shaping contrast after the technical transform. Keep the first pass gentle and make stronger look decisions later.
If the image gets harsh quickly, check whether you are grading before the Log conversion or pushing saturation too early.
Handle Saturation Carefully
Log images often need saturation, but adding too much globally can make skin and bright colors fall apart. Raise saturation in stages and watch the vectorscope.
For commercial or tutorial content, clean skin tones and readable product colors usually matter more than an aggressive cinematic look.
Use Secondaries After the Base Grade
Use masks, qualifiers, and hue curves after the image is balanced. This is where you can refine skin, skies, greens, product colors, or a distracting color cast.
Secondaries work best when the base grade is already stable.
Common Log Grading Mistakes
- Applying a creative LUT before the footage is normalized.
- Judging exposure without scopes.
- Oversaturating skin tones after the transform.
- Mixing camera Log profiles without matching transforms.
- Delivering HDR-looking contrast into a Rec. 709 project without checking the export.

Color Grading Log Footage FAQ
Should I use a LUT on Log footage?
Use a technical camera LUT if it accurately converts your camera profile into the delivery color space. Treat creative LUTs as a starting point, not a complete grade.
Is Log better than standard video?
Log is better when you need more control in post-production. Standard video is better when speed matters and the camera look is already close to final.
What scopes should I use for Log color grading?
Use the waveform for exposure, RGB parade for color balance, and vectorscope for saturation and skin-tone direction.
Can I grade Log footage in Premiere Pro or Final Cut Pro?
Yes. Premiere Pro and Final Cut Pro both have enough color tools for many creator, corporate, and online video workflows.
Why does my Log footage look flat?
It looks flat because the camera is preserving dynamic range for post-production. Apply the correct camera transform before judging the final contrast and saturation.

About the Author
Joseph Nilo has been working professionally in all aspects of audio and video production for over twenty years. His day-to-day work finds him working as a video editor, 2D and 3D motion graphics designer, voiceover artist and audio engineer, and colorist for corporate projects and feature films.
Parent Article:
Log Video Formats Reference Guide
Related Articles:
The Evolution of Log Video Formats
Demystifying Log Video Formats
Log Video Formats vs. Traditional Video Formats
Top 10 Log Video Format Cameras
Color Grading Techniques for Log Video Formats
The Impact of Log Video Formats on Modern Cinematography
Mastering Post-Production Workflows for Log Video Formats
Best Practices for Archiving and Storing Log Video Format Files
Video Editing Related Posts
Adobe Creative Cloud for Video Editing
Top 10 Video Editing Software for Mac
The Benefits of Dual-Monitor Setups for Video Editing
How to Choose the Right Video Editing Monitor for Your Needs
Best Monitors for Video Editing
(Almost) 50 Mistakes Every New Video Producer Makes
Breakthrough AI Tools: Elevate Your Video Production Game!
Find the Best Export Settings for YouTube Videos Now!
Your Guide on Where To Find Video Editor Remote Jobs
Adobe video workflow guides
Video Monitors Related Posts
The Best Monitors Compatible with MacBook Pro
Best Monitors for Video Editing
Understanding Monitor Resolution and Its Impact on Video Editing
Calibrating Your Video Editing Monitor for Optimal Color Accuracy
The Benefits of Dual-Monitor Setups for Video Editing
Future-Proofing Your Video Editing Setup: Choosing a Monitor with Upgrade Potential
Minimizing Eye Strain and Fatigue with the Right Video Editing Monitor
How to Choose the Right Video Editing Monitor for Your Needs
What to Look for in HDR-Capable Video Editing Monitors
The Importance of Color Accuracy in Video Editing Monitors
IPS vs. TN Panels: Which is Better for Video Editing Monitors?
- Quick Answer
- What Log Footage Needs
- Linear, Log, and RAW
- Log Color Grading Workflow
- LUTs vs Color Management
- Software Notes
- Core Techniques
- Common Mistakes
- FAQ
Parent Article:
Log Video Formats Reference Guide
Related Articles:
The Evolution of Log Video Formats
Demystifying Log Video Formats
Log Video Formats vs. Traditional Video Formats
Top 10 Log Video Format Cameras
Color Grading Techniques for Log Video Formats
The Impact of Log Video Formats on Modern Cinematography
Mastering Post-Production Workflows for Log Video Formats
Best Practices for Archiving and Storing Log Video Format Files
Video Editing Related Posts
Adobe Creative Cloud for Video Editing
Top 10 Video Editing Software for Mac
The Benefits of Dual-Monitor Setups for Video Editing
How to Choose the Right Video Editing Monitor for Your Needs
Best Monitors for Video Editing
(Almost) 50 Mistakes Every New Video Producer Makes
Breakthrough AI Tools: Elevate Your Video Production Game!
Find the Best Export Settings for YouTube Videos Now!
Your Guide on Where To Find Video Editor Remote Jobs
Adobe video workflow guides
Video Monitors Related Posts
The Best Monitors Compatible with MacBook Pro
Best Monitors for Video Editing
Understanding Monitor Resolution and Its Impact on Video Editing
Calibrating Your Video Editing Monitor for Optimal Color Accuracy
The Benefits of Dual-Monitor Setups for Video Editing
Future-Proofing Your Video Editing Setup: Choosing a Monitor with Upgrade Potential
Minimizing Eye Strain and Fatigue with the Right Video Editing Monitor
How to Choose the Right Video Editing Monitor for Your Needs
What to Look for in HDR-Capable Video Editing Monitors
The Importance of Color Accuracy in Video Editing Monitors
IPS vs. TN Panels: Which is Better for Video Editing Monitors?