
Waves Abbey Road Chambers combines echo-chamber responses with a tape-delay and feedback system called STEED. You can choose the chamber, speaker and microphone arrangement, then shape what enters the room and how the repeats develop. [1][2]
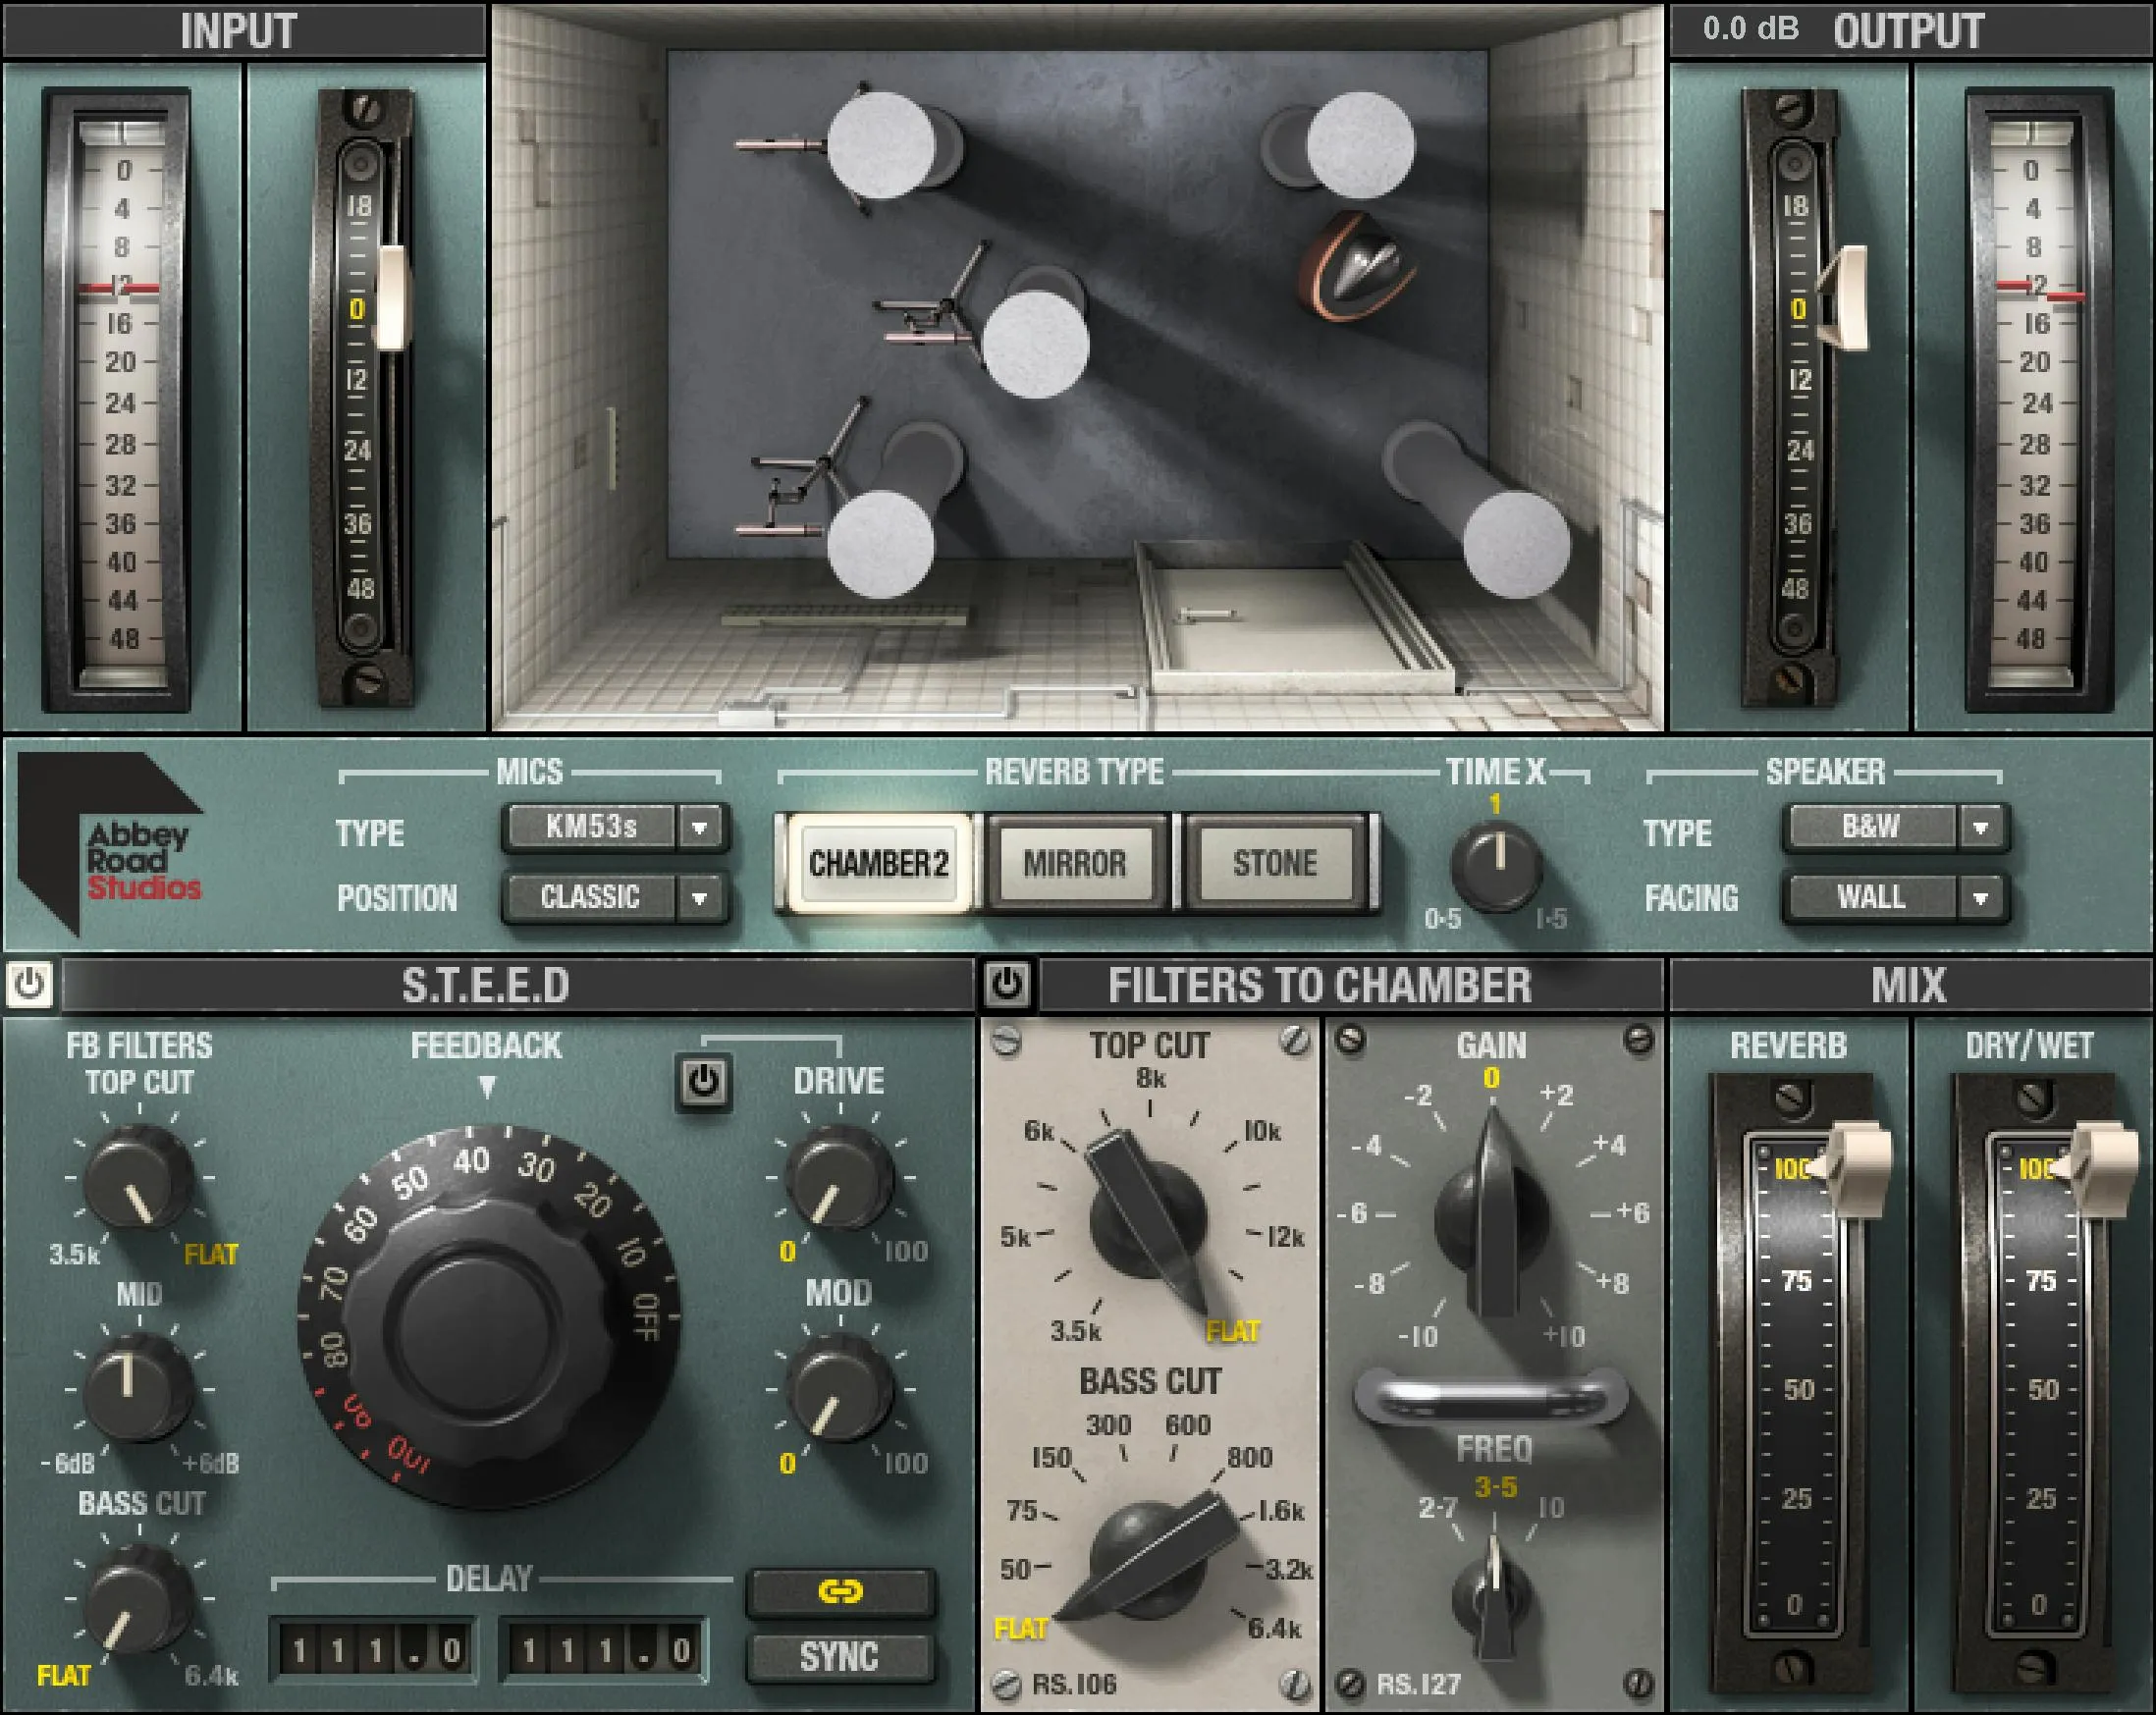
The first distinction to learn is the signal path: the feedback filters change the sound circulating through the delay, while Filters to Chamber shape the signal entering the room.
A second distinction is just as important: Reverb and Dry/Wet are not the same balance control.
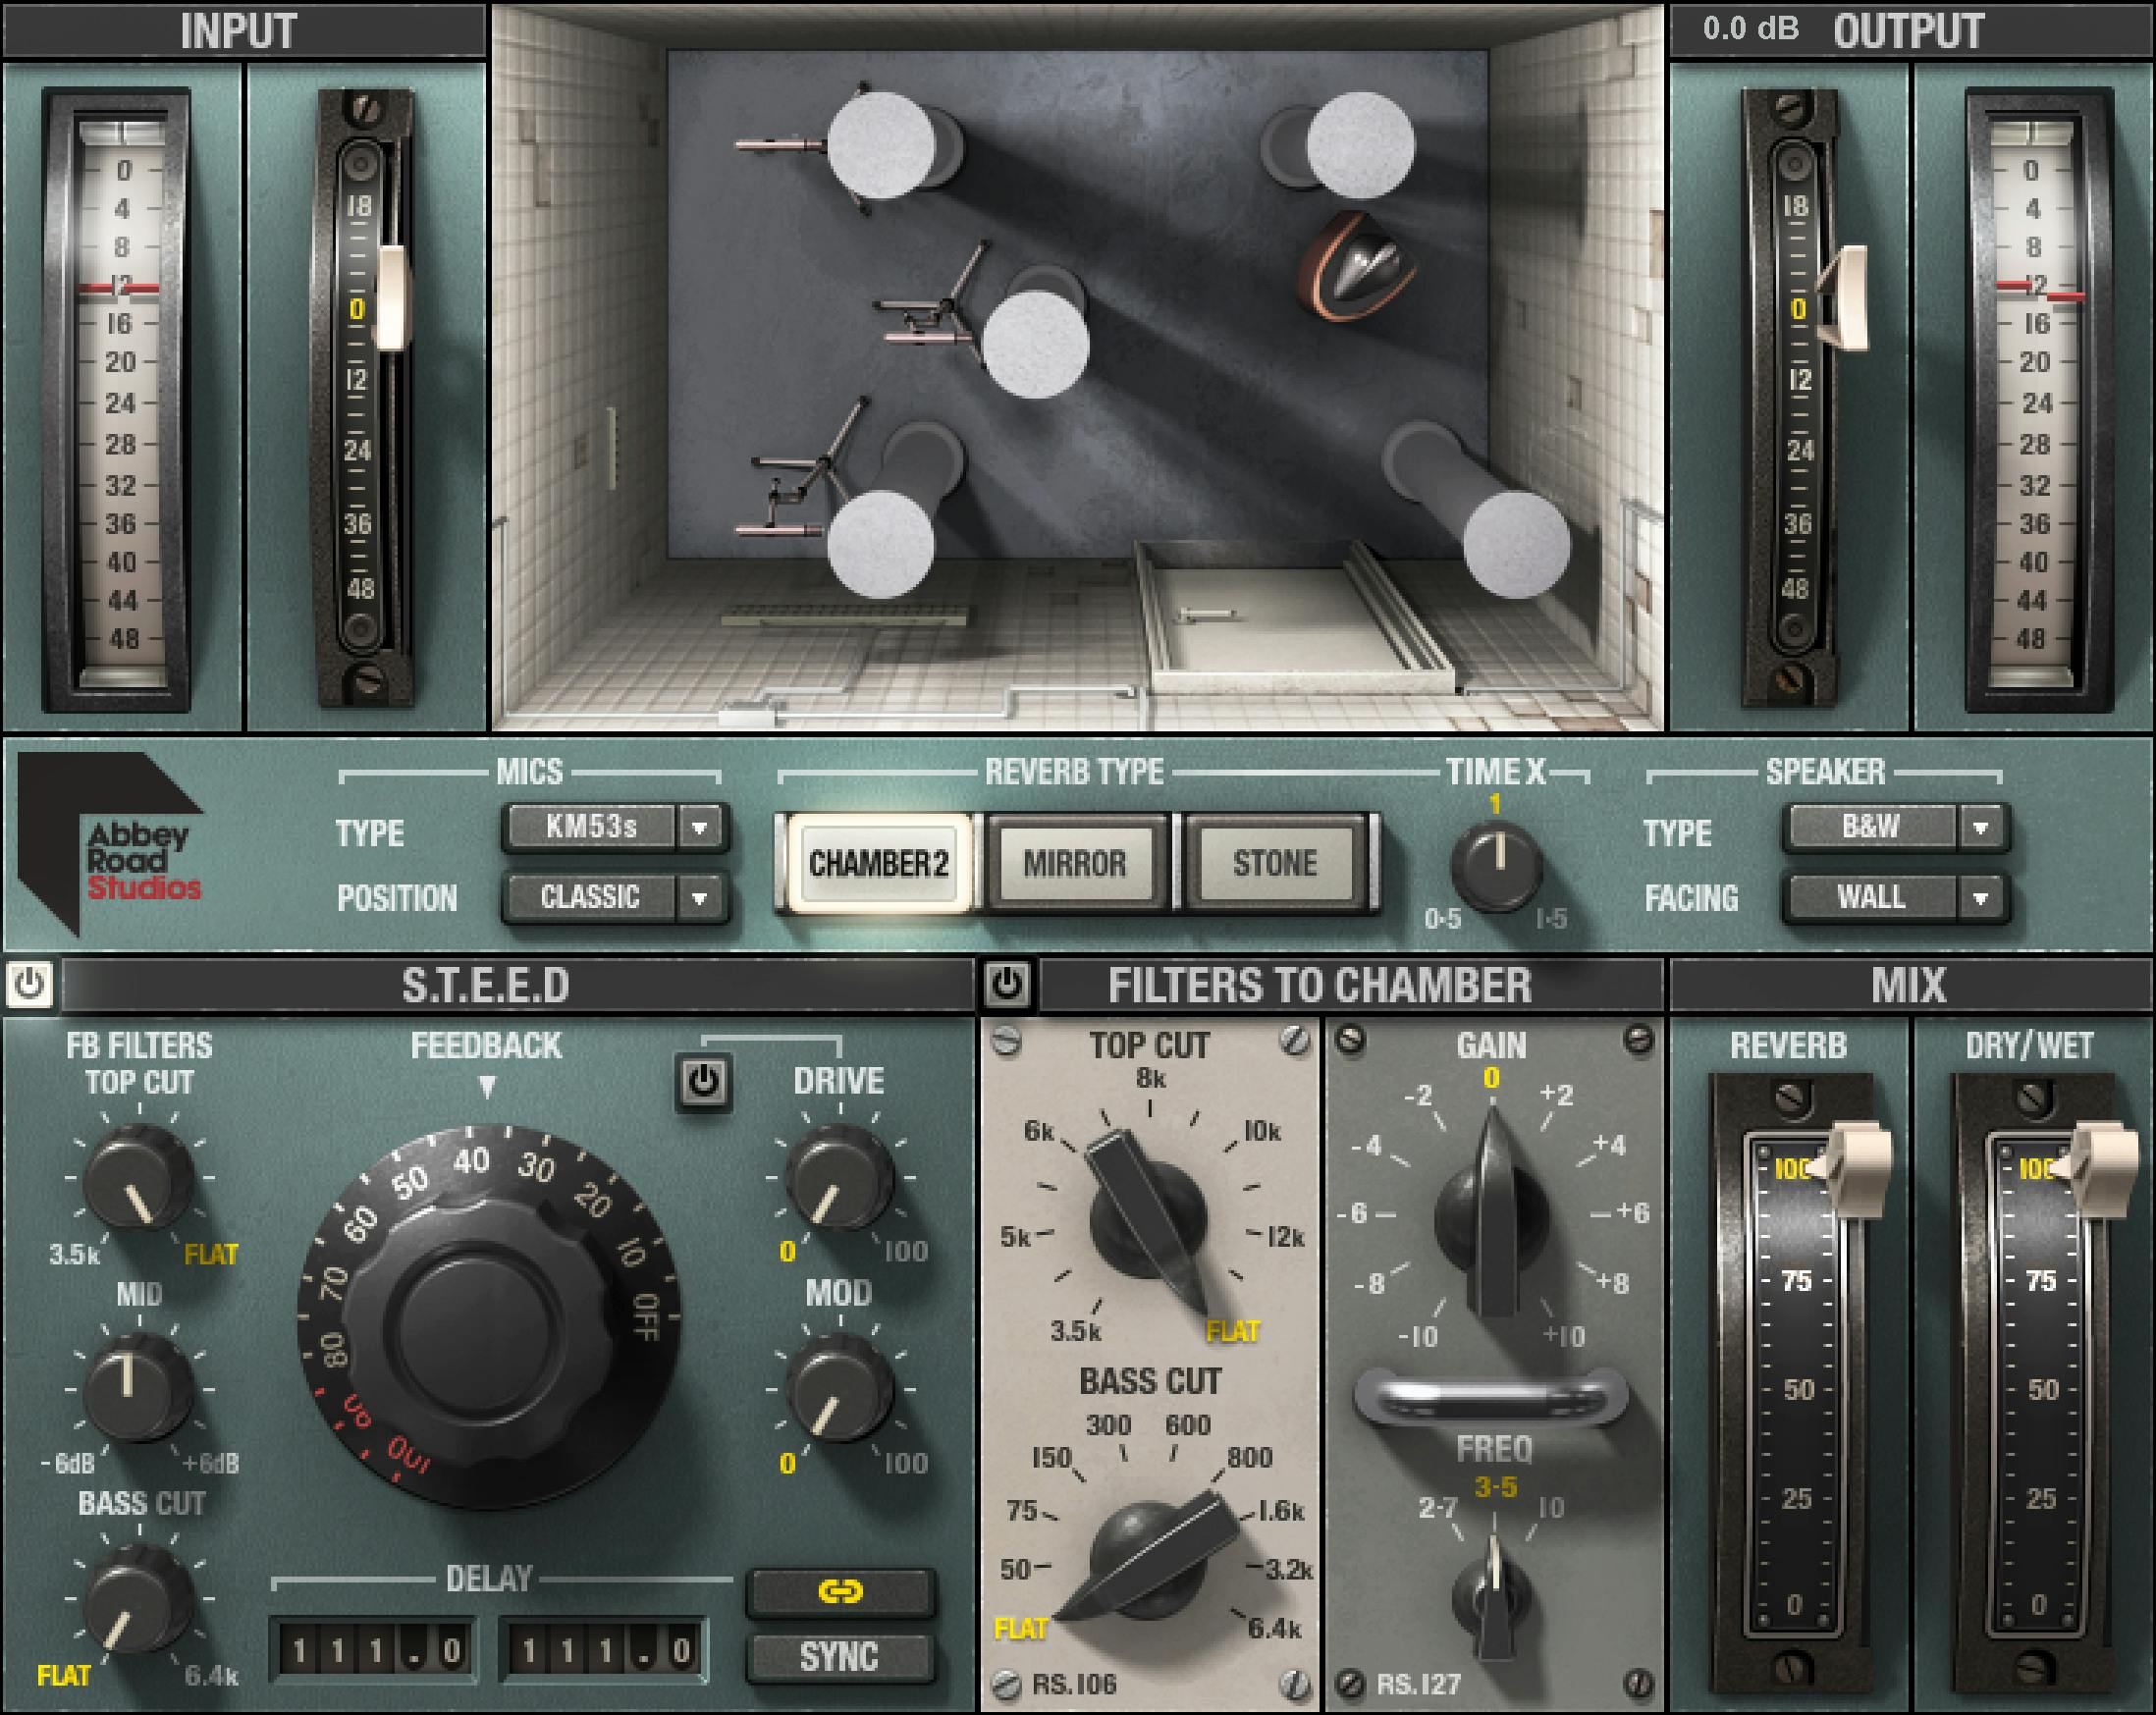
About the imagery: the cover is an editorial illustration. The plugin interface is official Waves product artwork, not a capture of a listening or compliance test.
My Short Version
Start with a room sound you like before adding a complicated delay loop.
Keep feedback modest, shape the input to the chamber, and decide how much of the tape-delay signal should remain alongside the chamber response. Then set the final dry/wet relationship.
Treat the illustrated room as a picture of the selected configuration—not a free-form room-design canvas. This guide explains the published controls; it does not claim a new listening test.
What happens inside the plugin
The input splits into a direct path and an effect path. The effect passes through tape/delay processing, with part returning through a filtered feedback loop and part continuing through Filters to Chamber. The selected chamber response follows, before the final mix. [1, pp.6–7]
The toolbar's Signal Flow button displays that routing. It is an explanation view, not another processing mode.
For a vocal, separate three questions: do you need a sense of space, distinct echoes, or a longer evolving tail? Chambers can combine them, but changing all three at once makes it harder to identify what actually helps the track.
Input, output and section switches
Input changes the level before processing; Output changes the final level. Both run from -48 to +18 dB. Their meters follow the corresponding faders and show up to 0 dBFS. Clicking a red clip indicator clears its held warning. [1, pp.11,17]
Leave headroom before raising feedback or drive. Lowering Output afterward does not reverse a change already made inside the model.
The On switches bypass their respective control sections. Use them to isolate a part of the effect rather than assuming a local bypass removes the whole plugin.
The STEED controls
Feedback
Feedback sets how much signal returns through the tape/delay loop. Its scale runs from Off to 100, with documented default 37.5. The upper end returns the full signal rather than representing a target to reach. [1, p.11]
Repeated trips through a loop can build energy. The guide specifically warns about very high settings, especially above 85. Start lower and do not raise monitoring volume to investigate a growing effect.
A longer-looking tail is not automatically a useful one. Listen after the phrase and in the next musical gap.
Feedback Top Cut
This reduces high-frequency material on repeated trips around the loop. The documented range is Flat to 3.5 kHz, with a 24 dB/octave slope. [1, p.12]
It can keep later repeats from competing with articulation. Compare the first repeat and the later tail separately; loop filtering accumulates over repeated passes.
Feedback Bass Cut
This reduces low-frequency buildup in the loop. Its documented range is Flat to 6.4 kHz, with a 12 dB/octave slope. [1, p.12]
Do not assume it matches the Bass Cut in Filters to Chamber. The two controls occupy different paths and the manual specifies different slopes.
Feedback Mid
Mid is a fixed-frequency bell at 3.5 kHz, with -6 to +6 dB adjustment. [1, p.12]
It colors the repeating material rather than moving a freely chosen EQ band. A small setting can become more apparent after multiple loop passes.
Drive
Drive changes how strongly the STEED tape stage is driven, over 0–100, with zero disabling that contribution. The model compensates its output as described in the manual, but that is not a promise of exact perceived loudness matching. [1, p.12]
The feedback signal encounters this processing again on subsequent passes. Keep the distinction between one stronger first pass and a progressively altered tail.
Modulation
Modulation adds amplitude and frequency variation to the feedback signal. Its scale is 0–100, default Off. [1, p.12]
Use it as a character choice. Movement that suits an effect vocal may be distracting on a natural spoken line.
Delay, Sync and Link
The Delay value sets the interval in the tape/delay path. With Sync off, it uses 0–500 ms. With Sync on, the value follows host-tempo divisions; the documented initial setting is a sixteenth note. [1, p.13]
The value box can be dragged vertically or edited numerically. Switching the display mode preserves the current duration until a value is changed; do not assume that merely pressing Sync necessarily creates a new rhythm.
Stereo Link moves left and right delay values together while keeping an existing offset. It defaults on. A linked adjustment does not prove the two values began equal.
The available synced divisions are recorded in the control audit below; there is no need to reproduce every division as a separate workflow rule.
Filters to Chamber
These filters sit after the feedback section and before the chamber. They control the material exciting the room, not just the tone of a reverb return after it has been created. [1, pp.13–14]
RS106 Top Cut and Bass Cut
Top Cut reduces high frequencies, from Flat to 3.5 kHz. Bass Cut reduces low frequencies, from Flat to 6.4 kHz. Both are documented as 24 dB/octave in this section. [1]
Choose them from what the room is adding. If a tail is cloudy, reducing what feeds that cloud can be more understandable than adding several later corrective stages.
RS127 Frequency and Gain
RS127 provides a gentle bell adjustment with -10 to +10 dB Gain and three frequency positions. The interface labels the three positions 2.7, 3.5 and 10 without units. [1, pp.10,14]
The manual inconsistently prints Hz for the first two positions. Abbey Road's RS127 history identifies those as kHz; the Waves manual identifies the third as 10 kHz. [1, p.14][6]
Use it to color the chamber input deliberately. It does not replace the three independent loop filters.
The chamber, speaker and microphone controls
Reverb Type
The choices are Chamber 2, Mirror and Stone. Each selects a sampled space and its supported configurations. [1, pp.14–15]
Do not expect every room to expose the same microphone and speaker choices. Mirror and Stone disable the separate type selections and use their own Near/Far arrangements.
Speaker Type and Facing
For Chamber 2, Speaker Type selects the Altec or B&W model; Altec is the documented default. Facing selects Room or Wall, default Wall. [1, p.15]
Room directs the speaker toward the interior; Wall directs it toward the wall. Think of this as changing how the space is excited, not moving the dry source around a stereo pan field.
The manual uses inconsistent full B&W model numbers in different sections. The guide therefore uses the actual on-screen B&W label rather than certifying a particular hardware suffix.
Mic Type
Mic Type chooses the KM-53s or Schoeps capture model in Chamber 2. The documented default is KM-53s. [1, p.15]
This changes the chamber capture, not the microphone used to make your original recording. It cannot reconstruct a close-miked source from an already reverberant recording.
Mic Position
Chamber 2 offers Room, Wall and Classic positions. Mirror and Stone instead provide Near and Far. [1, p.16]
Compare position before trying to repair its consequences with extreme EQ. A different balance of direct chamber pickup and reflections may be the more useful choice.
The chamber illustration reflects the selection; the documented controls do not allow arbitrary drag placement anywhere on that picture.
Time X
Time X scales the apparent tail relative to the selected room's natural response, from 0.5 to 1.5, default 1. [1, p.16]
This is a multiplier, not an absolute number of seconds or a direct room-dimension measurement.
The two mix controls
Reverb
Reverb balances the tape-machine output before the chamber against the chamber effect. The range is 0–100%, default 100. [1, p.16]
Reducing it can reveal more of the pre-chamber tape-delay sound. That is not the same thing as adding untouched dry audio.
Dry/Wet
Dry/Wet balances the total effect against the original direct path, also 0–100%, default 100. [1, p.16]
For an auxiliary return, the fully wet setting leaves the dry source in its own track. For an insert, choose the relationship within the plugin.
The manual notes that parallel mixing, filtering and tape modulation can create phase-dependent changes. Judge the blend rather than assuming a smaller wet percentage simply means the same sound made quieter.
Components and toolbar
The product provides mono-to-mono, mono-to-stereo and stereo components. The first uses the centre microphone; mono-to-stereo uses the wider capture arrangement. Stereo processes the two inputs through separate paths before summing to stereo. [1, pp.8–9]
The shared toolbar provides About, Undo/Redo, preset load/save, Previous/Next, Setup A/B, Copy A/B, sizing and help. Chambers additionally provides its Signal Flow view. The newer preset browser adds search, Factory/User/Favorite views, favorites, Copy/Paste, Reset to Default and Detach. [3][4]
A/B compares settings inside the effect. Check section bypass states and both mix faders before attributing the difference to a room selection alone.
A focused starting workflow
Choose the chamber and capture arrangement with the loop kept simple. Decide whether the track needs a natural space or an obvious effect.
Set Delay and modest Feedback next. Use the loop filters to shape how repeats evolve, then use Filters to Chamber for the signal entering the room.
Adjust Reverb and Dry/Wet for their separate jobs. Match the final level, listen to the following phrase, and make sure the tail leaves room for it.
These are evaluation suggestions, not a tested preset for Joseph's recordings.
Related plugins
Abbey Road Reverb Plates models mechanical plate reverbs rather than rooms and a STEED loop.
H-Reverb provides a different approach with editable envelopes, filtering and dynamics.
J37 Tape is relevant when tape behavior and echo are the main goal rather than a chamber response.
The Waves resource hub connects these choices with the existing processing and licensing guides.
Bottom line
Shape the loop, the chamber input and the final balance as separate decisions. That makes Chambers easier to control than treating every knob as a different way to add more reverb.
Choose the effect for the space it creates in the mix, not for how many historical options are active.
Sources
Checked September 19, 2026. No new sonic or compatibility test.
- Abbey Road Chambers User Guide, signal flow pp.6–7, components pp.8–9, controls pp.10–17.
- Waves Abbey Road Chambers.
- WaveSystem User Guide.
- Waves preset instructions.
- Waves Graphic Library.
- Abbey Road RS127 history.
Frequently Asked Questions
What does STEED do in Abbey Road Chambers?
STEED puts tape delay and a filtered feedback loop before the selected echo chamber, so repeats can extend or change the chamber tail.
How are Feedback filters different from Filters to Chamber?
Feedback Top Cut, Bass Cut and Mid shape signal that circulates around the delay loop; Filters to Chamber shape signal entering the chamber after that section.
What is the difference between Reverb and Dry/Wet?
Reverb balances the pre-chamber tape-machine signal against the chamber effect; Dry/Wet balances the total effect against the direct input.
Can I choose the same speakers and microphones in every chamber?
No. Chamber 2 offers speaker and microphone type choices. Mirror and Stone disable those type controls and offer Near/Far mic positions.
Does Time X set a reverb length in seconds?
No. Time X scales the selected chamber’s natural response from 0.5 to 1.5; it is not an absolute decay-time control.
Does turning on Sync automatically change the current delay time?
No. Switching between millisecond and tempo-division display preserves the delay duration until you change the setting. Stereo Link moves both values together while keeping any existing offset.

About the Author
Joseph Nilo has been working professionally in all aspects of audio and video production for over twenty years. His day-to-day work finds him working as a video editor, 2D and 3D motion graphics designer, voiceover artist and audio engineer, and colorist for corporate projects and feature films.