
Waves DeEsser reduces excessive high-frequency sounds when its filtered detector crosses a threshold. Its SideChain setting chooses what triggers reduction; its Audio setting chooses whether reduction affects the whole signal or only the high-frequency part. [1][2]
Those are two separate decisions. BandPass detection does not automatically mean that only a narrow band of the audio will be reduced.
This guide explains the published controls and how to evaluate them. It does not report a new listening test or rank the Waves de-essers.
About the imagery: the cover is an AI-generated editorial illustration. The plugin interface is official Waves product artwork, not a capture of a listening test.
My Short Version
Find the troublesome sound with SideChain monitoring, choose the detector filter, then return to Audio monitoring before setting the amount of reduction.
Choose Split or Wideband for the way the result behaves in context. Stop when the sibilance is less distracting—not when all high-frequency activity disappears.
If the voice starts sounding dull or the consonants lose their identity, reconsider the detection and threshold before adding another processor.
What DeEsser does
The input feeds both an audible path and a detection path. The detector filters the signal, measures its energy and creates a gain-reduction instruction from the selected threshold. That instruction is then applied to the audible path according to the Audio mode. [1, p.8]
This is different from leaving a static high-frequency EQ cut in place throughout a recording. It is also different from a broadband noise reducer: the purpose is to react to the selected high-frequency events, not identify every unwanted sound.
For spoken voice, choose a phrase containing several troublesome consonants and ordinary words. One isolated S is not enough to show whether a setting also changes wanted detail elsewhere.
The interface
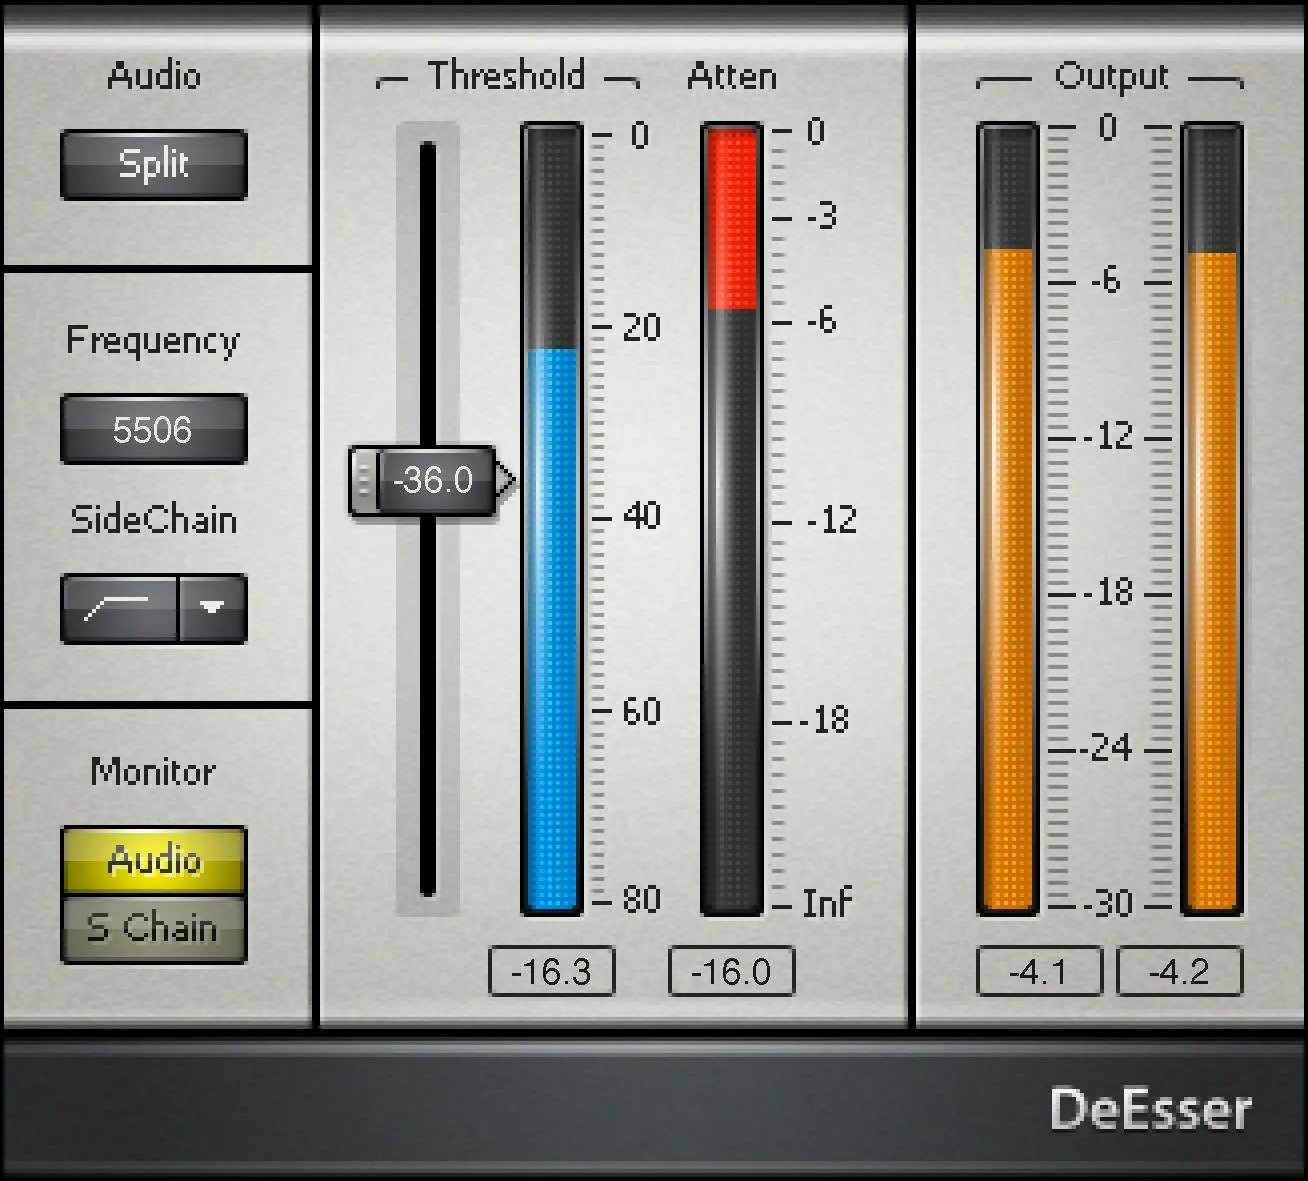
The documented interface contains Audio, Frequency, SideChain, Monitor and Threshold, plus detector-energy, attenuation and output displays. The shared toolbar handles presets and window functions. [1, pp.6–7]
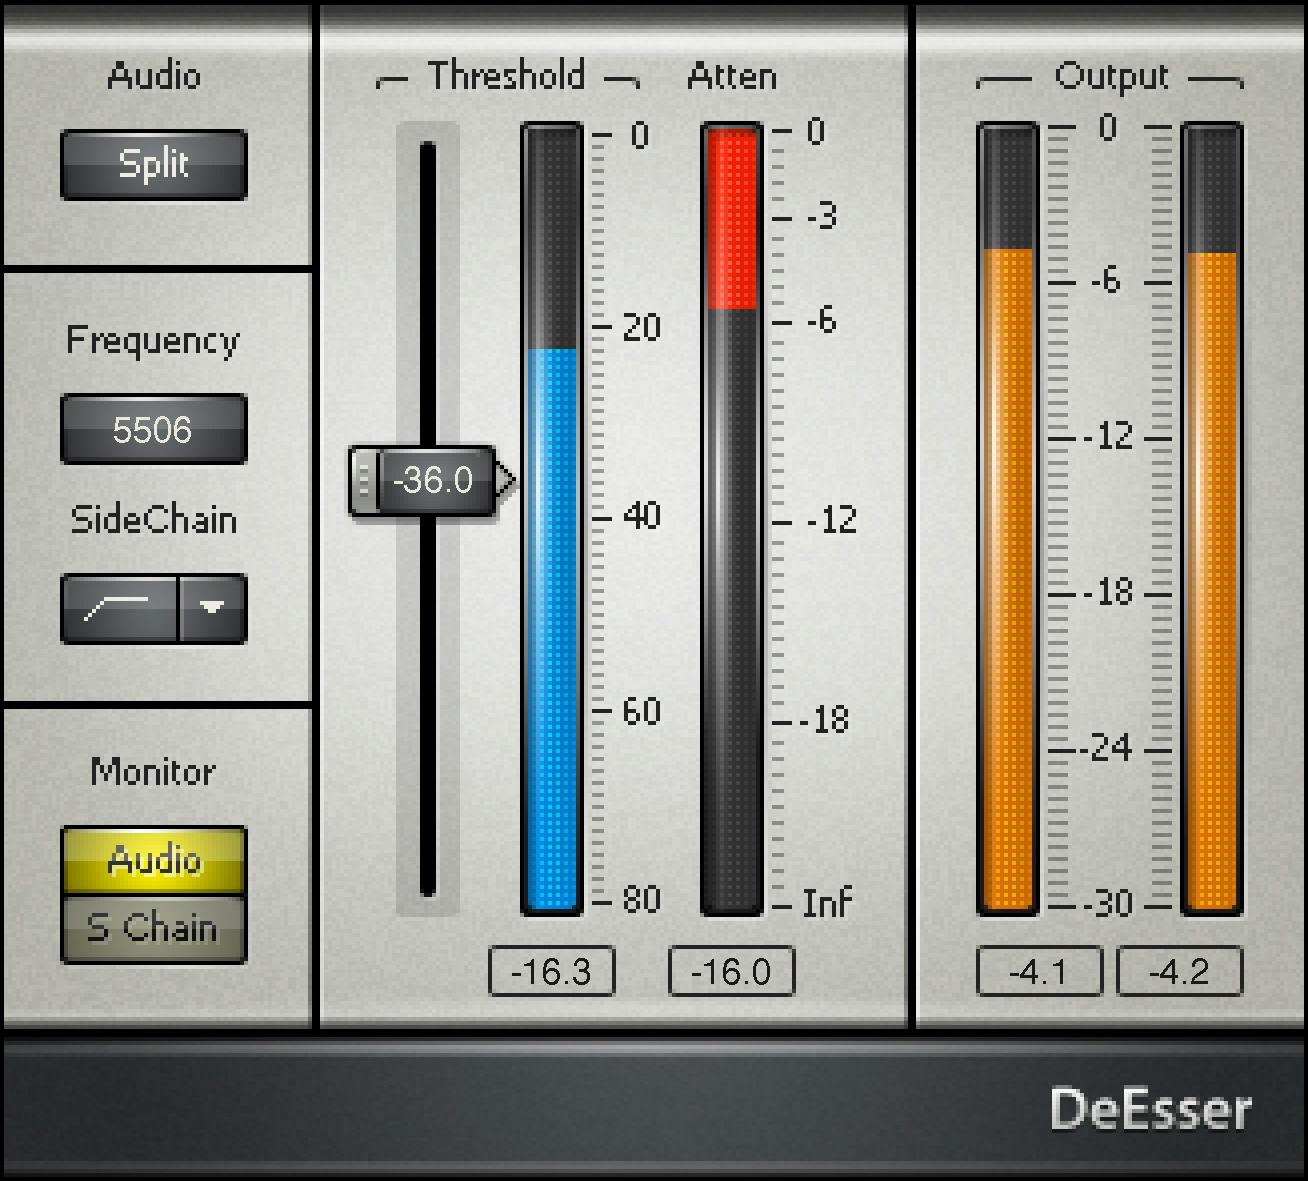
The image shows those controls in context. Its displayed numbers are an example, not a recommended preset or a set of factory defaults.
Every processing control
Thresh / Threshold
Threshold sets the detector level above which attenuation is generated. Lowering it makes the selected high-frequency material trigger more reduction. [1, pp.6,8]
Set it against the troublesome consonants, then replay ordinary vowels and quiet word endings. If it responds throughout the phrase, the detector may be too broad, the threshold too low, or both.
The manual's illustrated threshold scale reaches from 0 toward -80 dB, but its control chapter does not provide a separate, complete range/default specification. The screenshot's -43.6 example is not a universal threshold. [1, p.6]
Freq / Frequency
Frequency positions the SideChain filter. It selects the cutoff for HighPass detection or the centre region for BandPass detection. [1, pp.7–8]
Use SideChain monitoring to find the part of the sound that should trigger processing. Choose the frequency from the recording rather than from a voice-type label in a preset name.
The current guide gives worked frequency examples but does not publish a full endpoint/default table for this control. This article does not turn a preset's example frequency into a mandatory setting.
SideChain: HighPass or BandPass
HighPass detection responds to material above the selected frequency. BandPass detection focuses on a narrower region around it. This filter is in the detector path, not a choice of the audible output filter. [1, pp.7–8]
HighPass can help when several related high-frequency events need attention. BandPass is a more focused way to investigate a particular region. Either can trigger on wanted material, so audition the detector and then judge the complete output.
Do not infer that a narrow detector guarantees a narrow audible cut. That is the separate Audio decision.
Audio: Wideband or Split
Wideband applies the detector's gain reduction to the entire audible signal. Split divides the audio into low and high regions and applies reduction to the high-frequency part. [1, pp.6,8]
Wideband therefore can change the level of the whole voice during an event. Split can retain the lower portion while reducing the upper portion. Neither description establishes a universal winner.
Compare them using the same troublesome passage and a sensible level relationship. On a mixed track, also listen for changes to other high-frequency instruments or details.
Monitor: Audio or SideChain
Monitor lets you audition either the processed audio or the detector signal. The manual describes a lit indicator when SideChain monitoring is active. [1, p.7]
Use the detector audition to position Frequency and choose a filter. Return to Audio before judging the de-essed result or exporting it. The detector feed is a diagnostic signal, not the finished voice.
SideChain monitoring here is not an external-key routing control. This guide does not invent an external sidechain input from the name of the filter section.
Every meter and held value
Energy Detector
This displays the energy in the filtered detection signal relative to digital full scale. It is aligned with the threshold slider to show how the detector level relates to the selected trigger. [1, p.7]
It is not the unfiltered vocal's loudness. That distinction helps explain why changing Frequency can change the meter even before you touch Threshold.
Atten and maximum attenuation
Atten shows the current gain reduction in dB. The manual also describes a held maximum-attenuation value that can be clicked to reset. [1, pp.4,7]
Clear the earlier maximum before comparing a new setting. Then listen for whether the reduction happens at useful moments, not merely whether the maximum number becomes larger.
The control set does not include a separate Range slider limiting maximum attenuation. Do not borrow that feature from Renaissance DeEsser.
Output and peak reset
The output meters run from -30 to 0 dBFS in the documented view. Peak values below them can be clicked to reset. [1, p.7]
They show the result after processing, not integrated LUFS or a complete delivery check. A de-esser also cannot guarantee that later processing or encoding will preserve the same peaks.
What is not adjustable here
The documented DeEsser interface does not expose separate Attack, Release, Ratio, Knee, Mix or output-gain controls. The manual describes its detector compressor as hard-knee, but that does not create a user-facing Knee parameter. [1, pp.6–8]
The illustrated stereo version has two output meters. The guide does not provide a detailed component-by-component control-difference table, so this page does not invent unique mono or stereo parameters. Match the component to the source in the host and use its actual controls.
Presets and shared toolbar
About identifies the plugin. Undo/Redo revisit edits. The preset menu, Previous/Next and Save load or retain settings. Setup A/B compares two setups; Copy A/B gives them the same starting point. Window sizing and help are in the toolbar menu. [3]
The newer preset browser adds search, Factory/User/Favorite views, favorites, Copy/Paste, Reset to Default and Detach. Those are shared settings-management controls, not additional de-essing algorithms. [4]
A preset named for a type of voice is not a measurement of yours. Check the detector frequency and the complete phrase rather than treating the name as a diagnosis.
A practical way to set it
Choose a short but representative section. Turn on SideChain monitoring and adjust Frequency and the filter type so the troublesome sound stands out without an unnecessary amount of the rest of the voice.
Return to Audio. Choose Split or Wideband deliberately, then lower Threshold until the sibilance becomes less distracting.
Compare with bypass. Listen to the full words, especially other consonants near the target sound. If the result becomes dull or lisped, reduce the treatment or refine detection.
Finally restore the rest of the chain and listen in context. A later bright EQ or compression change can alter the balance you just judged.
These are proposed evaluation steps. No setting in this section is presented as a measured optimum for Joseph's voice.
Related plugins
Sibilance is a different Waves approach with its own detection and control scheme. Its guide is a useful next read, not evidence that it wins on every recording.
Renaissance DeEsser adds adaptive-threshold and range-control concepts. The shared names do not make the two products' parameter behavior identical.
F6 is worth understanding when several independently controlled frequency regions are needed rather than one dedicated de-essing setup.
The Waves audio-post hub and voiceover plugin guide connect those choices to the broader chain.
Bottom line
Choose the trigger first, then choose what the trigger reduces. That is the central distinction between SideChain filtering and Split/Wideband processing.
Make the sibilance less distracting while keeping the words intact. More attenuation is not the same as a more natural voice.
Sources
Checked September19,2026; no new listening test.
- Waves DeEsser User Guide, controlspp.6–8, quickstartp.4 and preset notespp.10–11.
- Waves DeEsser product page.
- WaveSystem User Guide.
- Current Waves preset instructions.
- Waves Graphic Library.
Frequently Asked Questions
What is the difference between the SideChain and Audio controls in Waves DeEsser?
SideChain chooses the detector filter: HighPass or BandPass. Audio chooses where the resulting attenuation is applied: the whole signal in Wideband mode or the high-frequency portion in Split mode.
When should I try HighPass versus BandPass detection?
HighPass watches frequencies above the selected point and can respond to several kinds of sibilance. BandPass focuses on a narrower region. Audition the detector because either choice can also react to wanted high-frequency material.
What is the difference between Split and Wideband mode in Waves DeEsser?
Split applies the detector-generated attenuation only to the high-frequency part of the audio path. Wideband applies that attenuation to the entire signal. This choice is separate from the detector's HighPass or BandPass filter.
Is SideChain monitoring the sound that DeEsser removes?
No. It is the filtered signal used by the detector, not a difference signal and not the finished output. Use it to tune Frequency and filter type, then return to Audio monitoring to judge the result.
Does Waves DeEsser have a Range control?
No. The documented interface has Threshold, Frequency, SideChain filter, Audio mode and Monitor controls, but no separate Range, Attack, Release, Ratio, Knee, Mix or output-gain controls.
What is the documented default frequency in Waves DeEsser?
The official manual states a default Frequency of 5506 Hz, with HighPass as the default SideChain filter and Split as the default Audio mode. The current product page describes an adjustable frequency span of 2 kHz to 16 kHz; tune by listening rather than treating the default as a diagnosis.

About the Author
Joseph Nilo has been working professionally in all aspects of audio and video production for over twenty years. His day-to-day work finds him working as a video editor, 2D and 3D motion graphics designer, voiceover artist and audio engineer, and colorist for corporate projects and feature films.