
Waves Renaissance DeEsser reduces excessive high-frequency sounds using a filtered detector, an adaptive Threshold and a separate Range limit. Frequency and Type decide what the detector follows; Mode chooses how reduction affects the audio; Range limits how far that reduction can go. [1][2]
The useful distinction is sensitivity versus depth. You do not need to make the threshold less sensitive just to limit an occasional deep reduction.
This guide explains the public controls and a practical evaluation method. It does not claim a new de-esser comparison.
About the imagery: the cover is an AI-generated editorial illustration. The plugin interface is official Waves product artwork, not a capture of a listening test.
My Short Version
Find the troublesome sound with Side Chain Listen, then return to Audio monitoring. Choose the processing mode, adjust Threshold for appropriate sensitivity, and use Range to keep the maximum change under control.
Threshold at zero is not the same as no processing. The manual describes adaptive behavior; Range at zero is its documented way to allow no attenuation.
Keep the consonants recognizable. A bigger reduction number is not the target.
What makes this different from a static EQ
A static EQ cut stays in place regardless of whether a troublesome consonant is present. Renaissance DeEsser uses filtered signal energy to drive dynamic reduction instead. Its adaptive threshold and limited attenuation range are central to that behavior. [1, pp.2–3]
That makes it a candidate for sibilant speech or vocals. It can also be evaluated for other short high-frequency events, but a whole mix requires care: the detector may respond to instruments as well as a voice.
The task is to identify the event you want to control without continually dulling material that was already useful.
The interface
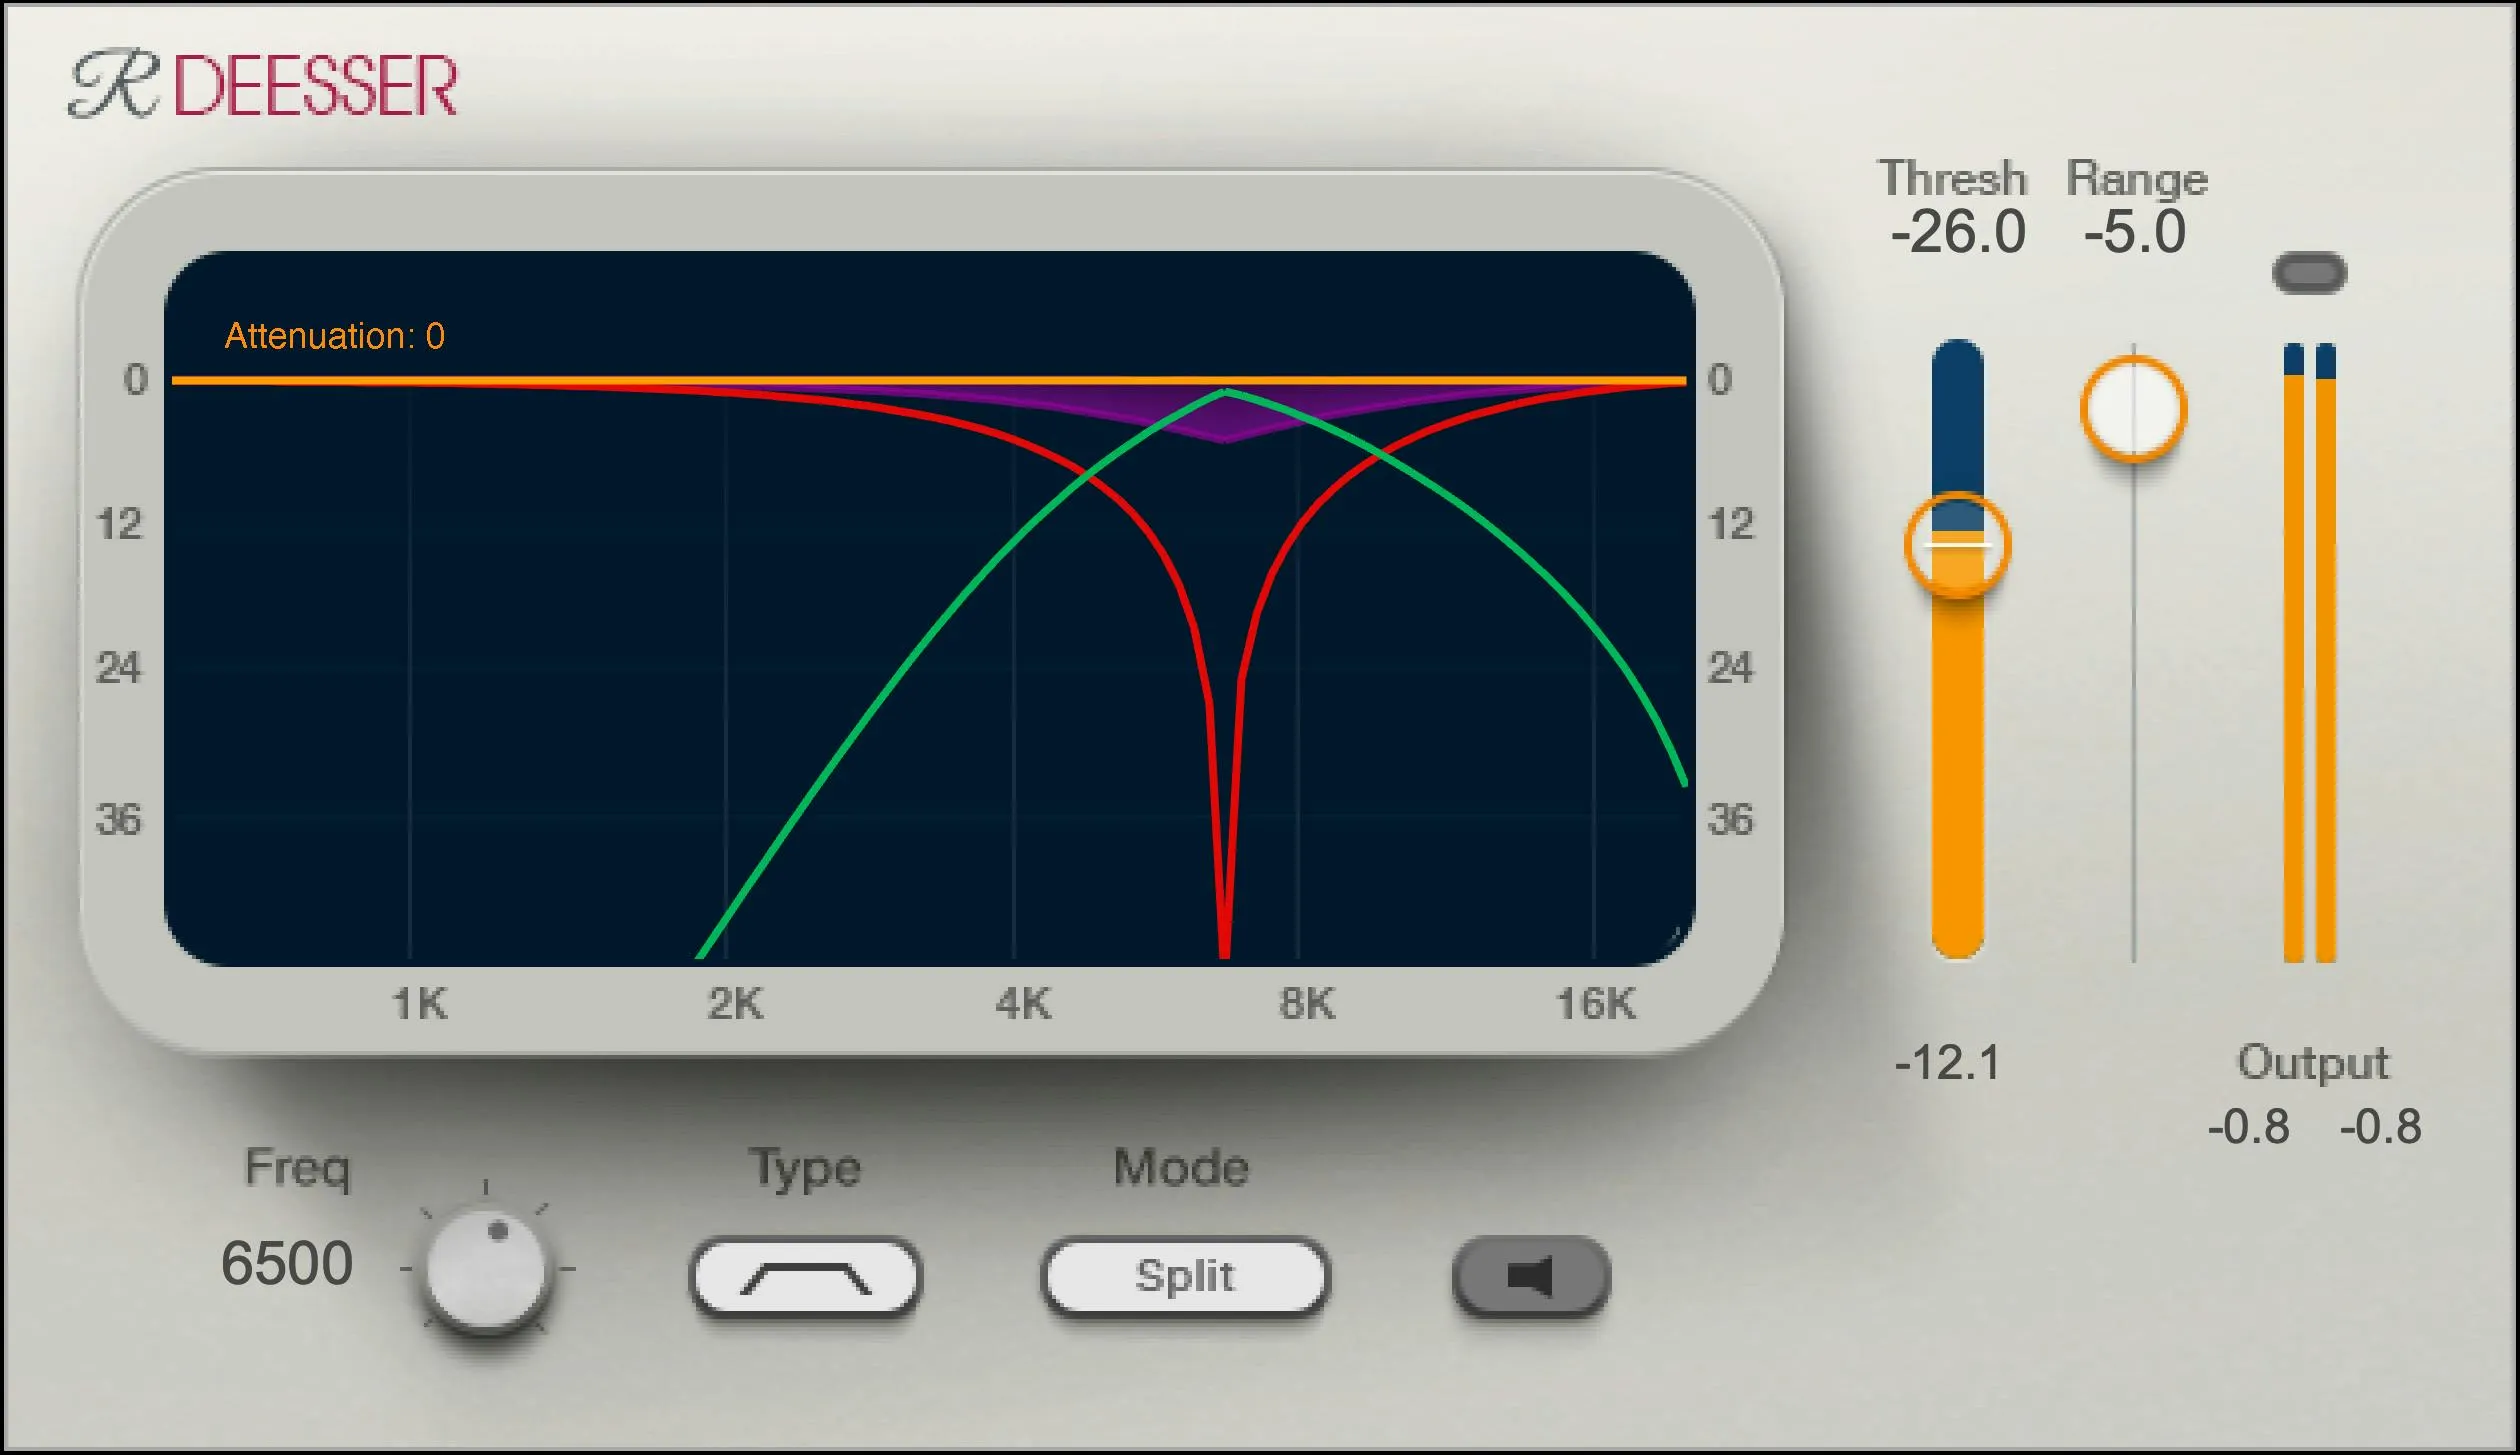
The controls are Freq, Type, Mode, Side Chain Listen, Threshold and Range. A graph explains the selected filter and attenuation behavior, while level displays provide threshold and output context. [1, pp.7–8]
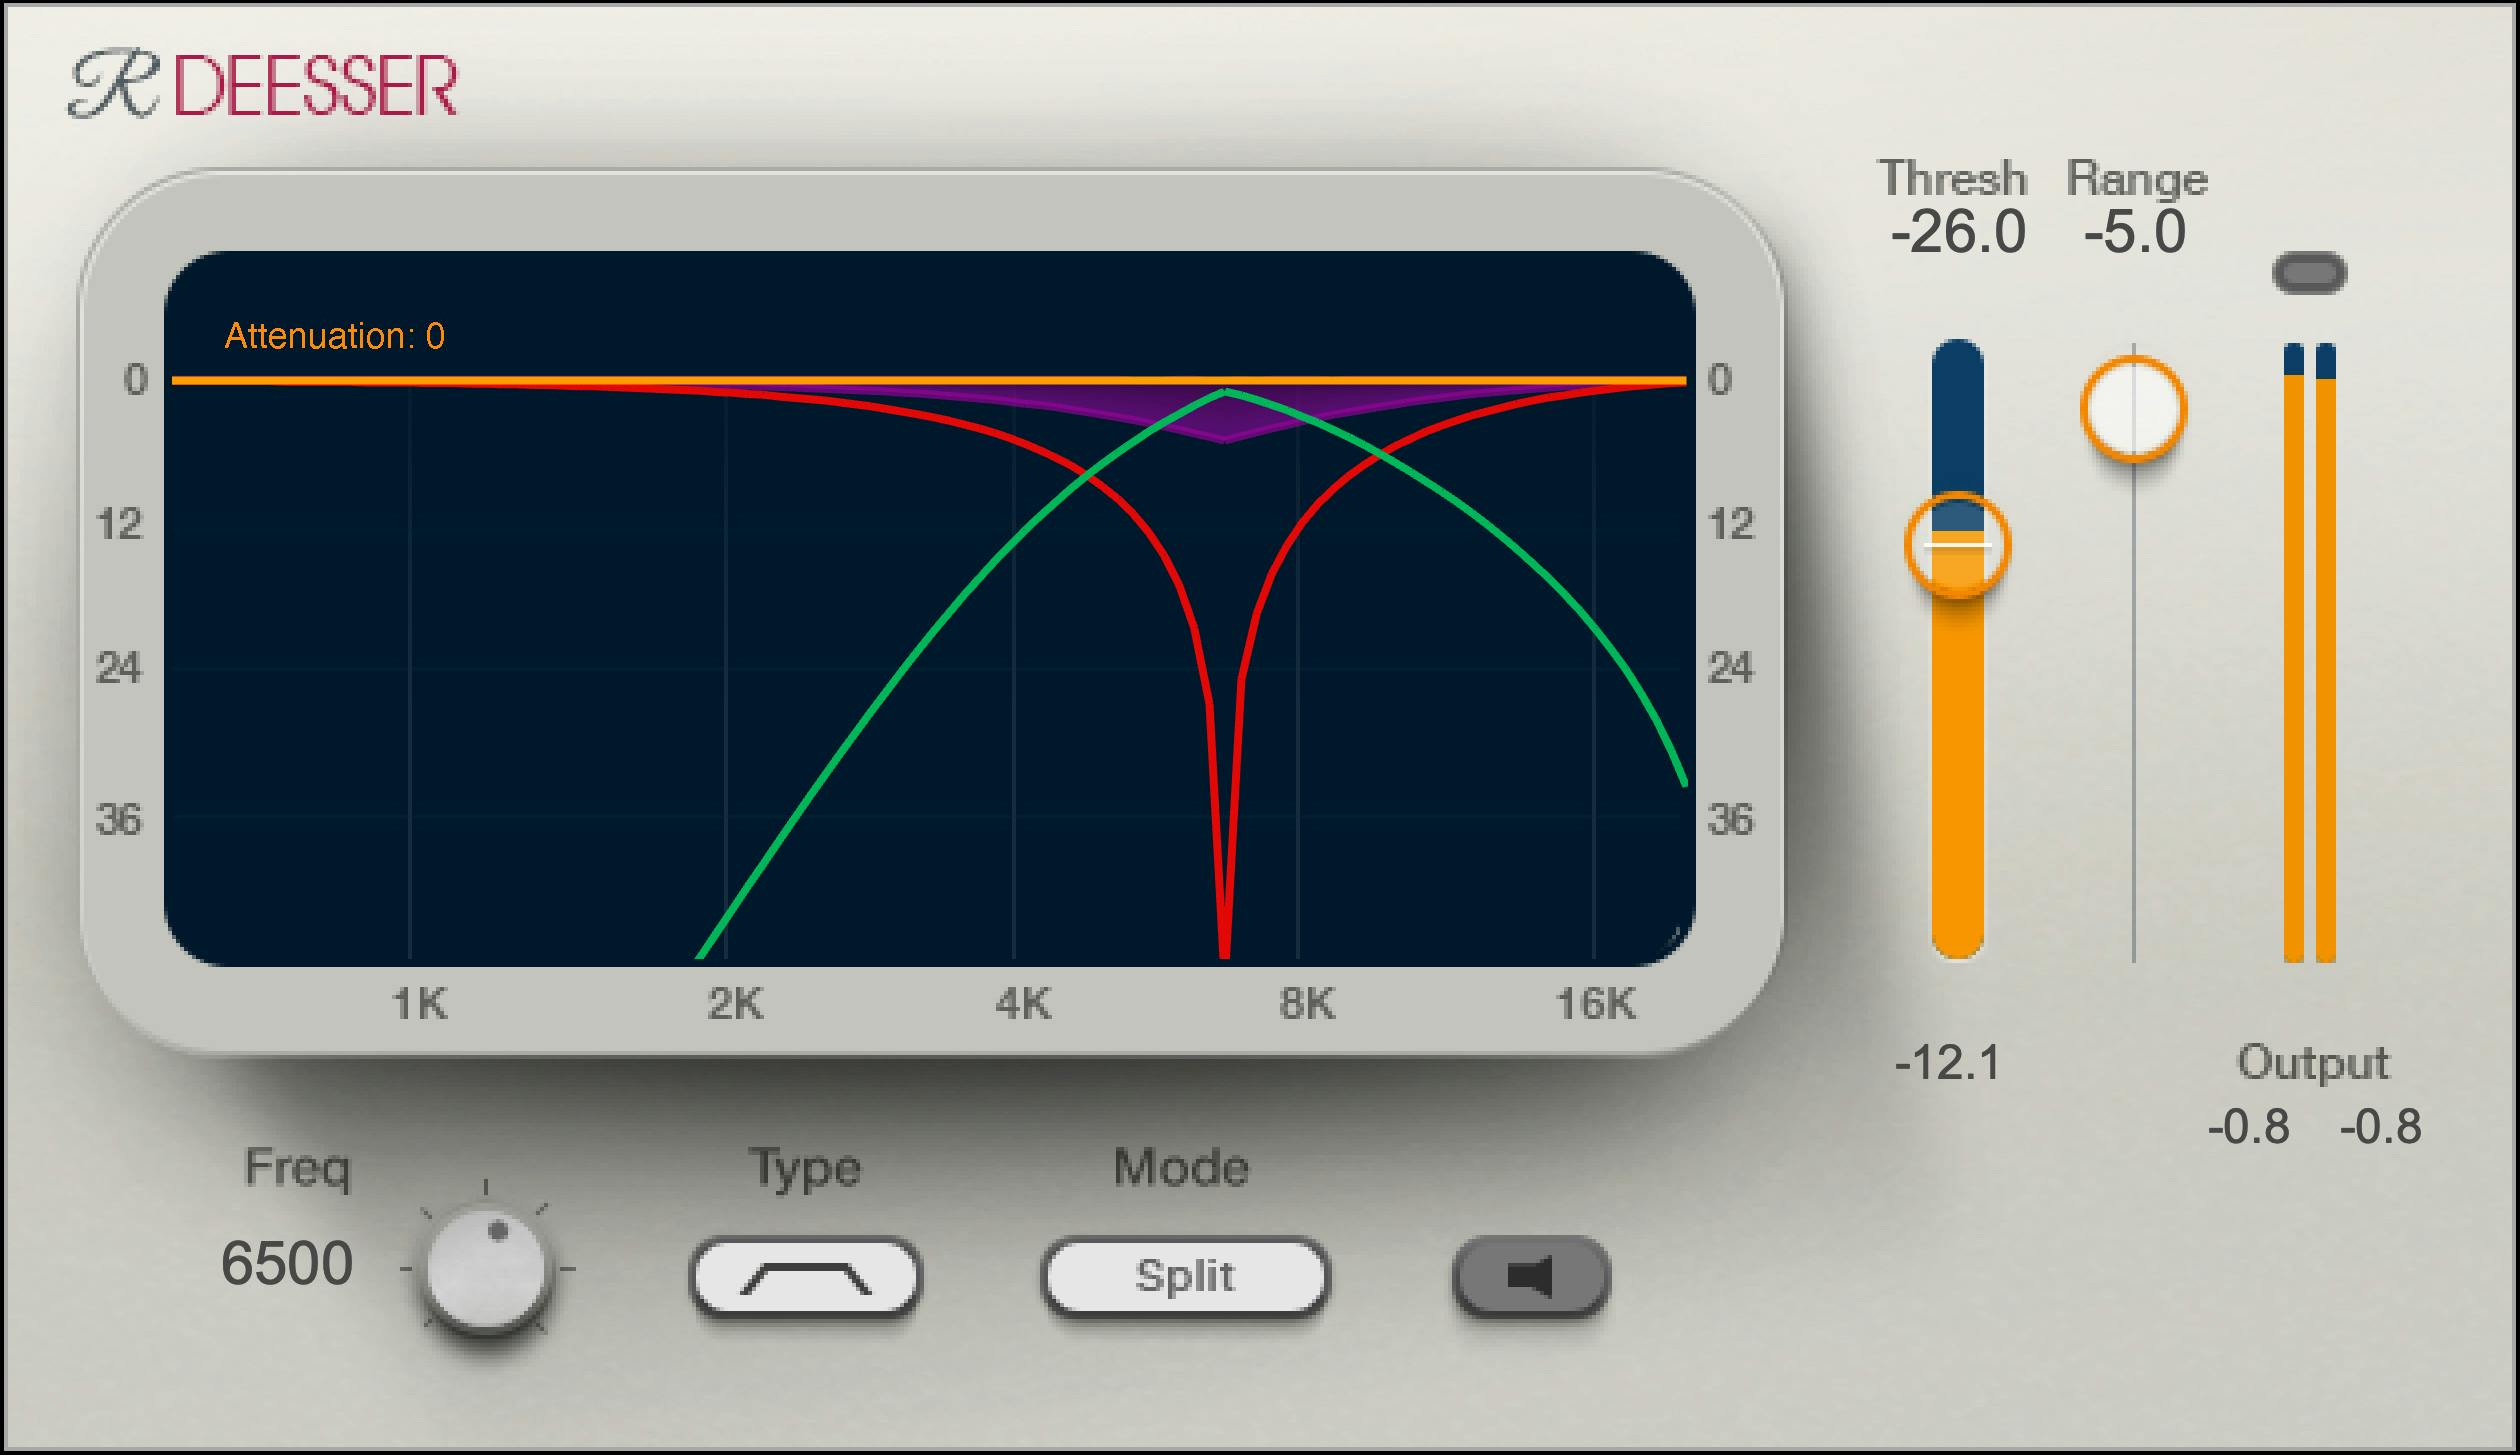
Light, Dark and Legacy skins show the same processing controls. Their appearance differs, but changing skin does not change the parameter values. [1, p.4]
Every processing control
Freq / Frequency
Frequency positions the detector filter. In High Pass mode it sets the roll-off start; in Band Pass mode it sets the centre of the selected region. The documented range is 2–16 kHz. [1, p.9]
Find the relevant region by auditioning it. Do not choose a frequency only because a preset names a particular type of voice.
The manual prints its default as “5506 kHz,” which lies outside its own stated range. This appears to be a unit error, but the verified default is unresolved here. The guide does not silently turn that value into a claimed measured or factory setting.
Type: High Pass or Band Pass
Type chooses the detector's filter shape. High Pass, the documented default, listens above the selected region; Band Pass narrows the detector around it. [1, p.9]
This is a detection choice. It does not, by itself, tell you which part of the audible signal gets attenuated.
Use a more focused detector when that helps isolate the intended event. Then return to the full output and confirm that the resulting gain change remains useful.
Side Chain Listen
This switches monitoring between Audio, the default, and the filtered Sidechain signal. In detector audition, you hear the filter's output rather than the result of the compressor. [1, p.9]
Use it to find the troublesome frequency and check whether too much ordinary voice is entering the detector.
Return to Audio before setting the final amount, evaluating the result or exporting. A detector audition is not the finished voice and should not be mistaken for a “removed sound” monitor.
Mode: Split or Wideband
Mode chooses how the reduction is applied. Split, the documented default, confines the processing to the relevant frequency region. Wideband applies the gain reduction to the whole signal. [1, p.10]
Keep this separate from Type. A Band Pass detector can still trigger a Wideband reduction; changing the trigger is not the same as changing the audible processing region.
Compare modes against the same phrase. Listen for a tonal change as well as a momentary level change, and decide which is less distracting for that particular source.
Threshold
Threshold sets the sensitivity reference for the filtered detector. Its documented range is -80 to 0 dB, with default -40 dB. Lower settings make it easier to reach the permitted attenuation. [1, p.10]
Because the threshold is adaptive, the manual cautions that even a zero setting can permit some reduction. Do not treat zero as a bypass button.
The guide also suggests -22 dB in one example workflow. That is a suggested starting example, not a replacement for the separately stated -40 dB default or a universal value for all speech.
Range
Range limits the maximum gain reduction. It runs from -48 to 0 dB, with default -16 dB. Setting it to zero is the manual's documented way to prevent attenuation. [1, p.10]
This is the depth boundary. Threshold determines how readily the processor responds; Range determines how far that response may go.
For a conservative pass, choose a limited depth and then refine sensitivity. If the voice is still being changed at the wrong moments, do not solve that only by reducing Range—revisit the frequency and detector shape too.
Every display and reset
Graph
The graph plots frequency horizontally and gain vertically. Its lines and shading distinguish the selected detector region, crossover boundary, actual attenuation and maximum permitted attenuation. [1, pp.7–8]
The manual labels the detector/filter trace green, the passive crossover boundary red, the actual attenuation yellow, and the allowed range purple. Colours can look different across skins and artwork; follow the role and shape rather than treating a colour alone as the control.
This is a response/activity display, not a full spectrum analysis of the recording.
Attenuation peak hold
The maximum attenuation is held at the top of the graph. Clicking the graph clears that held reading. [1, p.8]
Reset before evaluating a changed setting so a previous deep reduction does not remain the apparent result of your new choice.
This action resets a display, not Threshold, Range or the filter.
Threshold position and adjacent activity display
The threshold value appears with the threshold fader, alongside the activity display shown in the manual's interface map. [1, pp.6–7]
Use the position to understand the sensitivity you selected. Do not confuse the threshold setting with the maximum attenuation value elsewhere in the graph.
The manual does not provide a separate complete range/reset specification for every intermediate numerical readout in each skin. No extra control is inferred from those numbers.
Output meters, peaks and clip indicator
The output section provides peak meters, held numerical peaks and a red clip indicator. Click within the output meter area to reset the held values. [1, p.11]
Even a processor intended to attenuate deserves an output check. The manual notes that a signal very close to full scale can produce a crossover-related sample over, so “it only turns things down” is not a sufficient delivery test.
These readings are not integrated loudness or a guarantee of the encoded file's true peak. The LUFS and true-peak guide covers that separate stage.
Skins, presets and toolbar
The Skins menu selects Light, Dark or Legacy. The manual says the current instance's skin can become the view for new instances; the processing values remain unchanged. [1, p.4]
The common toolbar provides About, Undo/Redo, preset load/save, Previous/Next, Setup A/B, Copy A/B, sizing and help. The newer browser provides search, Factory/User/Favorite views, favorites, Copy/Paste, Reset to Default and Detach. [3][4]
A/B compares two settings inside the processor, not necessarily against bypass. A preset may also change more than the frequency, so inspect Mode, Type and Range when comparing presets.
The manual does not provide a detailed separate-control roster for every channel component. Use the component appropriate to the source; do not invent additional stereo-analysis controls from another Waves product.
A careful workflow
Start with a representative phrase that includes both the unwanted sibilance and ordinary words.
Use Side Chain Listen to choose Frequency and Type. Return to Audio, choose Mode and set a restrained Range. Then adjust Threshold for useful sensitivity.
Listen for the strongest consonant and the softer ones around it. If the latter lose their character, refine the detector or reduce the treatment rather than judging success from the loudest S alone.
The manual suggests placing the de-esser before EQ and the primary vocal compressor. Treat that as a starting workflow, not a rule that removes the need to recheck after later processing. Brightening or leveling the voice can change the balance you hear. [1, p.5]
Finally compare in context and verify the export. These are suggested steps, not a newly tested preset for Joseph's recordings.
Related plugins
Waves DeEsser explains the basic separation between detector filtering and Wideband/Split audio processing. Its controls do not include the same adaptive Threshold/Range combination.
Sibilance uses another Waves approach with different controls. It should be evaluated on the source rather than declared better solely from its name or age.
F6 is relevant when you need several independently controlled regions rather than a dedicated de-essing interface.
The Waves resource hub and voiceover plugin guide place these tools in a broader workflow without requiring a large chain.
Bottom line
Threshold decides sensitivity; Range sets the depth boundary. Frequency, Type and Mode determine what that relationship follows and changes.
Use those choices to reduce a specific distraction while retaining the speaker or singer's articulation. A larger number of reduced decibels is not the definition of a better result.
Sources
Checked September19,2026. No measured comparison claimed.
- Renaissance DeEsser User Guide, pp.2–11; Frequency default unit inconsistency retained.
- Waves Renaissance DeEsser product page.
- WaveSystem User Guide.
- Current Waves preset instructions.
- Waves Graphic Library.
Frequently Asked Questions
Does setting Renaissance DeEsser Threshold to zero turn processing off?
No. Its threshold is adaptive, and the manual says a zero Threshold can still produce attenuation. Set Range to 0 dB when you need a documented idle setting with no attenuation.
What is the difference between Threshold and Range in Renaissance DeEsser?
Threshold controls detector sensitivity, while Range limits the maximum attenuation. The manual documents Threshold from -80 to 0 dB and Range from -48 to 0 dB.
Is 5506 kHz the default Frequency for Renaissance DeEsser?
The official manual prints 5506 kHz, but that value contradicts the same manual's 2–16 kHz Frequency range. The reviewed official sources do not provide a corrected unit, so the default should be treated as unresolved rather than silently changed.
What is the difference between Type and Mode in Renaissance DeEsser?
Type selects the detector filter, HighPass or BandPass. Mode selects where gain reduction is applied, Split or Wideband. A focused detector does not automatically mean focused audio attenuation.
What are the documented default Threshold and Range settings?
The manual lists -40 dB as the Threshold default and -16 dB as the Range default. Its separate -22 dB Threshold suggestion is a workflow starting point, not the stated factory default.
Can Renaissance DeEsser clip even though it only attenuates?
The manual says clipping is unlikely, but an active crossover can rarely cause a sample overflow when the input is already near full scale. Check the output meters and reset their held peaks when comparing settings.

About the Author
Joseph Nilo has been working professionally in all aspects of audio and video production for over twenty years. His day-to-day work finds him working as a video editor, 2D and 3D motion graphics designer, voiceover artist and audio engineer, and colorist for corporate projects and feature films.