
Waves C4 is a four-band dynamics processor that combines compression or expansion with fixed gain adjustment in each frequency region. Three crossovers divide the signal, and each band has Threshold, Range, Gain, Attack and Release controls. Its moving graph shows the resulting gain shape rather than simply the incoming spectrum. [1][2]
The control that deserves the most attention is Range. C4 does not give each band a conventional Ratio knob. Range, Threshold and Knee shape the dynamic response together. [1]
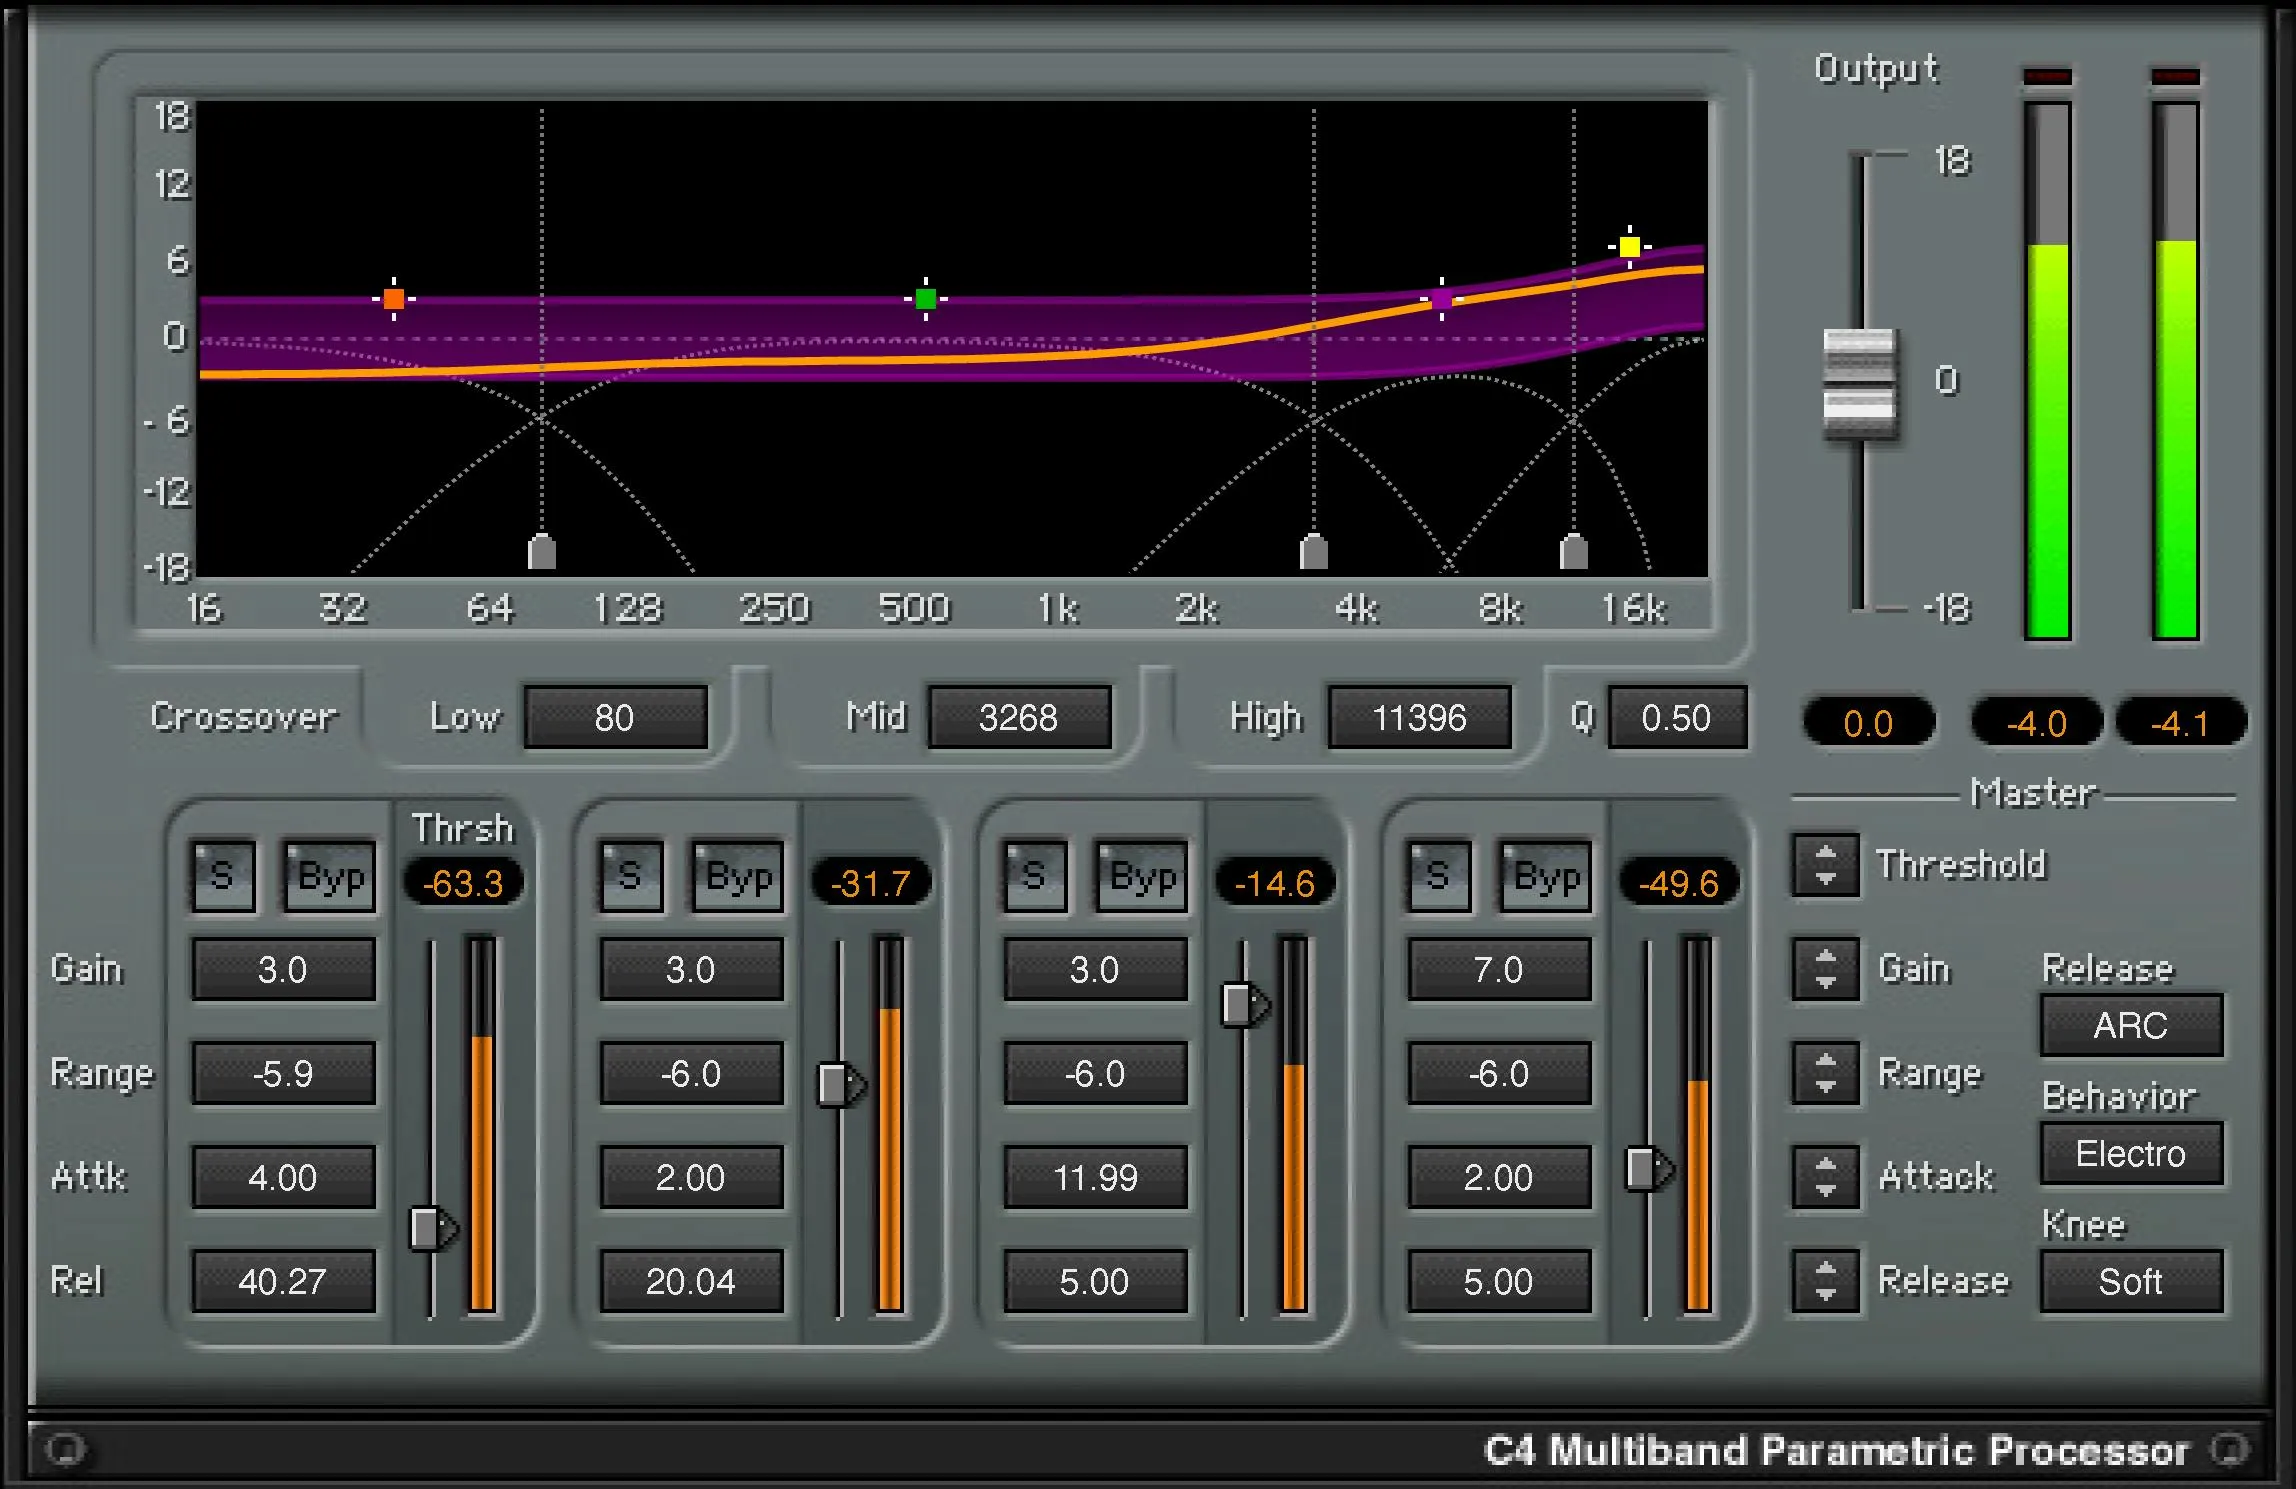
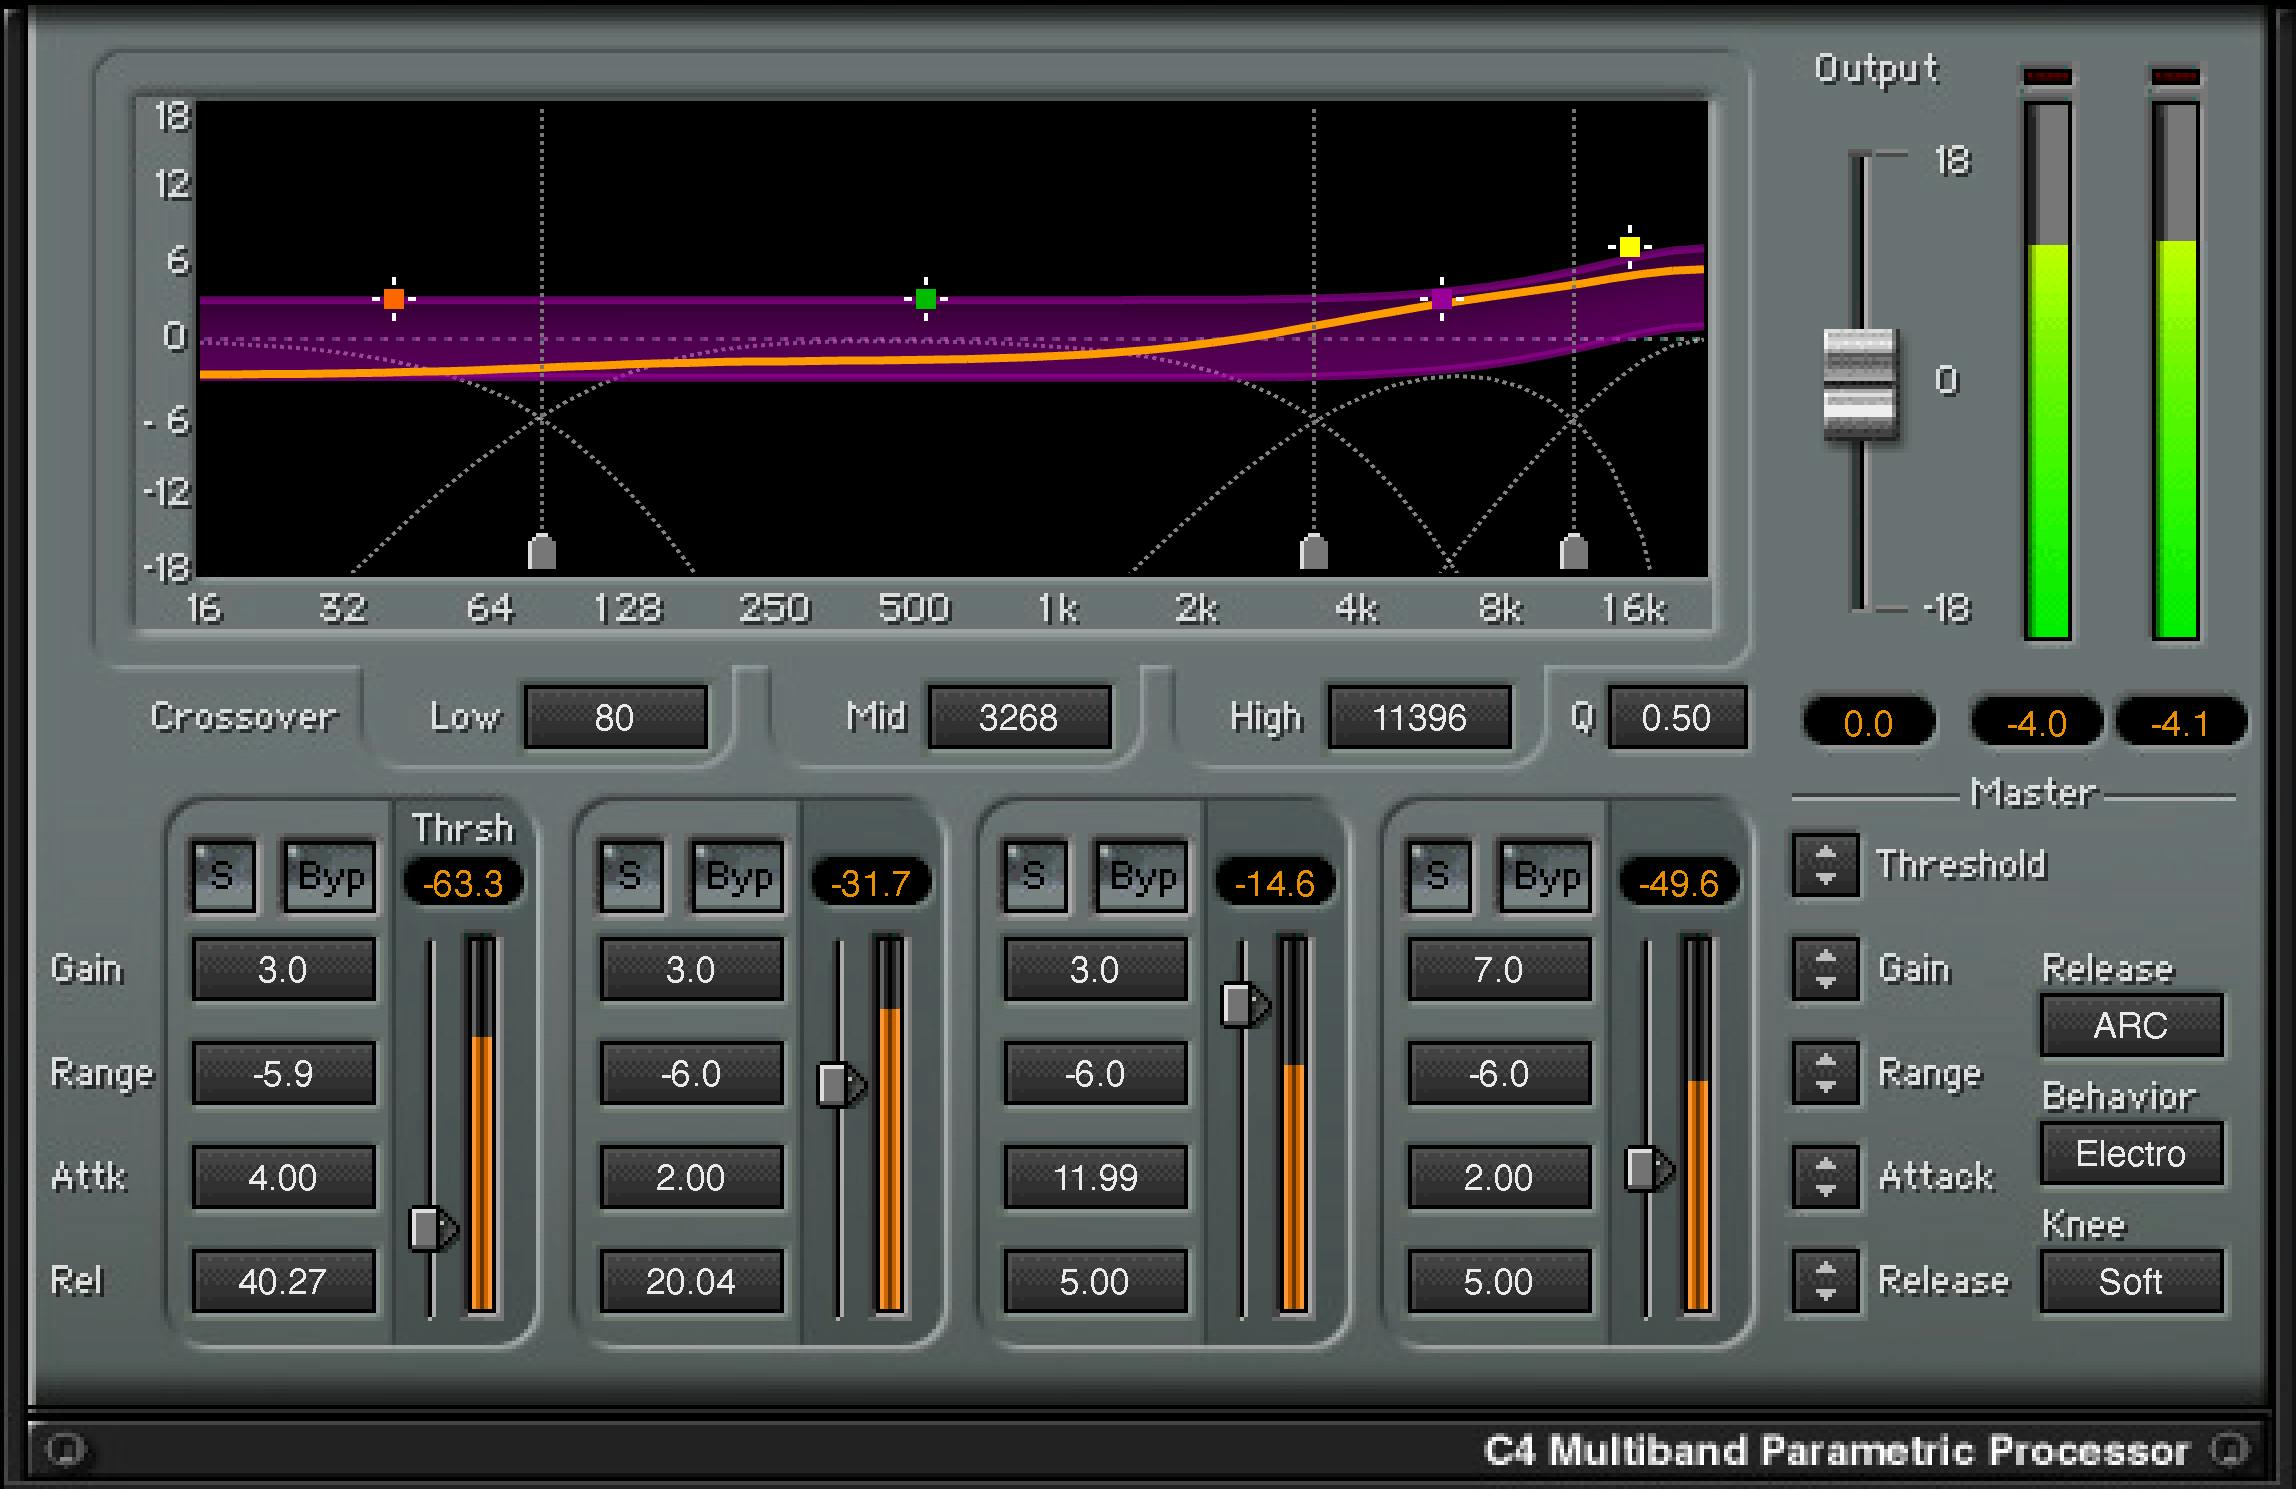
About the imagery: the cover is an AI-generated editorial illustration. The plugin interface is official Waves product artwork, not a capture of a listening test.
My Short Version
Use C4 when different broad frequency regions need different dynamic treatment.
Set the permitted amount of change first. Then adjust Threshold to determine where it happens. Keep the fixed Gain separate in your thinking from the moving gain.
Four active bands are not automatically better than one well-chosen correction. A recording with a single narrow problem may call for a simpler tool or a different band layout.
This is a documentation-led control guide, not a new listening benchmark.
What four bands give you
A full-band compressor applies its gain change to the signal as a whole. C4 instead divides the signal into four crossover regions that can have different dynamics and fixed levels. Waves describes its phase-compensated crossover design and the resulting combination of dynamic and static equalization. [1, pp.3–4]
For a vocal, that might mean evaluating a lower region separately from an occasional bright phrase. For a mix, it might mean asking whether one broad range becomes too prominent only at certain moments.
That is a reason to investigate multiband processing, not proof that a track needs it. If the balance is wrong all the time, a static EQ adjustment may be easier to understand and maintain.
Every per-band control
These seven controls apply to each of the four bands. The graph offers shortcuts to several of the same parameters; it is not a separate set of processing stages.
Threshold
Threshold locates the level around which a band's dynamic gain changes. In C4's description, it is the midpoint of the selected Range, not simply a hard boundary below which nothing can happen. [1, pp.6,13]
For example, a negative Range of 8 dB corresponds to about half that reduction at the threshold in the manual's explanation. This is a description of the processor's law, not a measured result on a particular recording.
The triangle beside the band-energy meter, its numerical box and the associated drag interaction adjust the same setting. Choose it from the energy in that band, not from a threshold copied from a full-band compressor.
Range
Range limits the dynamic gain change. A negative value allows downward gain movement; a positive value allows upward movement. Range at zero removes the dynamic action while retaining the band's Gain setting. [1, pp.5,14]
Range is especially useful as a boundary on a correction. You can decide that a band should never move very far, then adjust Threshold to determine how readily that movement occurs.
The manual uses negative 6 dB as an example of a maximum 6 dB downward change. It does not establish that value as a recommended setting for every voice.
There is no independent Ratio control hiding behind the Range value. The resulting shape also depends on Threshold and Knee.
Gain
Gain is the band's fixed level offset. With dynamics inactive, it works as a tonal boost or cut. With dynamics active, the moving gain acts relative to that fixed offset. [1, pp.5,13–14]
This explains why a band can look as if it is moving downward while the net result is still above unity. Read the fixed Gain and dynamic Range together.
A practical comparison should separate “the voice is brighter” from “the bright moments are better controlled.” A fixed boost can change the first even when the dynamics did not improve the second.
Attack
Attack controls how quickly a band begins changing gain in response to the signal. [1, p.14]
Choose it against the onset you want to retain. A fast low-band change and a fast high-band change do not necessarily produce the same audible consequence.
The current guide describes timing with examples but does not supply a complete per-band endpoint/default table. This article does not import the C6 numerical limits and present them as independently verified C4 limits.
Release
Release controls recovery, with its behavior also affected by the global Manual/ARC and Electro/Opto choices. [1, pp.15–17]
Listen to the material after the event that triggered the band. A setting that reduces one strong syllable can also affect the next quiet syllable if the recovery lasts too long.
The guide's timing examples are examples, not proof that one short release value suits every recording. Exact endpoints and defaults not stated in the guide remain unspecified here.
Solo
Solo lets you hear the selected band after processing. More than one band can be soloed, and the display reflects the selected combination. [1, p.12]
Use this to understand what a region contains, then return to the complete signal. A soloed band is not intended to sound like a finished mix by itself.
Bypass
Band Bypass returns that region to unity gain and removes its dynamics. It also ignores the band's fixed Gain. [1, p.12]
To keep the static tonal adjustment while removing only dynamic movement, use Range at zero instead.
Band Bypass, Range zero and full-plugin bypass answer different questions. Select the comparison that matches the change you are judging.
Crossovers, Q and graph handles
Three crossover points
The crossover markers and numerical fields place the three boundaries between the four bands. Moving a boundary changes the adjoining regions together. [1, p.10]
Choose them around the job. If a band is too broad, it may process wanted material along with the problem. If a crossover moves, revisit the affected band's threshold because the energy it receives has changed.
The manual does not publish a complete minimum/maximum table for each crossover. Do not treat an example preset's three frequencies as fixed divisions you must use.
Q
C4's shared Q changes the slope of all crossover filters. Its range is 0.10–0.75, with 0.6 described as the default. The guide associates higher settings with sharper separation and lower settings with gentler overlap. [1, p.11]
This is not an independent parametric-bell Q for each band. It changes the four-band split as a system.
Sharper is not automatically more useful. Decide whether the task benefits from greater separation before changing it.
Band-centre markers
Dragging a band marker horizontally changes its frequency region through the associated crossover. Dragging vertically changes Gain. Holding Option/Alt while dragging vertically changes Range. The guide also documents a Mac Command-drag constraint for locking the first direction moved. [1, p.11]
These are shortcuts to the existing controls. Check the numerical fields after a drag so an accidental frequency move does not become part of an otherwise simple gain comparison.
Master controls
Master Threshold
This moves the four thresholds together while retaining their relative values. Use it to change overall sensitivity after the band relationships are established. [1, p.16]
If only one band needs help, adjust that band instead of moving all four.
Master Gain
Master Gain moves the four fixed band gains together. It can help establish a useful overall level relationship for a bypass comparison. [1, p.16]
It is a collective band-gain adjustment, not an instruction to redo the tonal balance from scratch.
Master Range
Master Range moves the bands' allowed dynamic ranges together. [1, p.16]
Be careful when bands have different jobs. A shared adjustment can change an expansion setup as well as a compression setup.
Master Attack and Master Release
These move the corresponding timing controls across all four bands. [1, p.16]
Use them for modest overall adjustments. Individual timing still deserves attention when the bands contain very different material.
Release mode: Manual or ARC
Manual uses the chosen release values as fixed settings. ARC adapts recovery to the programme, with each band's Release serving as a reference. The Behavior choice still matters. [1, p.17]
ARC is not a promise that every setting becomes transparent. Compare the actual recovery rather than judging the feature name.
Behavior: Opto or Electro
Opto slows the last part of recovery as gain reduction approaches zero. Electro follows a different shape, recovering more quickly near zero and more slowly at greater reduction. [1, p.17]
This is a response choice, not a hardware authenticity test. Choose the behavior that makes the intended dynamic movement less distracting or more useful in context.
Knee
Knee changes the softness of the transition into dynamic processing across all four bands. Higher settings produce a harder transition in the manual's description. Knee and Range interact with the effective compression behavior. [1, p.18]
There is no need to make the knee harder merely because more control is available. The current guide does not provide a complete numerical endpoint/default specification, so this explanation does not invent one.
Output and visual feedback
The final Output gain fader runs from -18 to +18 dB. It changes the combined output, separate from the master adjustments to the individual bands. [1, p.18]
The DynamicLine graph combines the fixed gain shape and real-time dynamic movement. Shading shows the permitted Range, while band-level meters provide context for Threshold. It is not an FFT spectrum analysis of the input. [1, pp.8–10,13]
Read the output meters for the resulting level, not as a loudness-compliance report. The current guide does not establish a unique C4 peak-hold/reset interaction in its output-fader description; this page does not invent one from another plugin's interface.
Why positive Range is not the whole story
Gain and Range can be combined for low-level processing as well as ordinary peak reduction. The manual explains that the fixed Gain dominates well below the threshold while Range offsets it at higher levels. [1, pp.19–23]
Consider the relationship rather than copying an extreme preset. A positive fixed Gain with an opposing negative Range can lift quieter material while bringing the stronger material toward unity. A negative fixed Gain with an opposing positive Range can reduce quieter material instead.
Those are conceptual gain relationships, not new measurements or a recommendation to gate every band of a voice. If that is not your intended task, keep the gain structure simpler.
Common toolbar and presets
The WaveSystem toolbar contains About, Undo/Redo, preset loading/saving, Previous/Next, Setup A/B, Copy A/B, sizing and help. Current preset browsing also includes search, Factory/User/Favorite views, favorites, Copy/Paste, Reset to Default and Detach. [3][4]
The C4 manual's preset section illustrates several processing goals. Treat those as examples of how the controls relate, not as a guarantee that the preset name matches your recording.
Do not confuse C4 with C6's SideChain components. This guide does not assign C6's external-key controls, floating bands or component defaults to C4.
A practical first pass
Name one problem: perhaps a broad region becomes too prominent only on certain notes or phrases.
Select the region, allow a modest Range, and adjust Threshold until the band responds to those moments. Set Attack and Release while listening to the onset and the material that follows.
Return from Solo, establish a fair level comparison, and listen in context. Add a second band only for another clear task.
For a source that needs a steady tonal change rather than moving gain, compare a static EQ. For a narrow resonance, compare a more independently positioned band design. These are decision methods, not evidence that one product always wins.
Related plugins
C6 adds two floating bands to the four-region concept and offers separate SideChain components.
F6 provides a different dynamic-EQ layout when independently chosen frequency bands are useful.
RComp is the simpler full-band reference when the voice needs overall dynamic control rather than separate frequency treatment.
The Waves resource hub links these explanations with practical cleanup and licensing guides.
Bottom line
Learn the relationship between Gain, Range and Threshold before chasing the moving curve. Those controls explain whether C4 is making a fixed tonal change, a dynamic correction, or both.
Use only the bands that solve a defined problem. More movement on the graph is not a measure of a better mix.
Sources
Current sources checked September19,2026. No new listening or compatibility test.
- Waves C4 User Guide, controlspp.8–18 and gain-structurepp.19–23; later preset/examples sections are illustrative, not measured findings.
- Waves C4 product page.
- WaveSystem User Guide.
- Waves preset instructions.
- Graphic Library.
Frequently Asked Questions
How is Waves C4 different from Waves C6?
C4 divides the signal into four crossover-linked bands. C6 adds two independently positioned floating bands and separate SideChain components; those C6 features should not be assumed to exist in C4.
Why does C4 use Range instead of a Ratio control?
Range sets the maximum dynamic gain change, while Threshold locates the center of that change and Knee affects the transition shape. The effective compression or expansion behavior comes from that relationship rather than from a separate Ratio knob.
What is the difference between Range at zero and Bypass in C4?
Range at zero stops dynamic movement but retains the band's fixed Gain, so the band can still act as a static tonal adjustment. Bypass returns the entire band to unity with no dynamics and ignores its Gain value.
Does C4 have a separate Q setting for every band?
No. The shared Q control changes the slopes of all three crossover filters together. The documented range is 0.10 to 0.75, and the manual identifies 0.6 as the default.
What is the difference between Manual and ARC release in C4?
Manual uses each band's selected Release as a fixed value. ARC continually adapts the actual release time, using the selected value as a reference; the Electro or Opto Behavior choice still affects recovery.
Is the C4 DynamicLine a spectrum analyzer?
No. It displays the fixed gain shape, permitted dynamic Range and real-time gain movement. It should not be read as an FFT view of the incoming signal.

About the Author
Joseph Nilo has been working professionally in all aspects of audio and video production for over twenty years. His day-to-day work finds him working as a video editor, 2D and 3D motion graphics designer, voiceover artist and audio engineer, and colorist for corporate projects and feature films.