
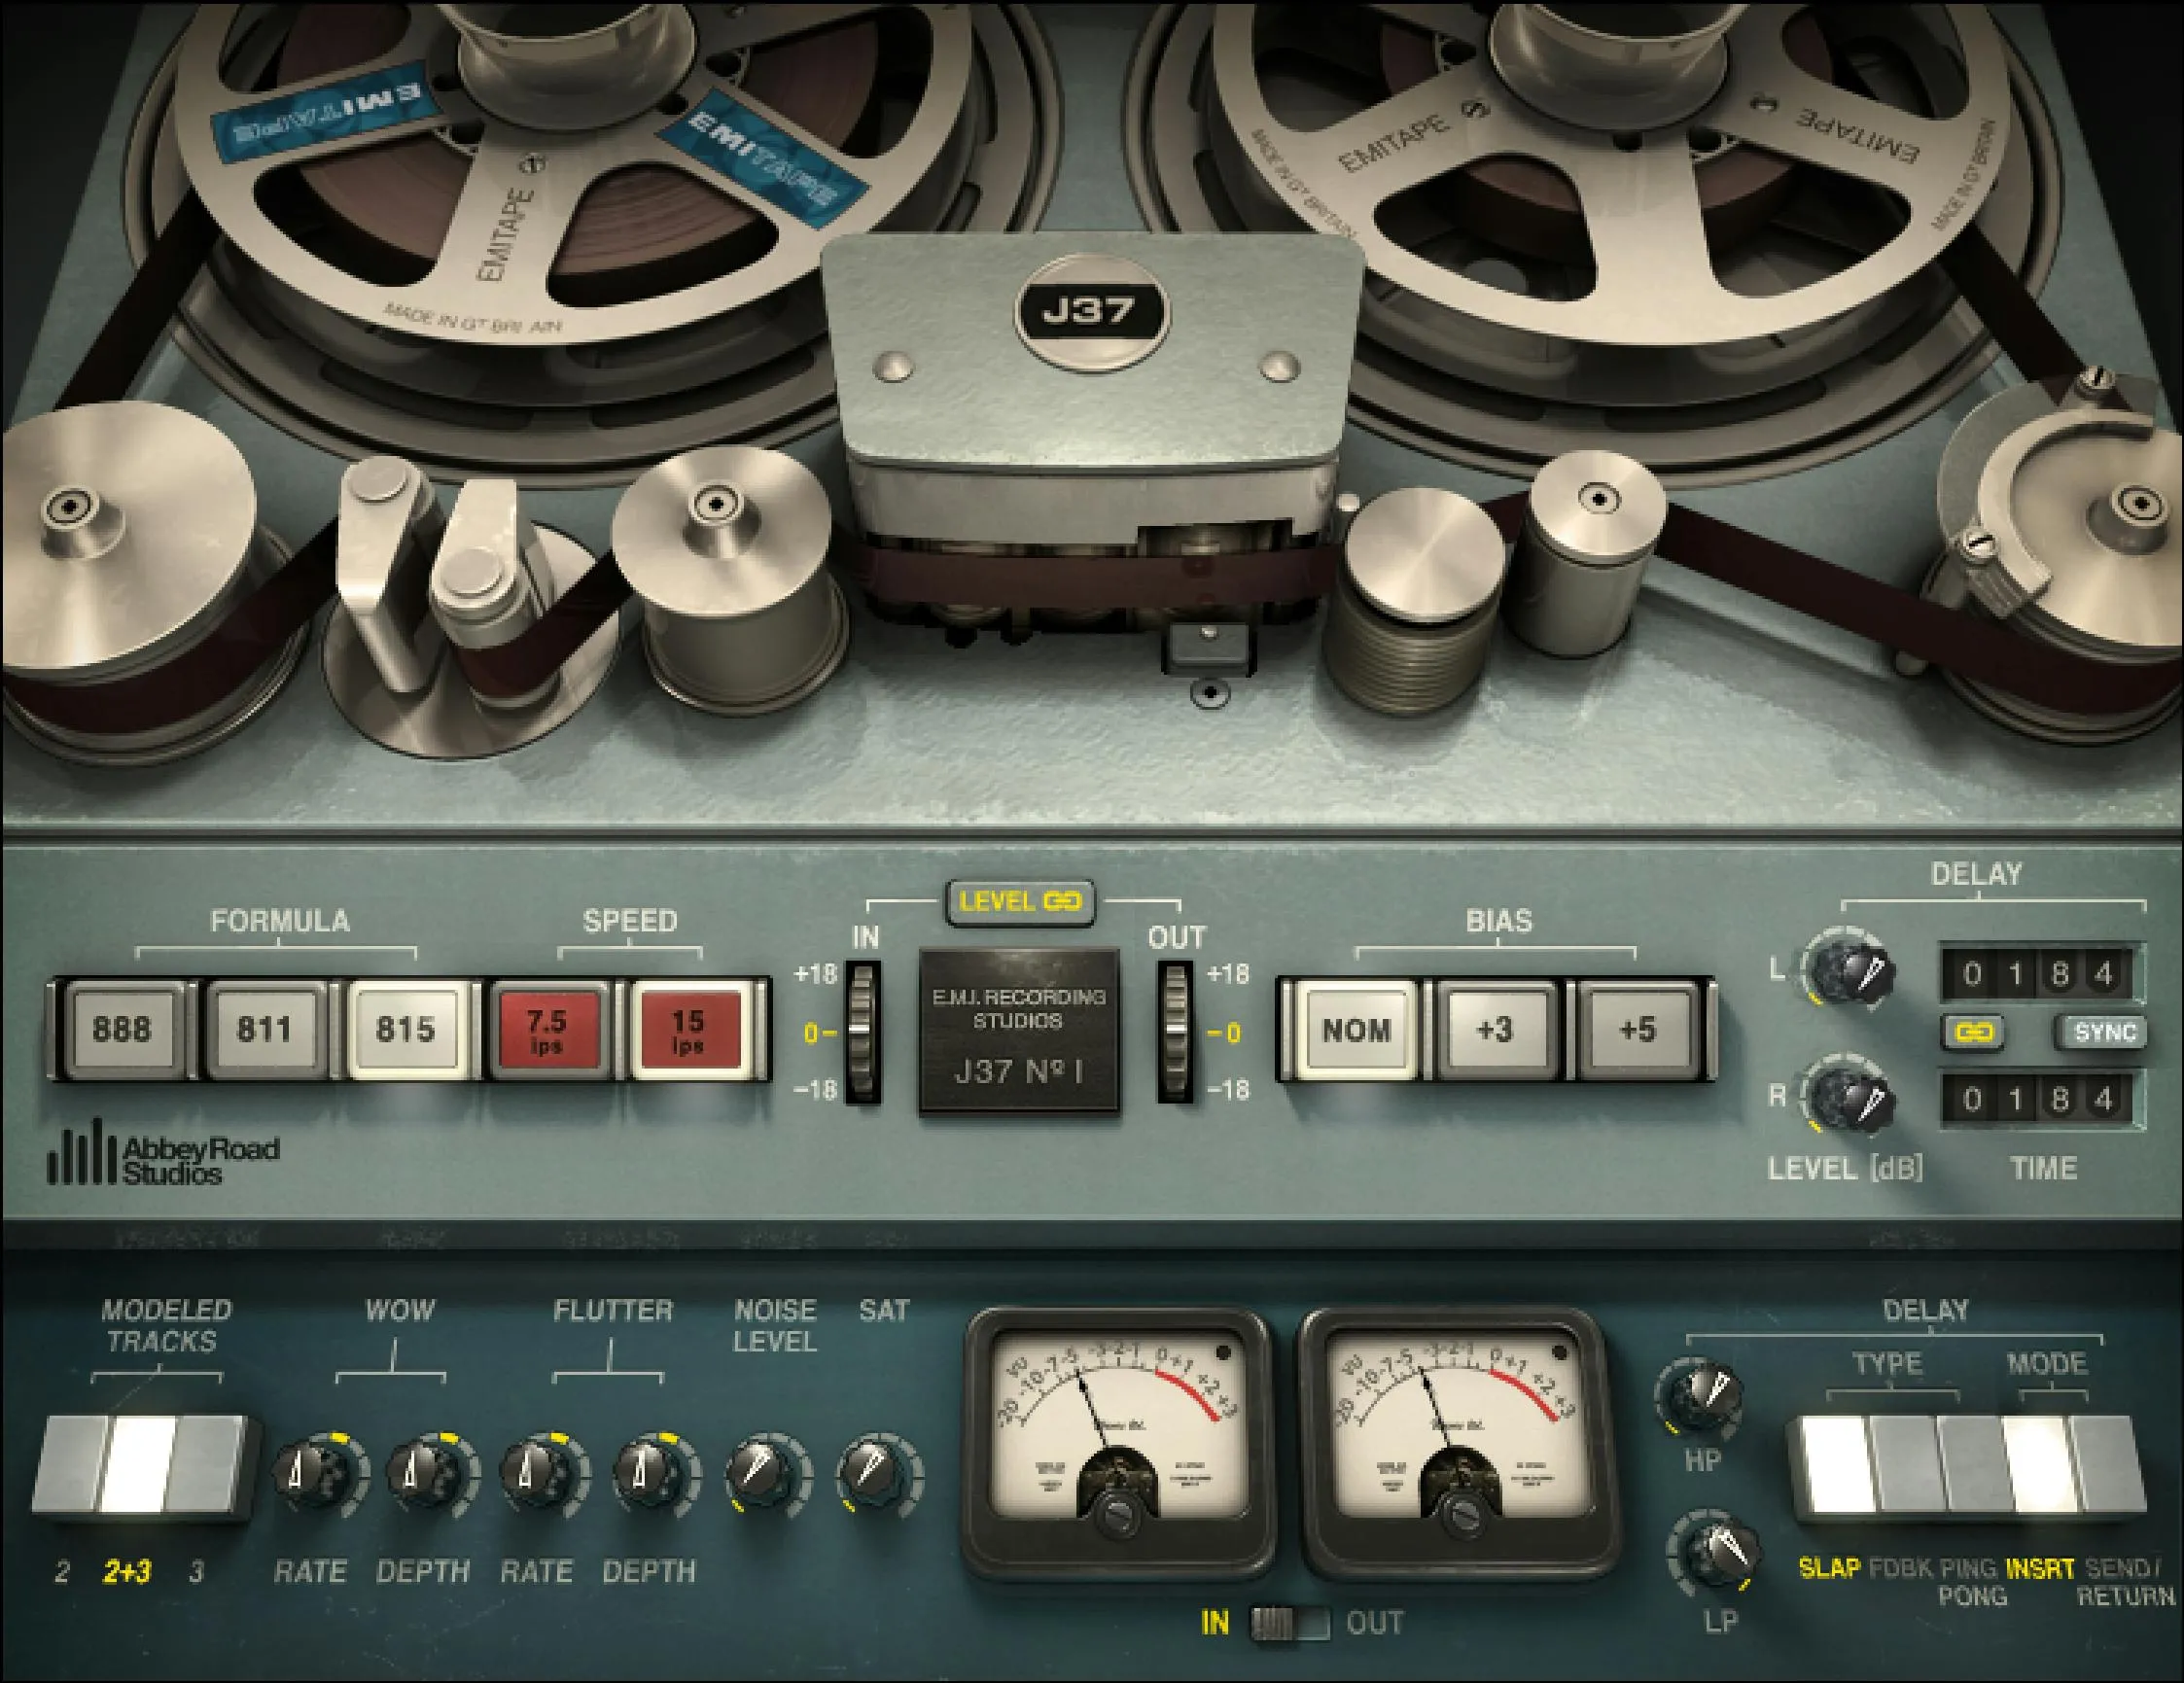
Waves J37 models a tape-recording path with selectable tape formulas, speed, bias and track behavior. It also provides adjustable modulation, noise, saturation and a tape-delay section. Input changes the drive into the model; Output and their inverse link help manage the resulting level. [1][2]
One setting deserves particular attention: zero on a Wow or Flutter control is the modeled reference, not necessarily no modulation. The depth controls have a separate Off endpoint. [1]
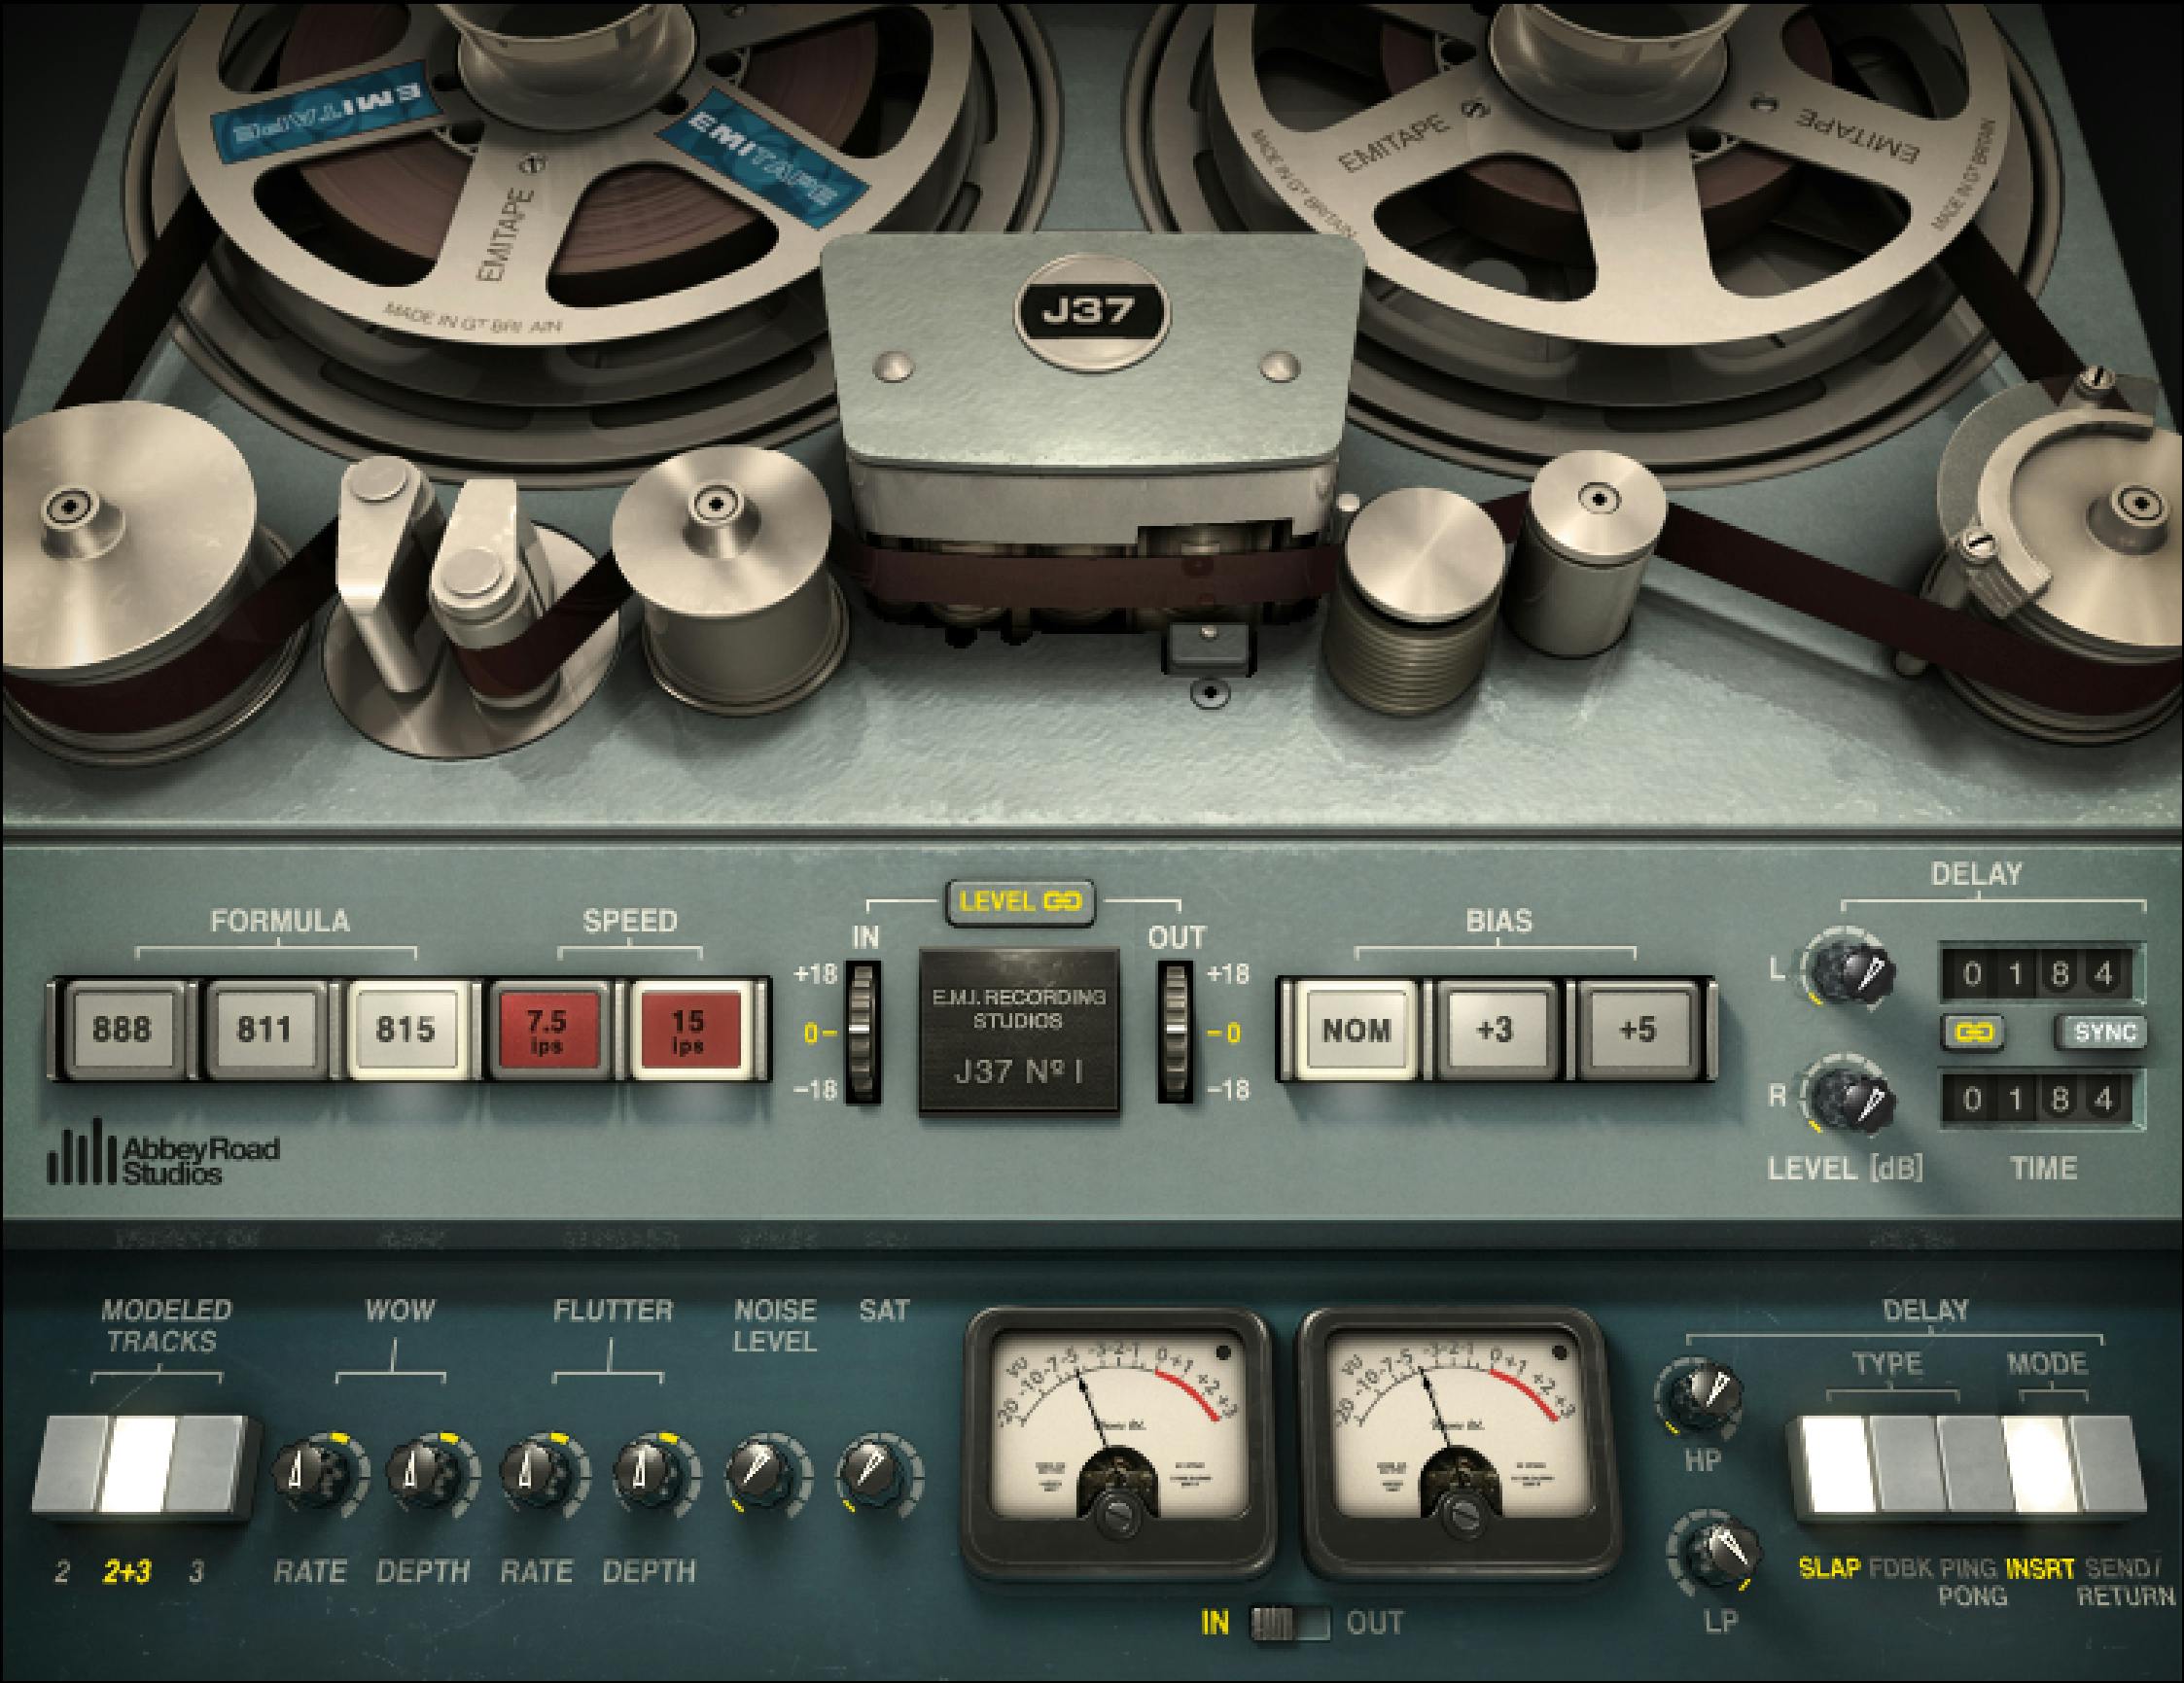
About the imagery: the cover is an editorial illustration. The plugin interface is official Waves product artwork, not a capture of a listening or compliance test.
My Short Version
Decide whether the track needs tape character, obvious instability or echo. Start with one goal rather than turning up all three.
Use linked Input and Output for a more useful comparison, but still check the actual listening level. Inspect the delay mode before adding J37 to a send: Insert and Send/Return handle the direct signal differently.
Keep the original available. This guide explains the published controls; it does not report a new listening test.
What J37 is for
Waves bases the plugin on a four-track tape machine and three modeled EMI tape formulas. These choices change the processing character; they are not merely three interface skins. [1][2]
For music, an appropriate task might be an intentional change in density, edge or echo. For spoken voice, tape color is a creative decision rather than a substitute for cleanup, clear editing or controlled dynamics.
A recording does not need a tape model simply because it was made digitally. Decide what the untreated source lacks before choosing a preset.
Input, output and their link
Input
Input controls how strongly the source drives the model. Its range is -18 to +18 dB, default -9 dB. [1, p.9]
Changing drive can change more than level. Reducing the output afterward does not reverse any coloration or saturation that happened inside the processor.
Compare a strong passage and an exposed quiet passage. A setting that helps a dense section can be too conspicuous once the arrangement thins out.
Output
Output sets the final level, also -18 to +18 dB, default +9 dB. [1, p.9]
Use it to maintain a fair comparison rather than leaving the processed version louder. The offset between the documented input and output defaults is deliberate; it is not a reason to force every source to those values.
Level Link
Level Link moves Input and Output inversely. It is On by default. [1, p.9]
This helps you explore drive without making every adjustment a large output-level jump. It does not establish exact loudness matching, particularly when the processing itself changes the envelope or spectrum.
Tape controls
Formula
The choices are 888, 811 and 815, default 815. Each selects a modeled tape formulation with its own documented response and distortion behavior. [1, pp.4–5,9]
Treat them as different starting colors, not a ranking by model number. Check the original part's identity after changing formula rather than simply choosing the most obvious difference.
Speed
Speed selects 7.5 or 15 inches per second, default 15. The manual describes corresponding changes in modeled frequency and noise behavior. [1, p.9]
Choose it for the sound required by the source. A faster tape setting does not mean the musical performance or host transport runs faster.
The delay has its own Time control. Do not assume a Speed change removes the need to inspect the actual echo timing.
Bias
Bias offers Nominal, +3 dB and +5 dB Over Bias, default Nominal. These are modeled recording conditions, not three output-gain presets. [1, p.9]
Compare them after establishing the basic drive level. The manual's explanation of the nominal hardware bias does not create another hidden user-adjustable bias parameter.
Modeled Tracks
In Mono, you can select modeled track 2 or 3, default 2. Stereo adds 2+3, the default: track 2 behavior on the left and track 3 on the right. Selecting 2 or 3 in Stereo applies the same modeled track behavior to both channels. [1, p.10]
This is a modeling choice, not a way to route your DAW's track number 2 into the plugin. Check its stereo consequences in the actual mix rather than treating a wider impression as automatically preferable.
Wow, flutter, noise and saturation
Wow Depth and Rate
Wow Depth changes the amount of modeled modulation; its scale runs from Off at -50 to +50, default 0. Wow Rate varies the rate relative to the model, over -50 to +50, default 0. Their reference behavior also depends on the chosen tape speed. [1, p.10]
The numbers are not a published percent-of-pitch or hertz conversion. Zero is the reference setting, while the depth's Off endpoint is the way to remove that contribution.
Listen to sustained material when evaluating movement. A short attack and a held note reveal different consequences.
Flutter Depth and Rate
Flutter has a separate Depth and Rate pair with the same documented reference-based scales: Depth Off (-50) to +50, Rate -50 to +50, both default 0. [1, pp.10–11]
Do not assume the two modulation sections are interchangeable. Change one pair at a time so you can identify the effect rather than create a combined instability you cannot trace.
Noise Level
Noise Level adds modeled noise and its modulation. The stated adjustment range is -24 to +24 dB, with Off as the default. [1, p.11]
This is an added-noise choice, not a noise-reduction threshold. Check pauses and fade-outs before deciding whether it belongs in the project.
SAT / Saturation
SAT adds a different saturation control from simply increasing Input and reducing Output. Its range is 0–30, default 0. [1, p.11]
The scale is not specified as a measured percentage of harmonic distortion. Use it as a controllable effect, not a laboratory readout.
Compare the source at a similar level and preserve a less-processed version. More saturation can be intentional without being better for the current part.
Delay controls
Type
Type selects Slap or Feedback in both components, with Ping-Pong additionally available in Stereo. Slap is the default. [1, p.11]
Choose the pattern before increasing its amount. A stereo bounce is a different effect from a short supporting repeat.
Mode: Insert or Send/Return
Insert retains the direct signal and adds delay. Send/Return removes the direct contribution so the output supplies the effect return. The default is Insert. [1, p.11]
Check this before routing the plugin. Otherwise, a send can unintentionally add another direct copy, or an insert can lose the direct path you expected.
Left and right Delay Level
For Slap, the amount is expressed in dB, from Off (-40 dB) to 0 dB. For Feedback and Ping-Pong it uses an Off–100 scale. Off is the default. [1, pp.11–12]
Changing Type can change the units while retaining a corresponding amount. The manual also notes that changing a Slap setup from Insert to Send/Return resets its level to 0 dB. Recheck the visible values after a routing-mode change.
The feedback path can sustain or build at higher settings. Keep the amount and monitoring level conservative; there is no need to provoke uncontrolled feedback to learn the interface.
Left and right Time
Time sets the delay over 1–2,000 ms, default 184 ms. [1, p.12]
Choose it against the phrase or rhythm. An example that reflects a modeled head spacing is not a mandatory musical delay time.
Delay Link
The delay's Link gangs its corresponding delay adjustments while retaining offsets; it defaults On. [1, p.12]
The manual describes linking the Delay Level and Delay Time controls without a detailed separate coupling table. Read the displayed left/right values when making linked adjustments; do not assume Link erases an existing difference or uses the inverse relationship of the main Level Link.
Sync
Sync changes timing to host-tempo divisions, from 1/64 triplet to a whole note in the documented range. It defaults Off. The two-second time limit still applies, so a whole note is unavailable below 120 BPM. [1, p.12]
A tempo division and a fixed millisecond delay solve different tasks. Recheck an existing effect after changing tempo or synchronization.
HP and LP
The high-pass and low-pass controls filter the delay path only. HP covers roughly 16 Hz to 21.36 kHz, with Off at the low end. LP moves down from roughly 21.2 kHz to 16 Hz, with its Off value documented separately. [1, p.13]
The manual gives LP a different upper numerical range endpoint and Off value. This article preserves that distinction instead of pretending they are one verified hard limit.
Use the filters to place the repeat around the direct part. They are not general filters for the entire original recording.
VU meter, calibration and clipping
The VU meters display Input or Output according to Meter I/O, default Input. Their scale is -20 to +3 VU. [1, p.13]
The small screw below the meter adjusts VU headroom calibration, over 8–24 dB, default 18. In Stereo, the left screw calibrates both meters. It changes the reference shown, not the audio drive.
A separate clip indicator reports peak clipping. The guide does not specify a unique reset gesture for it; do not invent one from another tape plugin.
Neither VU nor the clip light is an integrated-loudness report. Use the appropriate meter on the actual delivered file.
Presets and common toolbar
J37 has Mono and Stereo components. Their track-selection and delay differences are described above; no additional component is inferred from a host menu or old tutorial. [1, p.5]
The WaveSystem toolbar provides About, Undo/Redo, preset load/save, Previous/Next, Setup A/B, Copy A/B, window sizing and help. The current browser adds search, Factory/User/Favorite views, favorites, Copy/Paste, Reset to Default and Detach. [3][4]
A/B compares two setups inside the processor. Check Delay Mode, Noise and modulation depths in both before assuming that every difference comes from Formula.
A focused first evaluation
Set the routing and leave delay out of the initial tape comparison. Choose the formula, speed and a sensible drive level, checking both strong and exposed parts of the source.
Use linked levels as an aid, then verify the comparison itself. Add SAT or modulation only for a distinct creative purpose.
For delay, choose Insert or Send/Return correctly, begin at low amount and set timing before filtering. Listen beyond the phrase so the repeat does not obscure the next event.
These are suggested evaluation steps, not a tested preset or an assertion that tape processing improves every track.
Related plugins
Kramer Master Tape is another modeled tape path with different controls and operating assumptions.
Abbey Road Chambers combines tape-feedback processing with chamber responses. It serves a different spatial goal from J37 alone.
RComp is the clearer reference when the task requires explicitly chosen compressor timing and ratio. L2 addresses final peak limiting rather than tape color.
The Waves audio-post hub connects the broader workflow and licensing choices.
Bottom line
Keep drive, modeled character and delay routing separate in your decisions. That makes J37 easier to control and helps you hear what each change actually contributes.
Use the effect for a defined purpose. A more audible tape model is not automatically a better recording.
Sources
Checked September 19, 2026. No new sonic or compatibility test.
- Waves J37 User Guide, components p.5, interface p.8, controls pp.9–13.
- Waves Abbey Road J37 Tape.
- WaveSystem User Guide.
- Waves preset instructions.
- Waves Graphic Library.
Frequently Asked Questions
Does setting Wow or Flutter Depth to zero turn the effect off?
No. Zero is the modeled reference setting. Each Depth control has a separate Off endpoint at -50.
What does J37’s Level Link do?
It moves Input and Output in opposite directions: raising one lowers the other. It is On by default.
Which tape formulas and speeds can J37 model?
The formulas are 888, 811 and 815, with 815 as the default. Speed can be 7.5 or 15 ips, with 15 ips as the default.
How do Insert and Send/Return change the delay signal?
Insert adds delay to the direct signal. Send/Return removes the direct signal from J37’s output so it supplies only the processed return.
Does J37’s delay filter change the direct signal?
No. The Delay HP and Delay LP controls filter the delay path only.
How do modeled tracks differ in Mono and Stereo?
Mono can use modeled track 2 or 3. Stereo can apply track 2 to both channels, track 3 to both, or 2+3 with track 2 on the left and track 3 on the right.

About the Author
Joseph Nilo has been working professionally in all aspects of audio and video production for over twenty years. His day-to-day work finds him working as a video editor, 2D and 3D motion graphics designer, voiceover artist and audio engineer, and colorist for corporate projects and feature films.