

Waves CLA Unplugged is an acoustic-oriented multi-effects plugin combining bass and treble EQ, compression, two reverb layers and delay. Its six main faders adjust those effects, while the Color selectors choose their characters. Each reverb also has its own tempo-linked pre-delay. [1, pp.4,6,9-12][2]
Its most important setup choice is not a reverb name. It is Direct: the switch that determines whether the dry signal joins the processed output. That distinction matters when moving the plugin between an insert on one track and a shared effects return. [1, pp.6,13]
About the imagery: the cover is an editorial illustration. The interface is vendor-supplied reference artwork, not a tested installation.
My Short Version
Decide how the plugin sits in the mix first. Waves generally recommends Direct On for a track insert and Direct Off for an effects return, where the source's dry path is already handled separately. [1, pp.6,13]
Then separate three decisions: tone, dynamic control and ambience. Set input level before evaluating compression. Explore one reverb layer before combining both, and check the appropriate pre-delay switch before interpreting its timing value. [1, pp.4,6,11-12]
Do not treat a zero fader as a universal off switch. Bass and Treble need a nonzero setting for their Colors to change the EQ, whereas the other effect faders retain the designed starting processing at zero. The wet effects are muted with their Clear Color positions. [1, p.6]
Components and stereo output
The guide lists CLA Unplugged Mono-to-Stereo, with mono input and stereo output, and CLA Unplugged Stereo, with stereo input and output. Balance is documented only in the Stereo component. [1, pp.5,8]
A mono source can therefore leave this processor as stereo. The guide does not list a separate mono-output component or an M/S processing mode. These are component specifications, not a certification of the plugin choices or routing available in a particular host.
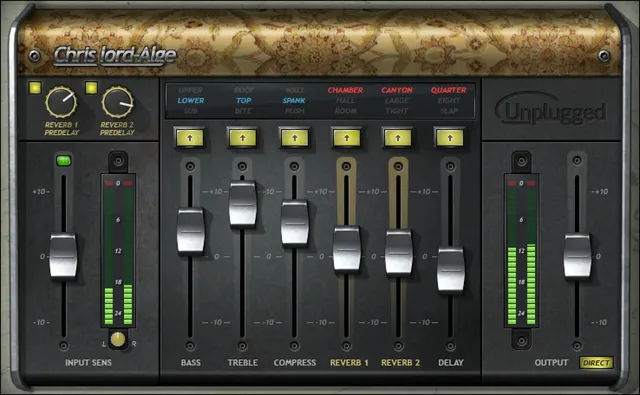
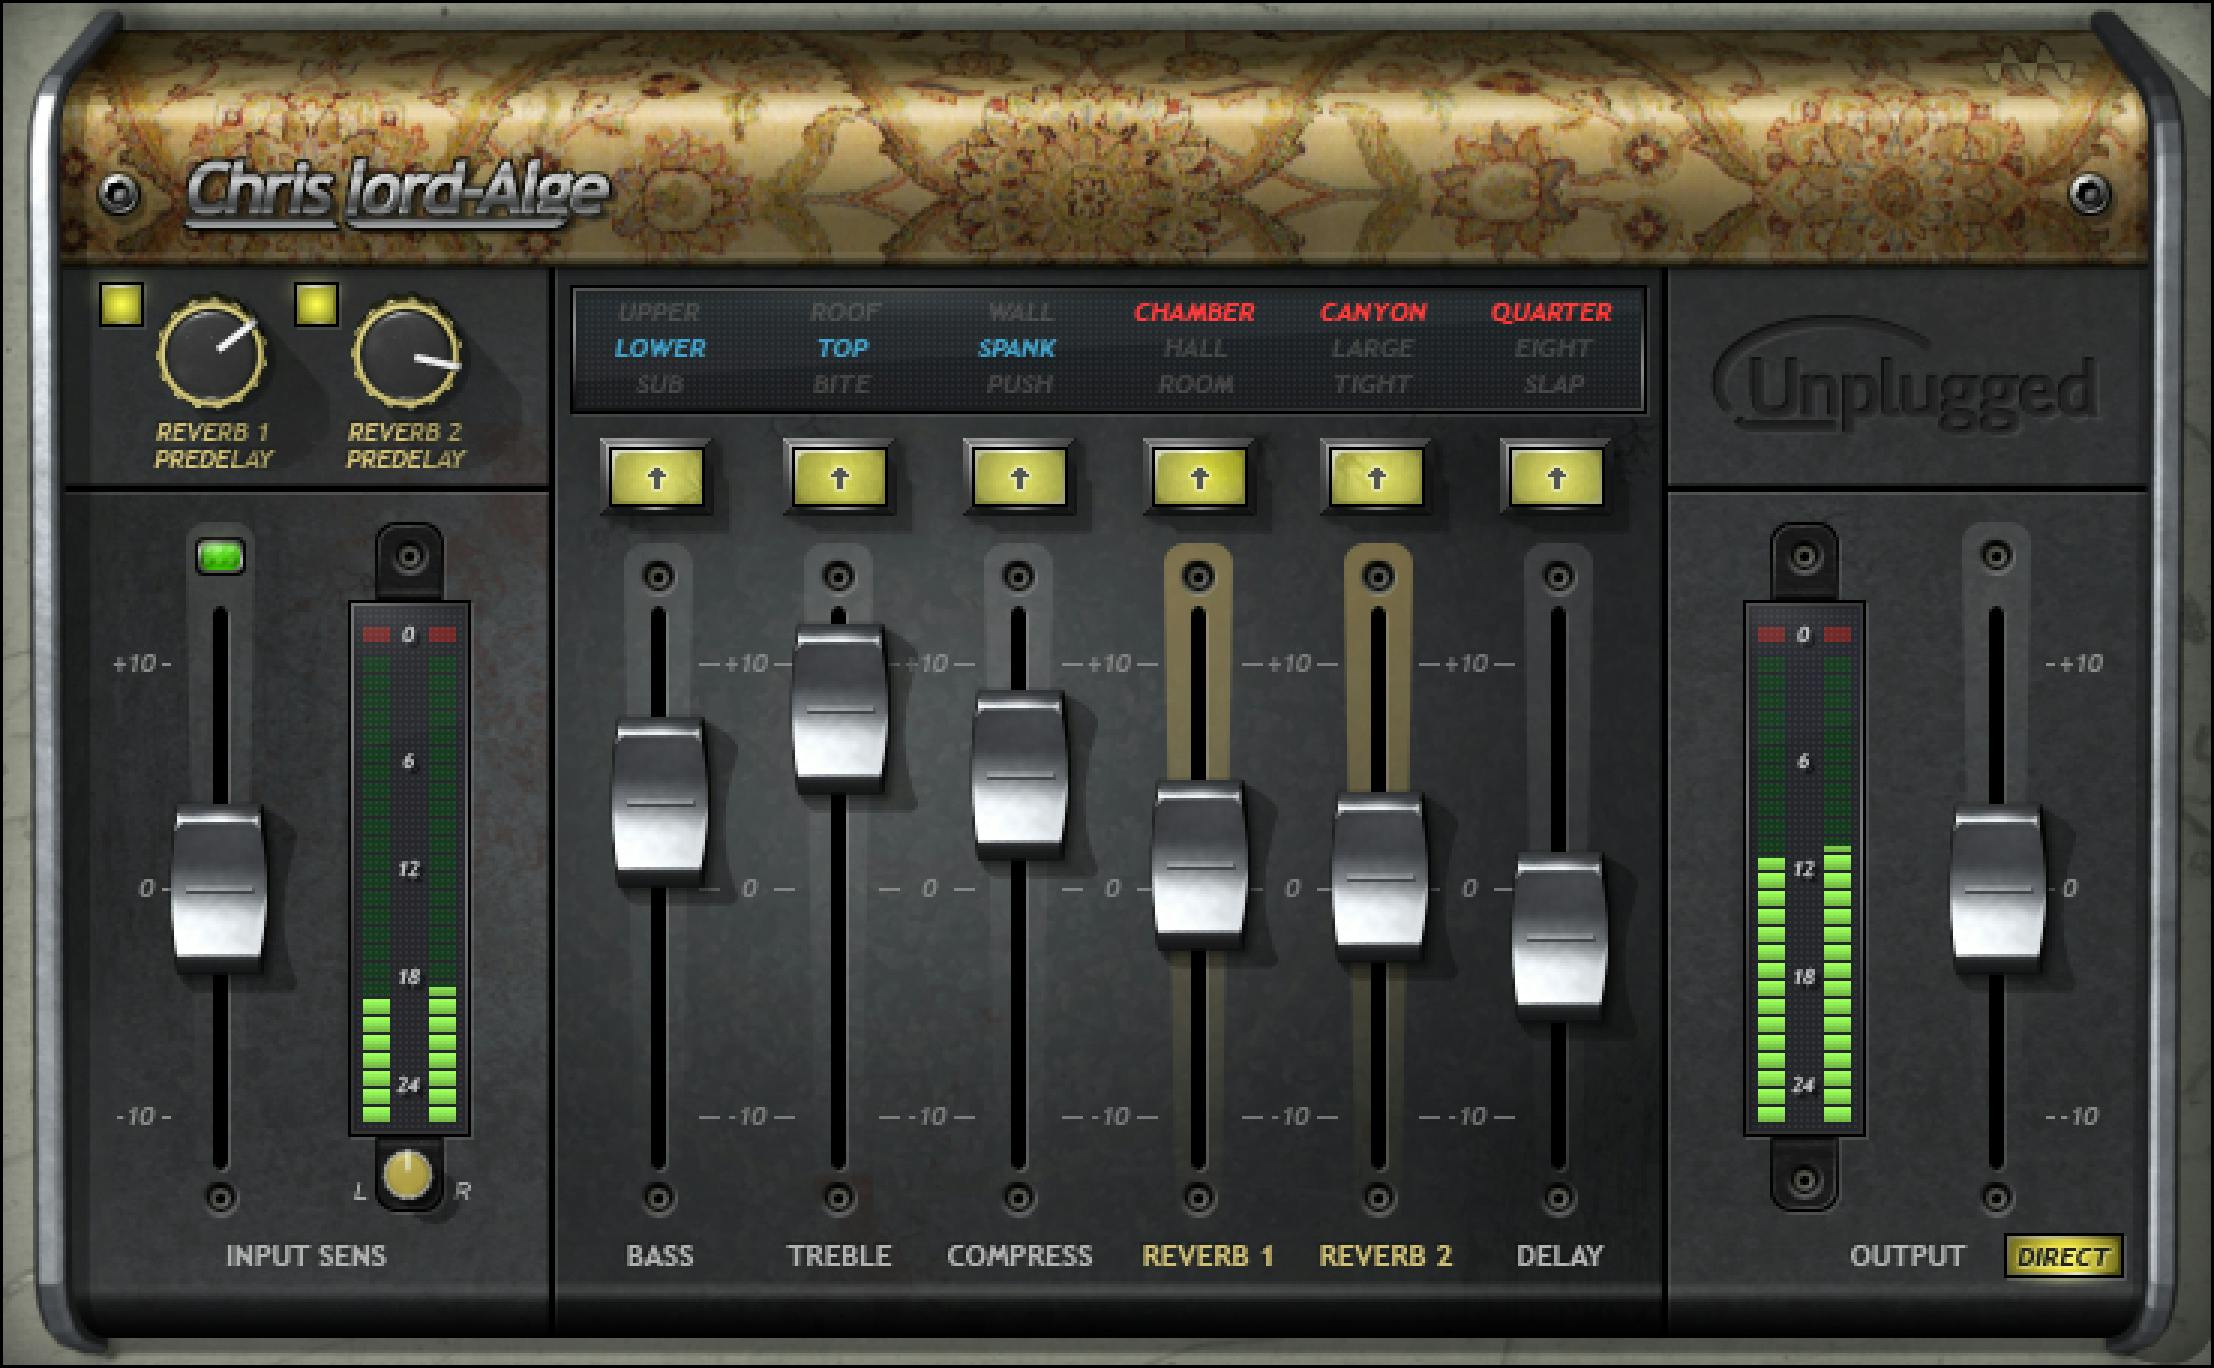
Direct: insert or effects return
Direct switches the dry contribution on or off. Its documented default is On. The manual describes that contribution as unprocessed signal combined with the wet output. [1, p.13]
On a source-track insert, Direct On retains that dry contribution alongside the effects. On an effects return, Direct Off lets the return supply the effects without also introducing another dry contribution through that return. The host's routing remains a separate part of the setup. [1, pp.6,13]
Direct is not the master plugin bypass. Turning it off removes the dry contribution; it does not turn off the reverbs or delay. Likewise, turning it on is not evidence that all other processing has stopped. [1, pp.6,13]
Input, Sensitivity and Balance
Input Sensitivity
Input Sensitivity sets the level reaching the processor. The published scale is -10 to +10, in 0.1 steps, with 0 as the default. Its range entry does not explicitly give a unit, so this guide does not relabel it as a measured dB specification. [1, p.8]
Waves recommends consulting the loudest part of the material while setting sensitivity. The Sensitivity LED describes levels as off: too low; green: good; yellow: optimal; red: very hot. No numerical thresholds are supplied. The guide also says a useful result is possible without reaching yellow: this indicator is a setup aid, not a verdict on the sound. [1, pp.4,8]
Input Meter
The Input Meter shows peak level across a -26 to 0 dBFS scale. It is a readout, not another input-gain control. The separate output/clip instructions are described below; this guide does not invent an additional input-meter hold time or reset procedure. [1, pp.8,13]
Balance
Balance offsets the left and right signals in the Stereo component only. Its range is -6 to +6 dB, with 0.1 steps and a 0 default. The guide does not publish a pan law or exact per-channel gain formula. [1, p.8]
Faders, Colors and zero
Bass, Treble, Compress, Reverb 1, Reverb 2 and Delay all use a -10 to +10 fader scale, 0.1 increments and a 0 default. The common numbers do not make them equivalent engineering controls: a wet-effect value is not automatically a wet percentage, and a compression value is not a ratio. [1, pp.9-12]
Each fader's Color selector changes its processing character independently. For example, selecting a reverb environment does not require choosing a matching EQ Color. The guide leaves the underlying filter frequencies, compressor settings and reverb algorithms largely inside these broad controls. [1, p.4]
At zero, Bass and Treble are a special case: cycling their Colors has no EQ effect until the corresponding fader moves away from zero. Zero on Compress or a wet-effect fader instead represents the designed starting setup. Use the documented Clear state when you mean bypass or mute, rather than assuming zero means no processing. [1, p.6]
Bass and Treble
Bass
Bass adjusts the low-frequency contribution on the common fader scale. Its active Colors are Sub (green, default), Lower (blue) and Upper (red). Clear bypasses this EQ section. [1, p.9]
Those names are not a published frequency table. No cutoff, bandwidth or filter slope is specified. Make a deliberate Bass adjustment before comparing Colors; a zero fader masks the difference between them. [1, pp.6,9]
Treble
Treble adjusts high-frequency gain. Its Colors are Bite (green, default), Top (blue) and Roof (red), with Clear for section bypass. It uses the same documented scale, increment and default as Bass. [1, p.9]
A Color is a choice of broad filter character, not a precisely stated center frequency. The guide does not expose a separate frequency or Q control here. As with Bass, compare Colors after making an intentional nonzero fader move. [1, pp.6,9]
Compress
Compress changes dynamic-range processing on the common fader scale. Choose Push (green, default), Spank (blue) or Wall (red); Clear bypasses compression. [1, p.10]
The guide does not provide individual threshold, ratio, attack, release or knee settings for these characters. In particular, Wall is a name—not evidence of a guaranteed brickwall ceiling. Choose a dedicated compressor when those precise settings are the job, rather than assigning hidden specifications to a macro.
Reverb 1 and Pre Delay 1
Reverb 1 changes its wet contribution. Its three environments are Room (green, default), Hall (blue) and Chamber (red). Clear mutes this layer. The fader uses -10 to +10, 0.1 steps and a 0 default. [1, p.10]
The names do not establish decay seconds, room dimensions or a measured acoustic match. The purpose of the fader is to choose how much of the selected layer participates, not to set its pre-delay. [1, pp.10-11]
Pre Delay 1
Pre Delay 1 sets the timing before Reverb 1, synchronized to the session BPM. The documented range runs from 64T to 4, identified as a 1/64-note triplet to a quarter note. The stored default is the label 16. These are rhythmic labels, not milliseconds. The guide does not enumerate every intermediate menu value. [1, p.11]
Pre Delay 1 On is a separate On/Off switch, default Off. Its stored timing value can exist while the pre-delay is disabled. That switch governs pre-delay, not the entire reverb layer; use Reverb 1's Clear state to mute the reverb itself. [1, pp.10-11]
Reverb 2 and Pre Delay 2
Reverb 2 provides another wet contribution with a different palette: Tight (green, default), Large (blue) and Canyon (red). Clear mutes this second layer. Its fader again uses the common -10 to +10 scale, 0.1 increments and a 0 default. [1, p.11]
These are not alternate names for Reverb 1's environments. The two layers can be adjusted separately, but the guide does not expose their full algorithms or give a rule that they must always be combined. [1, pp.6,10-12]
Pre Delay 2
Pre Delay 2 controls Reverb 2's timing independently. It has the same documented 64T to 4 tempo-linked range and 16 stored default as Pre Delay 1. Pre Delay 2 On is a separate On/Off switch, also default Off. [1, p.12]
Do not use a pre-delay setting as a substitute for deciding which reverb layer is active. First identify the layer, its Color and its amount; then decide whether delaying that layer's onset serves the phrase.
Delay
The Delay fader adjusts the echo contribution rather than either reverb's pre-delay. Its documented scale is -10 to +10, in 0.1 steps, default 0. [1, p.12]
Delay Color offers Slap (green, default), Eight (blue) and Quarter (red); Clear mutes delay. The guide says these timing/character choices synchronize to the session BPM. It does not publish an exact Slap duration or expose a separate feedback, tap-tempo or free-time control in this inventory. [1, p.12]
The distinction is practical: the pre-delay controls belong to their respective reverbs, while Delay supplies a separate wet effect. A timing value and an effect-amount fader answer different questions.
Output, meters and toolbar
Output controls final plugin level, with the published -10 to +10 scale, 0.1 steps and 0 default. Its range entry does not explicitly identify a unit. The Output Meter displays peaks from -26 to 0 dBFS. [1, p.13]
The documented Clip LED lights above 0 dBFS. Clicking inside the meter area resets its indication. That clears a readout; it does not repair clipping in the source or automatically adjust level. No peak-hold duration, loudness target or output limiter is inferred. [1, p.13]
WaveSystem toolbar
The shared toolbar handles preset saving/loading, settings comparison, undo/redo and resizing. The guide points to the upper-right help icon for the WaveSystem Guide. No undocumented shortcut, reset gesture or undo-depth count is added here. [1, p.13]
Silence is not the same as bypass
The guide describes two different situations. With Direct Off and Reverb 1, Reverb 2 and Delay all set to Clear, the plugin has no output. That is a documented consequence of removing both the dry contribution and the wet layers—not necessarily a fault. [1, p.6]
With all Colors Clear, some fixed processing still remains. Therefore an all-Clear setting must not be advertised as a transparent whole-plugin bypass. The guide does not disclose enough internal topology to prove a bit-identical pass-through by combining switches. [1, p.6]
For a full comparison, preserve an unprocessed reference and compare level and timing appropriately. That is an evaluation method, not a report of a bypass or null test performed here.
An acoustic-cue workflow
This is a hypothetical editing example, not a recording processed for this guide.
Imagine a picked acoustic-guitar phrase leading into narration. The performance fits, but its ambience continues across the spoken entrance. Before choosing a preset, decide what needs changing: the guitar's level, its tone, the reverb onset or the length and prominence of the effect around the transition.
Keep the original recording and current edit recoverable. Decide whether one source-track insert or an existing shared return best suits the session, then set Direct for that routing. Do not create a second dry path accidentally while trying to add a small amount of room.
Evaluate one wet layer at a time. Use its Clear state to remove it from the comparison, rather than relying on zero. Bring back only the layer that answers the problem. Check its pre-delay enable switch and judge the timing against the actual phrase and the next spoken entrance.
Compare through the whole transition, not only on a soloed guitar loop. Does the musical gesture still lead naturally into the scene? Is the reverb joining two moments that should remain separate? Would a simple level or arrangement edit solve the problem without another effect?
The goal is not to activate every section. It is to make one defensible editing decision at a time. This example does not establish a preferred Color, time saved or an audible benefit from CLA Unplugged.
Best for and reasons to choose another tool
CLA Unplugged is designed for broad tone, dynamics and ambience choices around acoustic instruments. The product page names piano, acoustic guitar, strings, woodwinds and voice among its intended sources; the actual decision still depends on the recording. [2]
A dedicated EQ is a clearer choice for an exact notch frequency. A detailed compressor is more appropriate when independently specified attack and release are essential. A dedicated reverb or delay exposes more of the timing and shaping controls that Unplugged keeps behind character choices. Those are workflow distinctions, not comparative listening verdicts.
Adding ambience is also a different job from removing unwanted recorded room sound. The documented controls do not turn this into a dialogue-restoration test or a substitute for identifying the source problem.
Documentation limits
This is a controls reference based on the product-linked guide, not a review of an installed build. The text covers the documented controls and their stated settings. It does not invent filter frequencies, compressor time constants, per-Color decay times, exact Slap timing, intermediate pre-delay choices, a pan law or the complete fixed-processing topology.
No acoustic recording, listening comparison, host routing, automation, CPU, latency, hardware or null test was performed. Vendor testimonials and sound examples are not Joseph's results. No current price, subscription membership, rating or compatibility guarantee is included.
Related tools
CLA Guitars addresses a guitar-oriented effects workflow with an optional modeled-amplification stage. That distinguishes it from choosing acoustic ambience layers here; it is not a claim that either product wins a listening comparison. [4]
H-Reverb is a more detailed reverb-shaping reference when decay, buildup, dynamics and modulation need independent attention. [5]
H-Delay is a dedicated delay alternative when independent timing, filtering and modulation matter more than a small set of character choices. [6]
The Waves audio-post resource hub collects the site's broader Waves material.
Bottom line
CLA Unplugged puts acoustic tone shaping and layered ambience in one interface, but routing comes first. Understand Direct, the two independent reverb pre-delays and the different meanings of zero and Clear before deciding how much effect the recording needs. Its broad controls are useful precisely because they hide complexity; that does not justify inventing the settings they do not expose. [1][2]
Sources
Documentation observed October 14, 2026. Manual references use printed page numbers. These are documentary observations, not installed-plugin or listening results.
- Waves CLA Unplugged User Guide, linked by the current product page. All 13 pages read as parsed text; full-interface page 7 and detail pages 9-12 visually inspected. Detail-page 8 and 13 image retrievals failed; their prose remained readable.
- Waves CLA Unplugged product page, product purpose, effect overview and manual link. Promotional claims, prices, reviews and artist testimonials are not adopted as test evidence.
- Waves Graphic Library, listed product-image permission with required product backlink. The acquired image is presented as vendor-supplied reference artwork, not a verified installed build.
- Waves CLA Guitars, related guitar-effects and optional amp-model workflow only.
- Waves H-Reverb, related detailed reverb-shaping workflow only.
- Waves H-Delay, related dedicated delay workflow only.
Frequently Asked Questions
Should Direct be on for an insert or an effects return?
Waves generally recommends Direct On when CLA Unplugged is inserted on the source track and Direct Off on an effects return. Direct controls whether dry signal joins the wet output. Check the host routing as well; the switch does not configure the session for you.
Why can CLA Unplugged produce no output?
The manual describes a specific silent state: Direct is Off and Reverb 1, Reverb 2 and Delay are all set to Clear. Both the dry contribution and the wet layers are then absent. Check that combination before assuming the plugin has failed.
Why do Bass and Treble Colors seem inactive?
Check the corresponding EQ fader. The guide says cycling Bass or Treble Colors has no EQ effect while that fader is at zero. Make an intentional nonzero adjustment before comparing the filter characters.
Does a zero reverb or delay fader mean the effect is muted?
No. Zero is the designed starting setup for the non-EQ effect faders, not a zero-percent-wet guarantee. Select Clear on the relevant Reverb or Delay Color control to mute that wet layer.
Does a pre-delay setting of 16 mean 16 milliseconds?
No. The pre-delay controls use rhythmic labels synchronized to the session BPM. The guide lists 16 as the stored default, and each pre-delay has a separate On switch that defaults to Off. A stored timing value does not establish that pre-delay is active.
Are the two reverb sections interchangeable?
They have separate amounts, Color palettes and pre-delay controls. Reverb 1 offers Room, Hall and Chamber; Reverb 2 offers Tight, Large and Canyon. The names do not establish identical algorithms or exact decay times. Evaluate each layer independently rather than assuming the second duplicates the first.
Does setting every Color to Clear fully bypass the plugin?
No. Waves says some fixed processing remains when all Colors are Clear. Keep that distinct from the Direct-Off silent state and from a whole-plugin bypass comparison. No transparent pass-through or null-tested result is established by an all-Clear setup.
Which component accepts a mono recording?
The guide lists Mono-to-Stereo for mono input with stereo output, and Stereo for stereo input and output. Balance is documented only for the Stereo component. A mono source does not mean the processed result stays mono; confirm the intended routing in the host.

About the Author
Joseph Nilo has been working professionally in all aspects of audio and video production for over twenty years. His day-to-day work finds him working as a video editor, 2D and 3D motion graphics designer, voiceover artist and audio engineer, and colorist for corporate projects and feature films.