

Waves JJP Vocals is a vocal-focused multi-effect with a Main processing section and parallel return faders. Select one of three Types, set input Sensitivity while watching its light, shape the Main section, then balance the direct Main fader against the named center returns and set the final Master level. That is the workflow the official user guide actually describes.
The interface looks specific, but the documentation has a limit: it names the controls and explains their broad routing without publishing the internal algorithms, frequency points, compressor behavior, numerical ranges or default positions. The suggestions below are listening decisions to try, not tested settings or claims about hidden processing.
My Short Version
Choose Male, Male 2 or Female as a starting Type for the source. On a passage with the highest peaks, adjust SENS and watch the adjacent light: off means too low, green good, yellow optimal by Waves' guidance, and red very hot. Yellow is a guide, not a rule that overrides what the track needs.
Use LOWS, HIGHS, DE-ESSER and COMP to make broad Main-section decisions, then set the MAIN fader for the direct path. The five center faders—MAGIC, SPACE, ATTACK, ATTITUDE and PRSNCE—balance labeled auxiliary returns fed before the Main fader. Each has a mute button for an in-context comparison. Do not assume the names disclose the particular EQ, dynamics or effect circuit inside a return.
Finish with MASTER, switch the meter between IN and OUT, and watch the Clip light. The guide says to lower output when clipping repeats or persists. None of the pictured fader positions is a recommended preset; this article did not process or hear a vocal.
What the plugin and its two components cover
The Waves product page calls JJP Vocals a multi-effect with parallel processing for vocals. The manual places it in the Jack Joseph Puig collection, where separate plugins address other instrument groups. This guide concerns the vocal plugin's visible interface and documented routing, not the sound of the wider collection.
Waves lists two components: JJP Vocals m>s, which accepts mono and outputs stereo, and JJP Vocals Stereo, which accepts and outputs stereo (manual p. 4). That matters when choosing a track insert or checking why a host offers more than one component. The manual does not specify a preferred component for any particular vocal or a host-specific routing procedure.
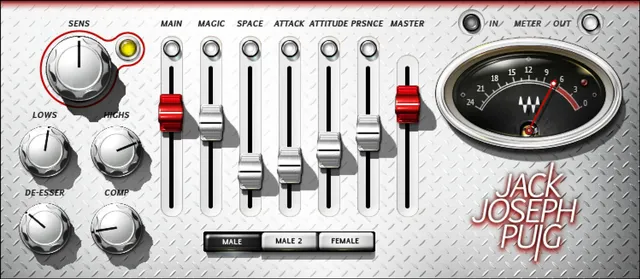
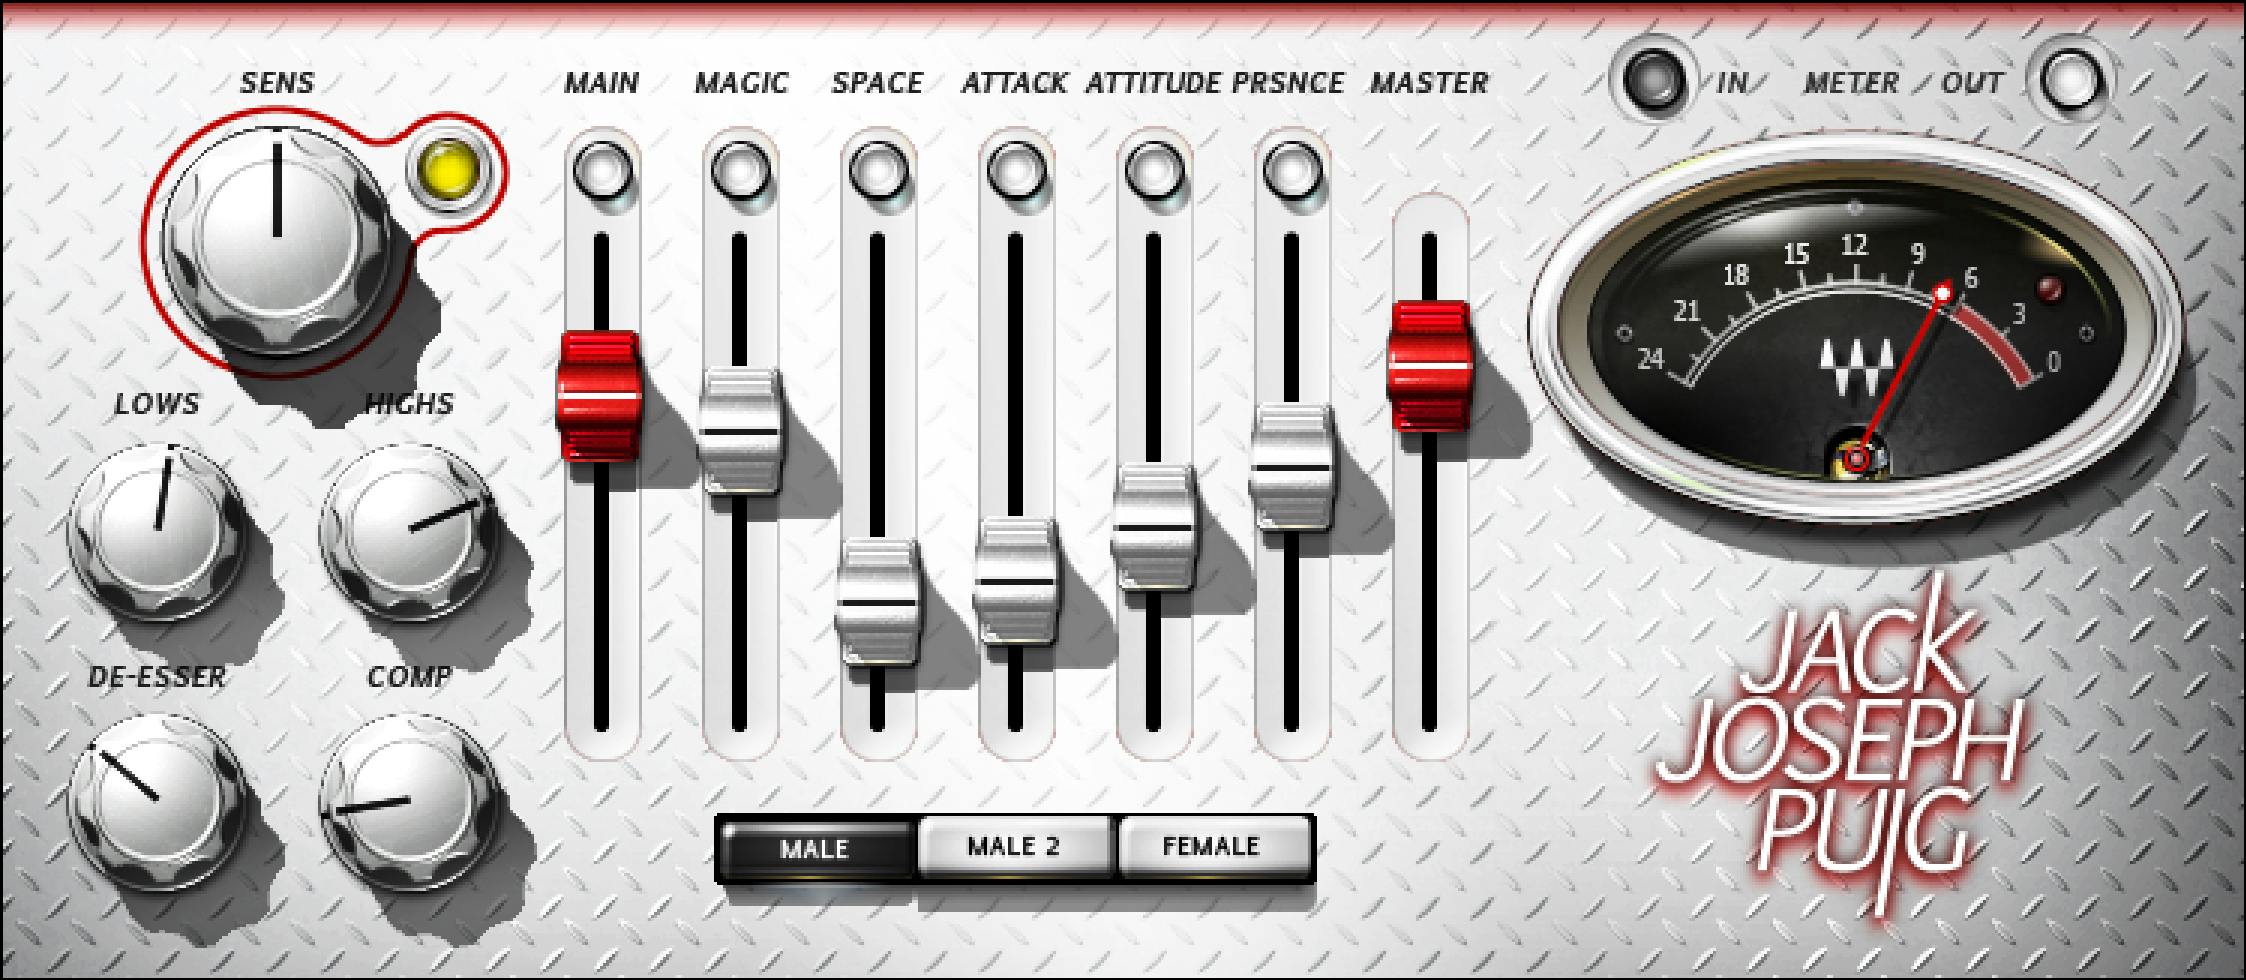
Read the interface as a small mixer
The manual's central distinction is between a direct Main path and auxiliary returns. The Main section handles basic dynamics and EQ. Its Main fader changes that section's direct level. The center faders are returns from additional processing, fed from the Main section pre-fader; the Master fader changes the combined output level. In practical terms, moving MAIN is a balance decision for the direct path, while the center faders provide separate return balances. It is not documented as a global input or send-level control.
Waves draws a conceptual signal-flow diagram on manual p. 8. It shows the Main path and generic process/fader branches returning before Master. The drawing depicts four generic branches, while the current official interface has five named center faders. The guide does not map the boxes one-for-one to the five labels; this article uses the diagram for the documented pre-fader relationship only.
Start with Type and Sensitivity
The bottom selector offers Male, Male 2 and Female. Waves says to choose a Type according to the source and says the default settings were optimized for each Type. The manual does not publish those settings or a rule that a particular voice must use the matching label. Treat the options as starting configurations to compare on the actual performance. The guide also warns that certain faders may change with the selected Type, intentionally reflecting the source-specific processing.
SENS is the Sensitivity control at the upper left, with a nearby LED. The guide defines the LED states as off: too low; green: good; yellow: optimal; red: very hot. Set it while playing the section with the highest peaks. Waves says the indication generally reflects how the signal hits the processor for its intended result, but also explicitly allows an optimal result without a yellow indication. Recheck it after a meaningful change in input level or Type rather than treating the light as an output-clipping meter.
The documentation does not give SENS a numerical scale or default. It also does not equate the Sensitivity LED's red state with the separate Clip LED at the output meter; they answer different questions.
The four Main-section controls
Below SENS, the interface shows LOWS, HIGHS, DE-ESSER and COMP. The manual groups these as the Main section's basic dynamics and EQ controls, and says all processing is influenced by that section (p. 7). It does not give individual transfer curves, frequency values, detector behavior, time constants, units, ranges or factory positions. Read the names as broad control intent and judge each change on the source; the labels alone do not establish a specific circuit.
| Visible label | Documented role and cautious use |
|---|---|
| LOWS | A labeled Main-section control within the documented EQ/dynamics group. Try it only if the vocal's lower tonal balance needs attention, then compare at a similar output level. The guide does not specify a frequency or shape. |
| HIGHS | The corresponding high-tonal label in the Main group. Make a small change and check both intelligibility and harshness in the mix. No frequency, shelf shape or boost/cut range is documented. |
| DE-ESSER | A named Main control. If sibilants distract, compare changes on words that contain them and on the full line. The manual does not specify its detection band, threshold, reduction range or whether the knob changes more than one internal value. |
| COMP | A named Main control in the section Waves describes as including dynamics. Compare level consistency and phrase shape while avoiding an output-level illusion. Ratio, attack, release, threshold and gain behavior are not specified. |
These are editorial listening prompts, not a claim that a particular knob direction or position produces a measured response. The manual gives no numerical direction or repeatable starting value for any of the four controls.
MAIN, five returns and their mute buttons
MAIN is the red direct-level fader for the Main section. Lowering it changes the direct branch; the center returns are fed before that fader. A useful comparison is to set the direct vocal clearly, then change one return at a time while monitoring the whole mix. The manual supplies no fader units, taper, zero point or default position.
The five white center faders are labeled MAGIC, SPACE, ATTACK, ATTITUDE and PRSNCE on the official interface. The manual identifies this group as auxiliary returns with additional processing, each with its own mute button above the fader. Their names are useful for finding a control and remembering an experiment, but the manual does not identify MAGIC as any particular processor, SPACE as a specific reverb or delay algorithm, ATTACK as a particular envelope circuit, ATTITUDE as saturation, or PRSNCE as a specified frequency boost. Those would be guesses.
For each return, raise or lower its fader to audition its contribution, then use the corresponding top button to mute that return for a quick comparison. Repeat in the full vocal arrangement because an isolated change can appear helpful while crowding another instrument. This is a proposed way to evaluate the documented controls, not a result from a listening test. Recheck balances after switching Type because Waves says some faders may change with that selection.
The current picture displays five return faders and five top buttons. The manual's p. 8 diagram is schematic and does not establish which pictured return is represented by any individual generic box. No exact internal branch count is asserted here.
MASTER, meter and Clip reset
MASTER sets the master output signal level (manual p. 8). Use it for final output adjustment after the direct and return balance is established. It is separate from MAIN: the former governs the combined output, the latter the direct Main level.
The top-right IN/OUT meter switch changes what the meter monitors: input or output. The Clip LED lights when levels reach 0 dBFS and can be clicked to reset. The manual's quickstart says to lower the Output level fader if that light repeatedly illuminates or remains lit; on the visible interface this is the MASTER fader. Resetting the light clears the indication, not the underlying level problem. Check the output again on the loudest passage after adjusting it.
The manual does not define the meter's ballistics, a sample-peak versus true-peak standard, a hold time, or a numerical scale for MASTER. Its clipping statement is limited to the 0 dBFS LED condition. The SENS light is an input-to-processor guidance light and should not be used as a substitute for checking this output indication.
WaveSystem Toolbar and presets
The top WaveSystem Toolbar provides saving and loading presets, comparing settings, undoing and redoing steps, and resizing the interface. The guide directs readers to the upper-right icon and WaveSystem Guide for more toolbar detail (manual p. 8). These are interface utilities, not additional vocal-processing parameters. The manual does not enumerate preset values for each Type, so a loaded preset still calls for a fresh Sensitivity and output check on the actual track.
A conservative vocal workflow
- Choose the component that matches the intended channel routing: mono in/stereo out or stereo in/stereo out. Preserve the source before committing any render or edit.
- Select a Type as a starting point and play a high-peak section. Set SENS with the LED as a guide, while allowing the musical result to override a rigid yellow-light target.
- Build the Main sound with LOWS, HIGHS, DE-ESSER and COMP by comparing short changes on the actual vocal. The manual gives no universal positions or internal specifications to dial in by number.
- Balance MAIN against one center return at a time. Use the return's top mute button to learn what that branch contributes before blending several together.
- Check the meter in IN and OUT modes. Set MASTER so the Clip LED does not repeatedly light; click the LED to clear a prior indication and recheck the loud passage.
- If switching Type or loading a preset, revisit SENS, balances and output. Those steps are a repeatable editorial workflow, not an assertion that this plugin has been auditioned here.
Best fit and limits
JJP Vocals fits someone who wants a compact vocal-processing interface with direct and parallel-return balances instead of assembling each effect as a separate insert. That is a workflow fit inferred from the documented layout, not a measured sound-quality advantage. If you need published compressor timing, de-esser frequency, return algorithms, numeric defaults, or a fully reproducible parameter recipe, this manual does not provide them. Use separate documented processors or evaluate the installed plugin directly for those needs.
No audio was processed or compared for this article. The image is official product imagery; its displayed settings are not a recommendation or evidence that the current build produces a particular sound. Compatibility, current price and license terms are outside this guide.
Related official references
Waves lists JJP Drums and JJP Bass as separate members of the same six-plugin collection (manual p. 3). They are related by the collection's task-specific design, not substitutes claimed to work on vocals. These links lead to Waves' own product references.
For the wider editing workflow, browse the Waves audio-post resource hub. If the question is licensing rather than controls, use the separate Waves subscription versus perpetual guide.
Sources
Primary sources checked October 18, 2026.
- Waves JJP Vocals User Guide, complete eight-page manual; component formats p. 4, quickstart p. 5, Types p. 6, Sensitivity/Main/returns p. 7, meter/signal flow/toolbar p. 8.
- Waves JJP Vocals product page, product identity, parallel-processing description and interface link.
- Waves Graphic Library, the source of the official JJP Vocals interface image, with its attribution and product-backlink conditions.
The visible controls were checked against the actual Library image and manual pp. 6 and 8. This is source interpretation with practical editorial suggestions; there is no first-hand listening, numerical measurement, or preset verification.
FAQ
What do the SENS light's colors mean?
The manual calls off too low, green good, yellow optimal and red very hot. Set SENS using a high-peak passage. Yellow is guidance; Waves notes that a source can work best even when the light is not yellow.
What changes when I select Male, Male 2 or Female?
These are the three source Types. Waves says each has optimized default settings and that certain faders can change by Type. The guide does not publish the individual settings or require choosing solely by a singer's gender.
Is MAIN the same as MASTER?
No. MAIN sets the Main section's direct level. MASTER sets the combined master output level after the direct path and auxiliary returns meet. The center returns are fed before the MAIN fader.
Do the center returns still receive a feed when MAIN is lowered?
The manual calls them pre-fader auxiliary returns from the Main section, so their feed is taken before MAIN's direct-level fader. It does not give a detailed internal routing map for each named return.
What are MAGIC, SPACE, ATTACK, ATTITUDE and PRSNCE?
They are five labeled center return faders with additional processing, each with a mute button above it. The manual does not identify the specific algorithms, numerical ranges or default positions behind those names.
What do LOWS, HIGHS, DE-ESSER and COMP control?
They are the four visible Main-section controls, which Waves describes collectively as basic dynamics and EQ. The guide does not specify individual frequency points, compression timing, de-esser detection or numeric control ranges.
What does the Clip LED mean, and how do I clear it?
It lights when the monitored level reaches 0 dBFS; click the LED to reset it. The manual recommends lowering output if it repeatedly lights or stays lit. Use the IN/OUT switch to check which signal the meter is monitoring.
Which JJP Vocals component should I choose for a mono track?
The manual lists JJP Vocals m>s for mono input to stereo output, and JJP Vocals Stereo for stereo input to stereo output. Choose the version that matches the routing you need in your host.

About the Author
Joseph Nilo has been working professionally in all aspects of audio and video production for over twenty years. His day-to-day work finds him working as a video editor, 2D and 3D motion graphics designer, voiceover artist and audio engineer, and colorist for corporate projects and feature films.