
Waves VU Meter is a virtual VU-style level meter for judging average program level and dynamics, with an adjustable digital reference point and a separate clip indicator. Its needle behavior is intentionally slower than a sample-accurate peak meter: the current guide documents a 300 ms rise from -∞ to 0 VU. [1][2]
That makes it useful for gain staging and for watching the broader movement of music, dialogue or a bus. It does not replace a true-peak meter, loudness meter or delivery-spec check. Waves' own guide explicitly says peak metering is still necessary for avoiding digital clipping. [1]
My Short Version
Set Headroom / Reference Adjustment so the VU meter's 0 VU corresponds to the digital operating level you want—for example, an 18 dB setting means a -18 dBFS reference tone reads 0 VU. Then use the needle to judge average level and dynamics, while the separate Clip LED warns when the signal approaches digital full scale. [1]
If several buses have different processing latency and their meter needles look visually out of sync, use Graphic Delay to delay the display—not the audio—until the meters line up visually. [1]
I did not calibrate a session or measure meter ballistics for this article. The values below are from Waves' documentation and the inspected official UI.
What a VU meter is showing
A VU meter reacts more slowly than a digital peak meter. Waves documents the needle as taking about 300 ms to rise from -∞ to 0 VU, which means short peaks are averaged rather than dominating the display. [1]
That slower response helps show program level and dynamic movement, but it also means a VU meter cannot tell you everything about instantaneous digital peaks. The VU plugin therefore includes its own Clip indicator, and the guide still recommends peak metering when clipping matters. [1]
Mono and Stereo components
The current guide documents two components: [1]
- VU Meter Mono
- VU Meter Stereo [1]
The Stereo component includes an adjustable Display Size control. The core reference calibration, graphic delay, meter scales and clip behavior apply to the metering workflow described below. [1]
Display Size
On the Stereo component, Display Size selects one of three interface sizes. [1]
- Small
- Medium
- Large [1]
This changes the displayed meter size, not the audio or calibration.
The guide describes clicking the button to cycle/select the view. It does not publish a processing effect or separate numeric default for this UI-size choice, so none is invented.
Headroom / Reference Adjustment
The manual section calls this Headroom Adjustment, while the interface diagram labels the area Reference Adjustment. Both refer to the same calibration relationship between digital level and 0 VU. [1]
- Range: 4 dB to 26 dB
- Default: 18 dB [1]
When the value is 18, a -18 dBFS reference tone reads 0 dB VU, leaving 18 dB between the reference point and digital full scale. At 20, -20 dBFS would be the 0 VU reference. [1]
You can adjust the value with the interface arrows/drag behavior or double-click the current value and enter the calibration directly. [1]
This control does not change the source audio. It changes how the meter interprets the digital reference level.
Graphic Delay
Graphic Display Adjustment, labeled Graphic Delay in the interface diagram, delays the meter's visual response so meters on buses with different processing latency can appear time-aligned. [1]
- Range: 0–1000 ms
- Default: 0 ms [1]
This is a display alignment control. The guide describes delaying the meter activity, not delaying the audio signal itself. Do not use it as a timing effect.
Clip Indicator
The Clip Indicator LED lights when the signal reaches -0.009 dBFS. [1]
Click the LED to clear it. [1]
The clip indicator is therefore separate from the slow VU needle. A source can have comfortable average VU movement and still trigger the digital clip warning on a fast peak.
dB scale and VU scale
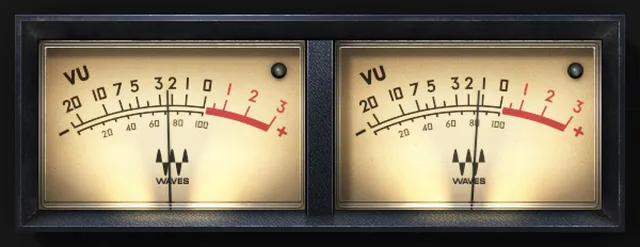
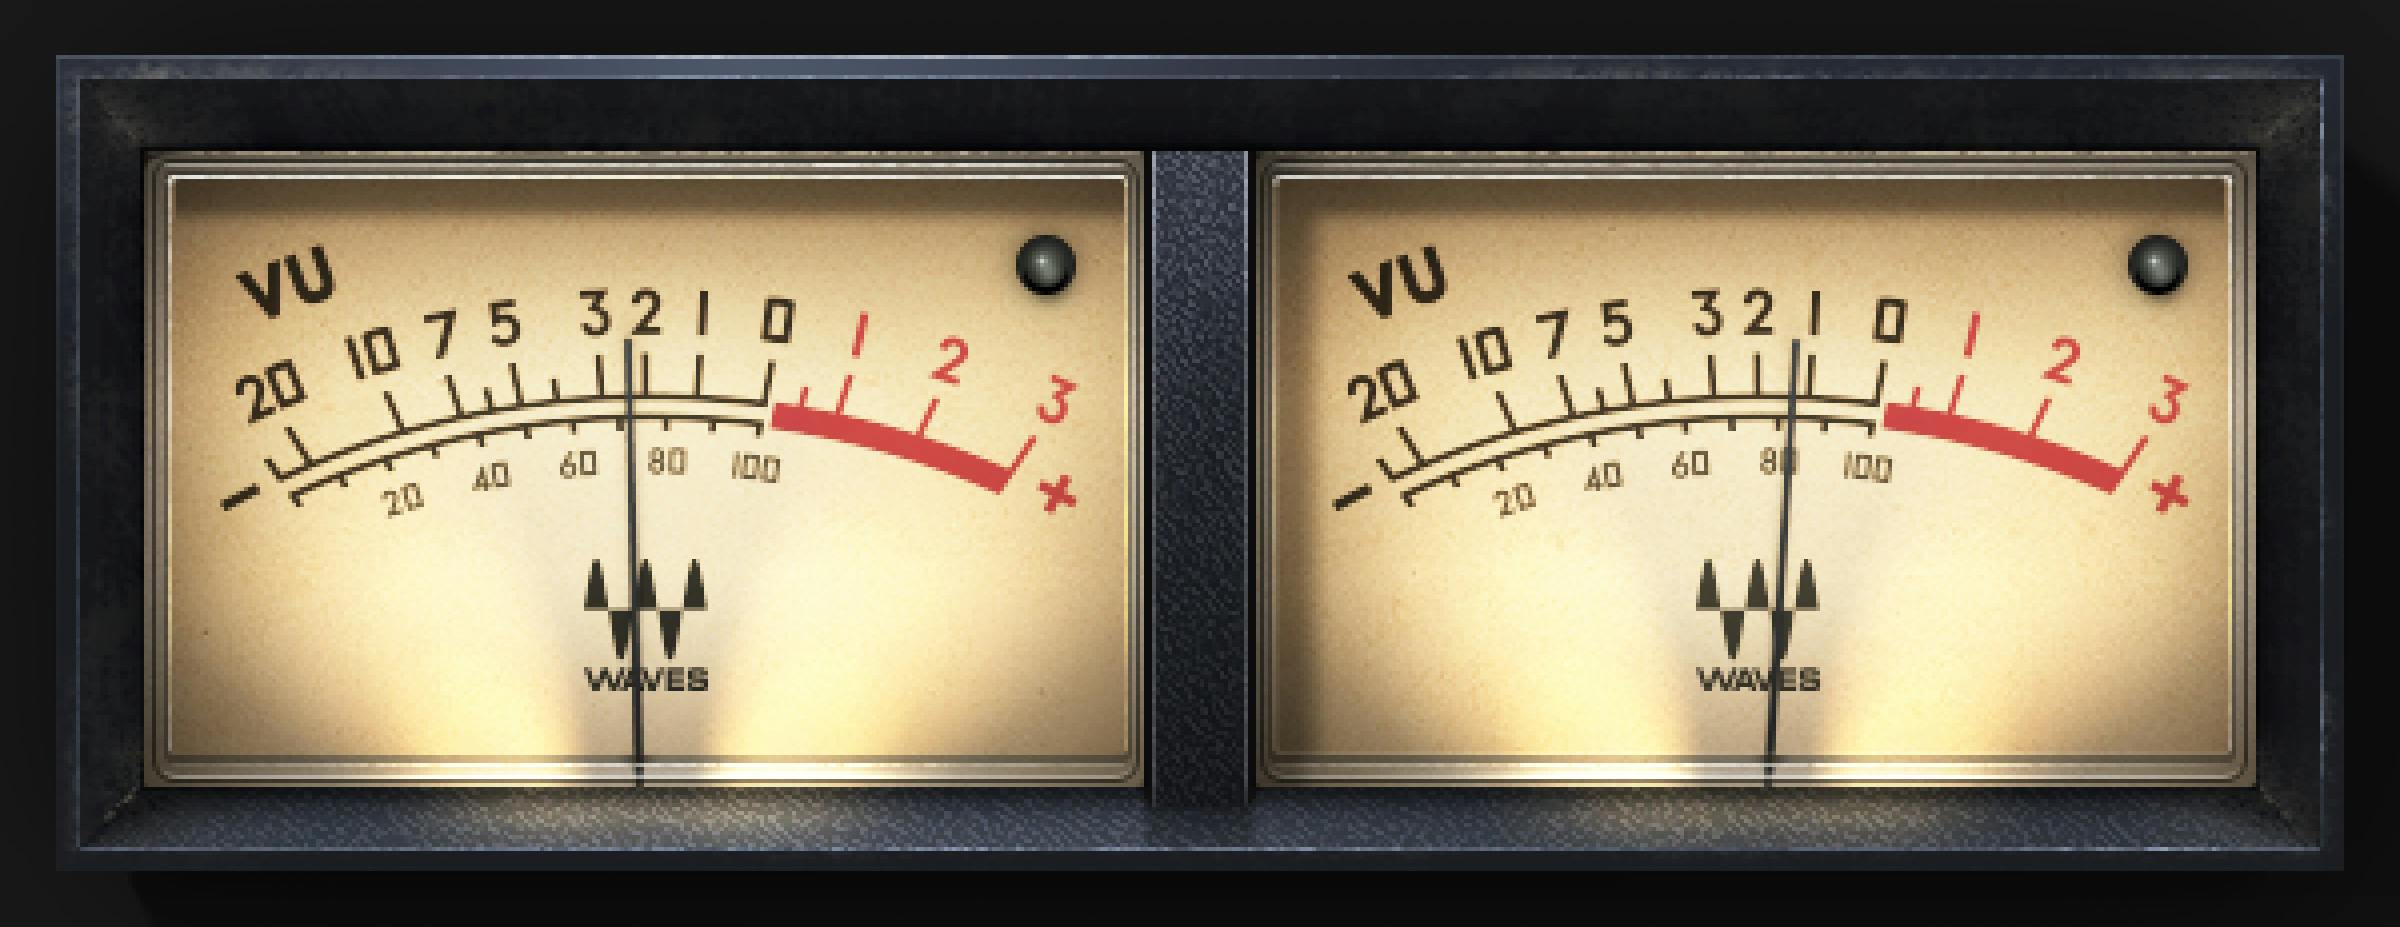
The meter has two printed scales. [1]
dB scale
The top scale is in dB, with 0 dB representing the selected reference level when Reference Adjustment is calibrated correctly. [1]
VU scale
The bottom scale is in Volume Units and is described by Waves as the percentage of signal power. [1]
These are read-only scales, not adjustable processing controls.
Why calibration matters
A VU needle is most useful when 0 VU has a defined relationship to your digital level. If the reference control is set to 18 dB, then 0 VU corresponds to -18 dBFS. That gives the meter a meaningful operating point instead of treating the VU scale as an arbitrary animation. [1]
The correct reference depends on the workflow and delivery environment. This article does not prescribe one universal number for music, broadcast, dialogue or mastering.
VU versus peak versus loudness metering
VU metering emphasizes slower average level and dynamic movement. Peak metering catches fast digital peaks. Loudness metering—for example LUFS-based measurement—addresses a different standardized program-loudness question. [1]
Waves' own guide explicitly says VU metering does not eliminate the need for peak metering. Likewise, VU Meter is not a substitute for a loudness meter when a platform, broadcaster or client specifies LUFS or true-peak targets.
A practical VU Meter workflow
First, choose the digital reference you want 0 VU to represent and set Headroom / Reference Adjustment accordingly. If you have a matching calibration tone, use it to confirm that 0 VU aligns with the intended dBFS reference. [1]
Then watch the VU movement while balancing tracks or buses. Use the slower needle to judge average level and dynamic consistency rather than chasing every sample peak. [1]
Keep an eye on the Clip Indicator and use an appropriate peak/true-peak meter for final clipping decisions. If multiple VU instances are visually offset because their buses have different latency, adjust Graphic Delay only as needed to make the displays easier to compare. [1]
This workflow is documentary. I did not calibrate a real session or compare meters during this writing pass.
Best for / skip if
VU Meter is best for gain staging, analog-style level reference and visually judging average program dynamics when a slower meter is useful. It can be helpful on individual channels, buses or the mix bus as long as its reference calibration is understood. [1][2]
Skip it as the sole meter when you need true peak, integrated loudness/LUFS, short-term loudness, compliance targets or sample-peak precision. Those require different measurement tools.
Limitations and evidence boundary
This is a documentation-led article. I did not measure the 300 ms response, test the -0.009 dBFS clip threshold, calibrate a DAW session or compare VU Meter with hardware.
The current official manual interface and control pages were visually inspected. The article does not infer undocumented meter ballistics, oversampling, loudness standards or audio processing because VU Meter's documented role is metering rather than signal processing. [1]
Related guides
Useful ordinary official relationships include WLM Plus Loudness Meter for standards-based loudness measurement and Dorrough Stereo for a different peak/average metering approach. These are complementary tools, not replacements asserted by this article.
Bottom line
Waves VU Meter is intentionally simple: calibrate 0 VU with Reference/Headroom Adjustment, use the slow needle to watch average level, use Graphic Delay only to align meter graphics, and clear the Clip LED when it catches a near-full-scale peak. [1]
Its value is the perspective it gives you on program level—not the idea that one meter can replace every other measurement.
Sources
Checked October 17, 2026. No listening, calibration or native-host test was performed.
- Waves VU Meter User Guide, current product-linked guide; official interface and control pages visually inspected.
- Waves VU Meter product page, current product identity.
- Waves Graphic Library, current VU Meter listing and reuse rule for images on that page with a backlink to the relevant Waves product page.
FAQ
What does the VU needle show, and why does it move slowly?
Waves describes a VU meter as slow by design, with a documented 300 ms attack to 0 dB VU that averages many short peaks to show broader program dynamics. This is the vendor's description, not a measurement made here.
Should I still use a peak meter with Waves VU Meter?
Yes. Waves’ guide says full-scale peak metering is still needed to avoid clips; the VU needle responds more slowly and does not show every fast peak.
What are the Mono and Stereo components?
The guide lists separate VU Meter Mono and VU Meter Stereo components.
What does Headroom Adjustment do?
It calibrates the meter to the DAW’s reference level. At 18 dB, a -18 dBFS reference tone corresponds to 0 dB VU.
What is the Headroom Adjustment range and default?
The documented range is 4–26 dB and the default is 18 dB. The value can be changed by vertical dragging over the arrows or by double-clicking the current value to enter one.
What does Graphic Display Adjustment do?
It delays meter activity so meters on buses with different latencies can appear time-aligned; the guide describes meter activity, not an audio delay effect.
What are the Stereo display-size choices?
The Stereo component offers small, medium, and large display sizes, selected with the button.
When does the Clip Indicator light, and how do I clear it?
The guide says the LED lights when the signal reaches -0.009 dBFS; click the LED to clear it.

About the Author
Joseph Nilo has been working professionally in all aspects of audio and video production for over twenty years. His day-to-day work finds him working as a video editor, 2D and 3D motion graphics designer, voiceover artist and audio engineer, and colorist for corporate projects and feature films.