
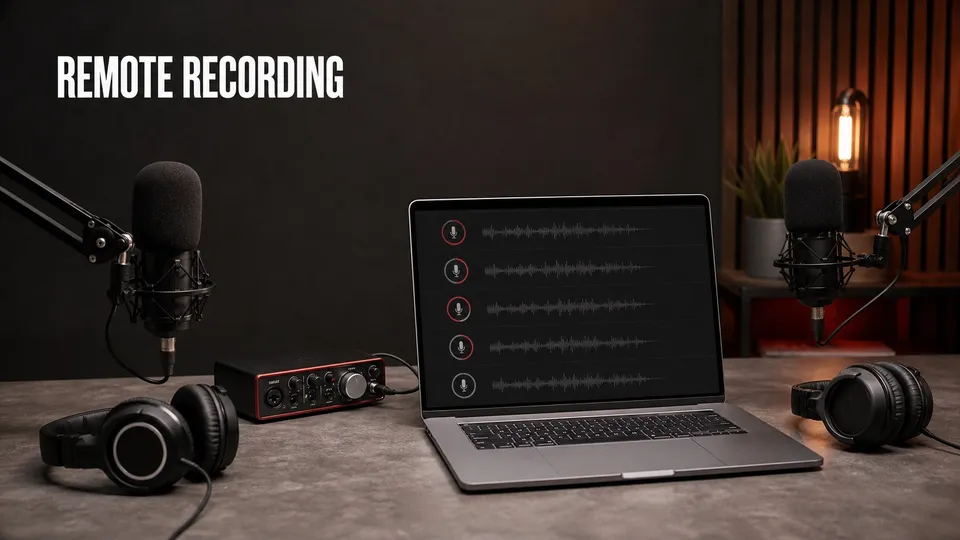
| Quick answer | Create a Studio project in desktop Chrome, send each guest the invite link, verify microphone and headphones, record local separate tracks, and keep everyone connected until uploads finish. |
|---|---|
| Best for | Remote interviews, panel shows, video podcasts, client conversations, and separate-track post-production. |
| Critical rule | Run a short test and wait for every participant upload before closing the session. |
| Recommended size | Adobe recommends up to five guests for the best recording experience. |
A reliable remote podcast starts before the Record button. Adobe Podcast Studio can capture local, separate participant tracks in the browser, but microphone choice, headphones, guest instructions, upload completion, and a backup plan still determine whether the session is easy to edit.
This guide focuses on the production workflow. For Enhance Speech, plan limits, and the broader product decision, read my Adobe Podcast review.
1. Prepare the Session
Use a desktop computer with current Google Chrome. Ask guests to join from a quiet room, wear wired headphones, and connect the best microphone available. A USB microphone is useful, but a well-positioned headset often beats a distant laptop microphone in a reflective room.
- Use desktop Chrome and update it before the session.
- Wear headphones to prevent echo.
- Choose a quiet, furnished room.
- Connect power and use wired internet when practical.
- Close Zoom, Teams, QuickTime, DAWs, and tabs that may use the microphone or camera.
- Allow 10 minutes for setup before the scheduled start.
Adobe explains the current invitation, browser, track, and processing workflow in its official Adobe Podcast Studio page.
2. Create a Studio Project and Invite Guests
- Open Adobe Podcast Studio in desktop Chrome and create a project.
- Name the project with the show, guest, and recording date.
- Choose the microphone and camera you intend to use.
- Invite guests by sharing the session link or using the email invitation option.
- Ask each guest to join early and select their own microphone, camera, and headphones.
A direct link is usually simplest for a scheduled interview. Email invitations can be useful when the invitation itself needs to be tied to the participant. Treat the room link like a production credential and share it only with the intended guests.
Disclosure: This page contains affiliate links. If you subscribe through one, I may earn a commission at no additional cost to you.
For longer sessions, remote video, higher limits, and expanded access to separated originals, you can Check Adobe Podcast plans.
3. Run a Real Soundcheck
Do not settle for “Can you hear me?” Record at least 30 seconds from every participant, then listen for room echo, fan noise, clipping, Bluetooth instability, camera framing, and a microphone that has silently fallen back to the laptop.
| Check | Good result | Fix before recording |
|---|---|---|
| Input level | Strong speech without distortion | Move the microphone closer before adding gain |
| Headphones | No speaker echo | Switch from speakers to wired headphones |
| Room | Voice is clear with limited reflections | Move away from bare walls and hard surfaces |
| Connection | Stable conversation and upload | Use Ethernet or move closer to Wi-Fi |
| Camera | Stable exposure and useful framing | Face a soft light and close bright windows behind the guest |
Have every participant clap once after recording starts. Separate tracks should already align, but a visible and audible sync point is inexpensive insurance for an external edit.
4. Record Without Creating Avoidable Problems
- State the show, guest, date, and take at the beginning.
- Ask participants not to mute at the hardware level unless necessary.
- Pause after interruptions, then repeat the complete sentence.
- Mark important retakes in producer notes.
- Avoid changing microphones or cameras mid-session.
- Keep an eye on participant status without distracting the conversation.
Local recording protects fidelity from temporary network variation, while progressive upload moves the recorded data toward Adobe during the session. It does not remove the need to monitor the room or wait for completion.
5. End the Session Without Losing an Upload
When the conversation ends, stop recording and ask every guest to remain in the browser. Confirm that each track has finished uploading before anyone closes the tab, sleeps the laptop, switches networks, or leaves.
If a guest disconnects, have them reopen the same browser and project path when possible. Avoid starting unrelated cleanup actions until the recovery state is clear. Record a short safety pickup if a critical answer appears incomplete.
Keep a backup for high-value interviews
For irreplaceable guests, ask the guest to run a simple local backup recorder or record a host reference track. Backups do not need to be elegant; they need to preserve the conversation if a browser, permission, storage, or upload problem appears.
6. Edit the Separate Tracks
Wait for Studio to finish processing and transcription. Download the media appropriate to your plan and editor, preserve the originals, and organize each participant on a labeled track.
- Import every track at the same start point.
- Verify the clap or first spoken sync point.
- Mute inactive microphones only when noise is distracting.
- Apply restrained cleanup per speaker, not one aggressive setting to the whole mix.
- Edit content and pacing before final loudness.
- Mix music and ambience after dialogue is stable.
Use Enhance Speech for fast voice cleanup, Audition for detailed audio restoration and mixing, or Premiere Pro when video is the primary deliverable.
Remote Recording Producer Checklist
| Stage | Required confirmation |
|---|---|
| Before | Chrome updated, permissions granted, headphones connected, room checked |
| Soundcheck | Correct inputs, clean 30-second test, camera and lighting approved |
| Recording | Slate captured, notes running, no device changes |
| Wrap | All participant uploads complete before tabs close |
| Post | Originals preserved, tracks synchronized, cleanup applied per speaker |
Related Adobe Podcast Guides
Frequently Asked Questions
What browser should guests use for Adobe Podcast recording?
Adobe recommends desktop Google Chrome for Studio recording. Ask every participant to update Chrome, close competing recording apps, and join from a computer rather than a phone.
Does Adobe Podcast record each guest locally?
Adobe Podcast Studio records participants locally and progressively uploads their media, which helps protect quality from momentary connection problems. The host should still wait for upload and processing to complete.
How many guests can join an Adobe Podcast recording?
Adobe recommends recording with up to five guests for the best experience. Check the current Studio documentation before a larger session because supported limits can change.
Can Adobe Podcast record separate tracks?
Yes. Studio supports separate participant tracks, and Premium expands access to separated original audio and video files for post-production.
What happens if a guest closes the browser too soon?
The recording may not finish uploading. Ask the guest to remain on the completion screen until Studio confirms the upload, and do not end the production handoff until every participant is complete.

About the Author
Joseph Nilo has been working professionally in all aspects of audio and video production for over twenty years. His day-to-day work finds him working as a video editor, 2D and 3D motion graphics designer, voiceover artist and audio engineer, and colorist for corporate projects and feature films.